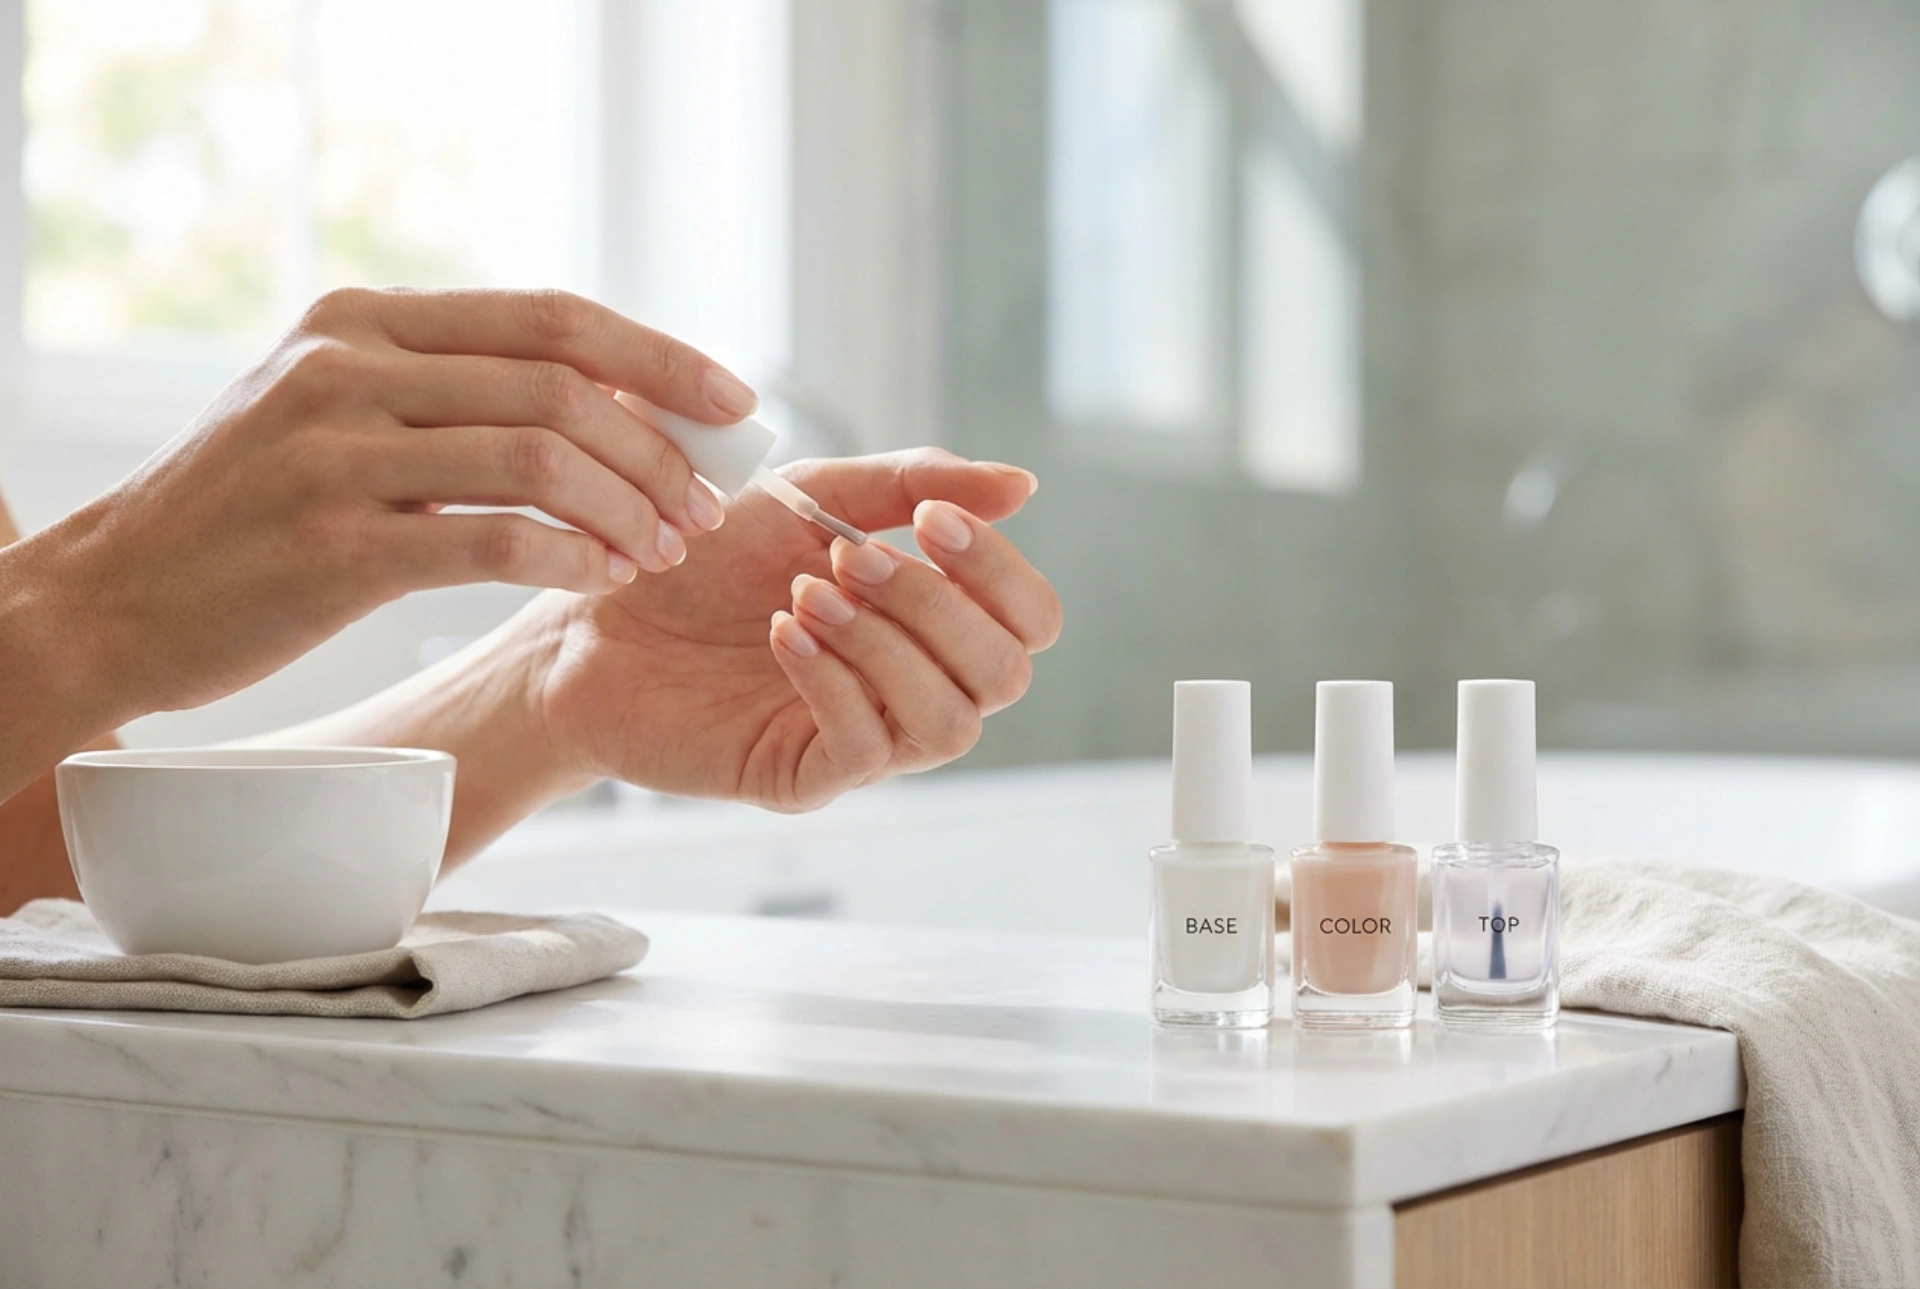


Achieving an elegant, understated look with a natural gel manicure is a wonderful way to express refined style from the comfort of your own home. Gently illuminated by soft, natural light, well-groomed hands with sheer, neutral-toned nails present a fresh, modern aesthetic that complements any outfit. Creating this clean look requires precision, the right sequence of steps, and patience. By mastering the application of the base, colour, and top coat, you can enjoy a durable and flawless finish that highlights your natural beauty. This peaceful routine is not just about aesthetics; it is also a mindful ritual of self-care that leaves you feeling polished and confident.
The Importance of Proper Nail Preparation
Before any product touches your nails, thorough preparation is key to ensuring longevity and a smooth finish. Start by washing your hands and drying them completely. Gently push back your cuticles using a wooden stick or a dedicated pusher. Avoid cutting them excessively to prevent irritation; instead, focus on removing any dry, dead skin from the nail plate. Next, shape your nails with a fine-grit file, moving in one direction to prevent splitting and peeling. Lightly buff the surface of each nail with a buffer block to remove the natural shine, which helps the gel base adhere securely. Finally, wipe the nails with a lint-free pad soaked in a dehydrating cleanser to remove any residual dust and natural oils. This step is vital for preventing the gel from lifting prematurely.
Applying the Base Coat: The Crucial Foundation
The base coat is the foundation of your entire manicure, acting as a protective barrier for your natural nail and an anchor for the gel colour. Apply a very thin, even layer of the base coat, making sure not to touch the cuticles or the skin surrounding the nail. If any product gets onto the skin, remove it immediately with a wooden stick before curing. A crucial step often missed is capping the free edge—gently running the brush along the very tip of the nail to seal the layer. Once applied, cure the base coat under a suitable nail lamp according to the manufacturer guidelines. This step creates a sticky dispersion layer, which is completely normal and should not be wiped away, as it helps the next layer stick.
Selecting and Applying the Perfect Natural Colour
For a natural and clean aesthetic, choose sheer pinks, soft beiges, or milky white shades. These tones are incredibly versatile and grow out gracefully, making them ideal for everyday wear. Shake the bottle gently between your palms before use to ensure the pigments are well blended. Apply the colour in extremely thin layers; thick layers can cause the product to wrinkle or bubble under the lamp. Start from the centre of the nail and push the brush slightly towards the cuticle before pulling it down to the free edge. Apply two thin coats for optimal coverage, curing each layer separately. Remember to cap the free edge with each coat of colour to ensure complete coverage and prevent chipping.
Sealing the Manicure with a Top Coat
To lock in your natural colour and protect it from daily wear and tear, a high-quality top coat is essential. Whether you prefer a glossy finish that reflects light beautifully or a modern matte look, the application technique remains the same. Apply a thin layer of top coat over the cured colour, paying extra attention to sealing the free edge once again. This layer adds strength and prevents daily chipping. Cure the top coat under the lamp for the recommended time. If you are using a traditional top coat that leaves a sticky residue, allow it to cool for a minute after curing before wiping it clean with a gentle finishing cleanser on a lint-free pad. This cooling period helps preserve the shine.
Post-Manicure Nourishment and Aftercare
Once your gel manicure is complete, take a moment to care for the surrounding skin. Apply a drop of nourishing cuticle oil to the base of each nail and massage it in gently. This restores moisture lost during the preparation and curing processes, keeping the skin looking fresh and healthy. Follow with a hydrating hand cream to keep your hands soft. To maintain your manicure, avoid using your nails as tools to open items, and wear gloves when performing household chores or using household cleaners. With proper care, your natural gel manicure will remain beautiful, strong, and pristine for weeks.




