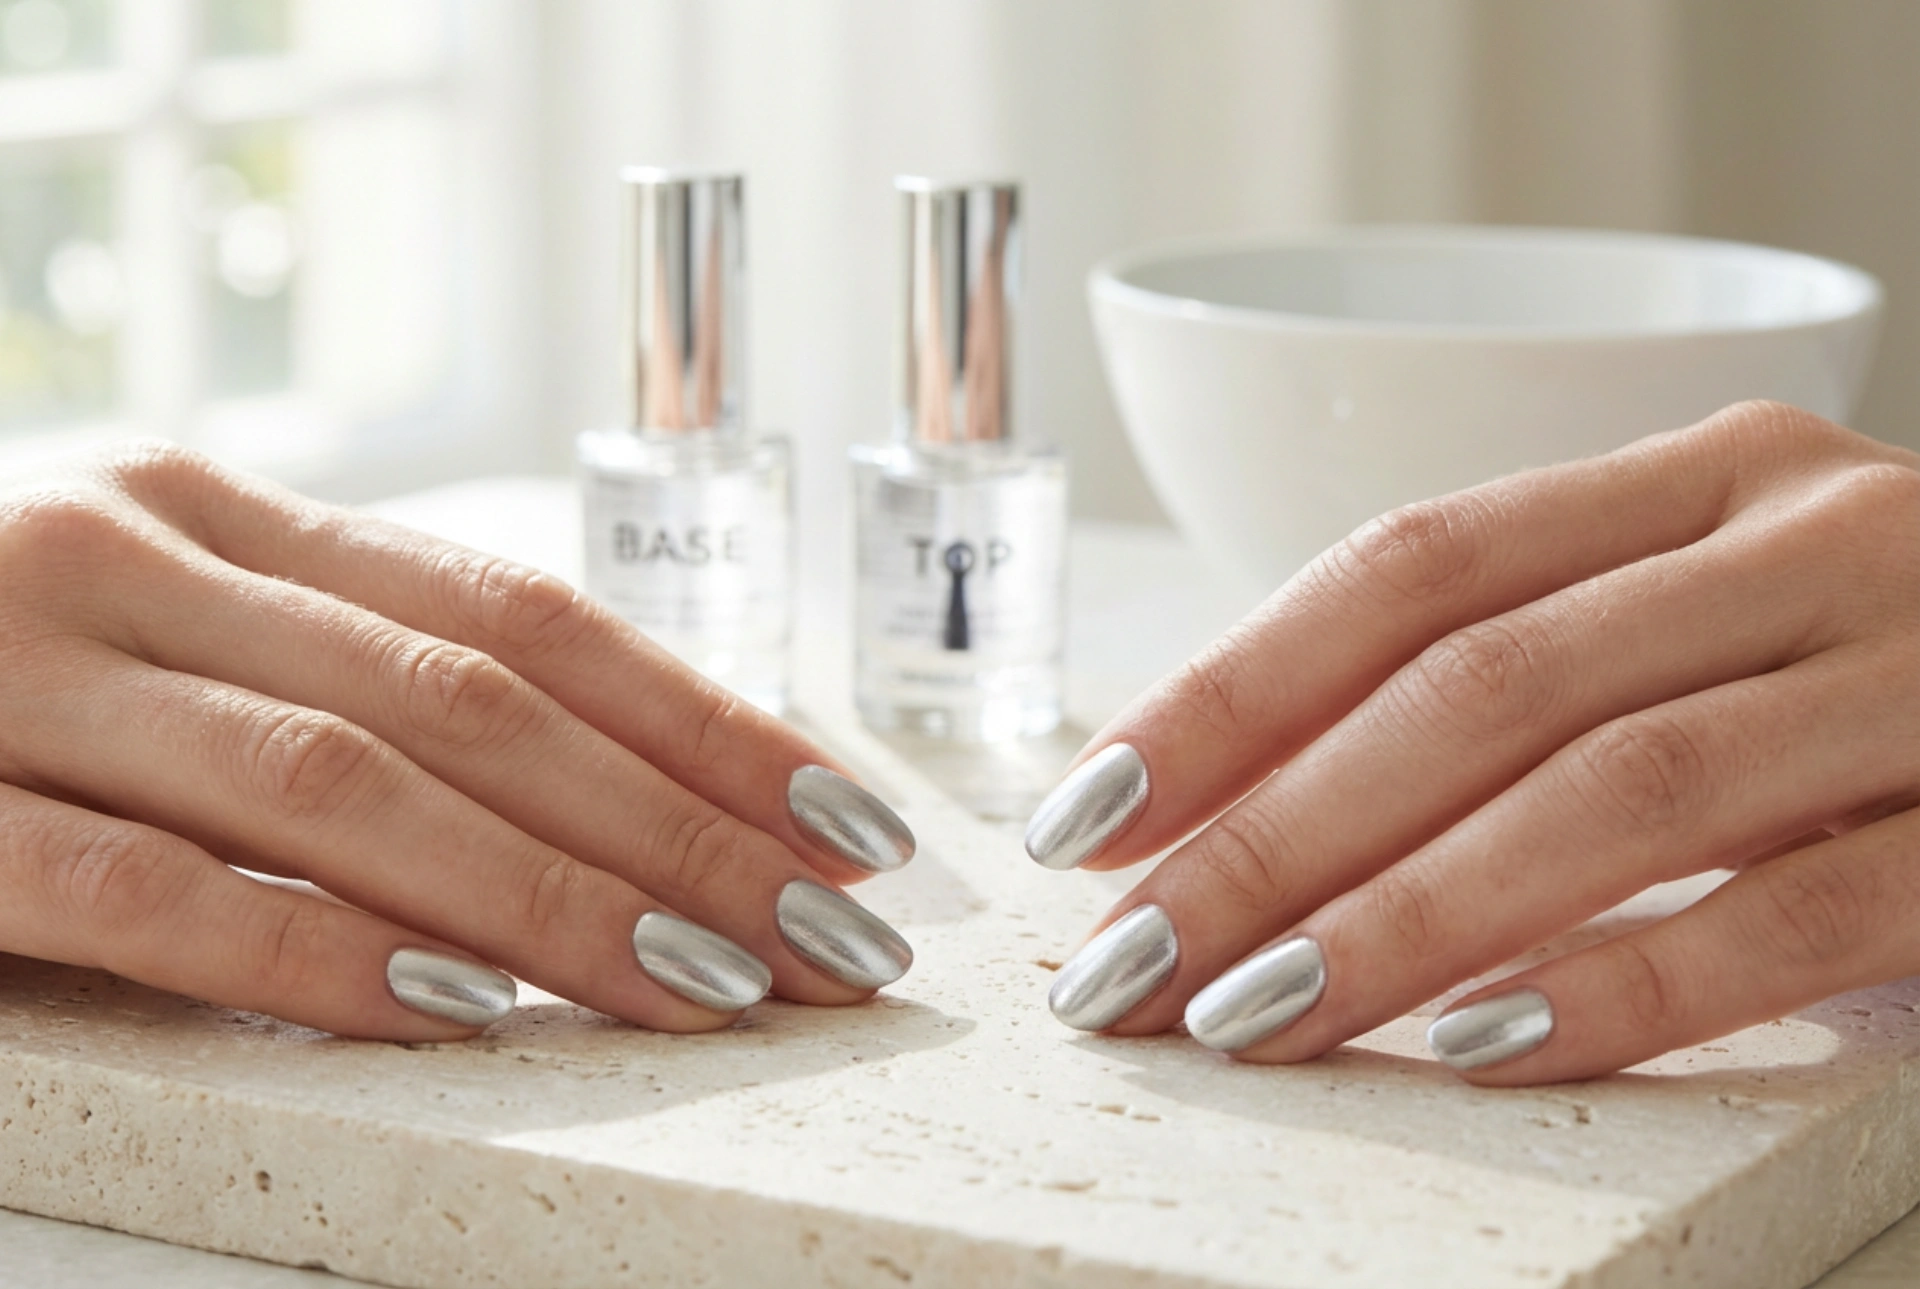


Achieving a flawless, metallic manicure at home can often feel like a challenge. Shimmering silver nail polish, in particular, looks incredibly elegant under soft, natural light, reflecting a sophisticated glow. However, because of the high concentration of metallic pigments, silver polishes are notorious for showing brush strokes and creating an uneven, streaky finish. With the right preparation, application technique, and finishing products, you can easily master a pristine, professional-looking silver manicure that remains streak-free and lasts for days.
The Unique Challenge of Silver Nail Polish
Metallic polishes, especially silver and chrome shades, contain fine reflective particles that lie flat on the nail surface to create a metallic sheen. When you swipe the brush across your nail, these particles align in the direction of the stroke. If the application is uneven, or if the polish dries too quickly, these brush lines become locked in place, leading to a visible, streaky texture. Understanding how these pigments behave is the first step towards achieving that desired mirror-like finish.
Preparation: The Importance of a Smoothing Base Coat
The foundation of any successful manicure is proper nail preparation. Any ridges, bumps, or imperfections on your natural nail plate will be magnified by silver polish. To counteract this, start by gently buffing the nail surface to create a smooth canvas, then thoroughly cleanse the nails to remove any oils or dust.
Applying a high-quality, ridge-filling base coat is an essential step that should never be skipped. A smoothing base coat acts as a primer, filling in microscopic ridges and creating an even, matte surface that helps the metallic polish adhere beautifully. It also prevents the natural nail from staining and ensures that the subsequent layers of colour glide on effortlessly without dragging.
Mastering the Application: Ultra-Thin Layers
When working with silver polish, the golden rule is to apply multiple ultra-thin layers rather than one or two thick ones. Thick layers dry unevenly, trap air bubbles, and are highly prone to severe streaking.
- Load the brush correctly: Wipe off excess polish on the neck of the bottle. You only need a small bead of polish on one side of the brush.
- The three-stroke method: Place the brush slightly away from the cuticle, push gently towards the cuticle line, and then swipe down the centre of the nail in one swift, continuous motion. Repeat this stroke once on each side of the nail.
- Keep a light touch: Avoid pressing too hard on the brush. Let the bristles float lightly over the nail surface to prevent dragging the pigment and creating lines.
- Allow proper drying time: Wait at least two to three minutes between each thin layer. This allows the solvents to evaporate and the metallic particles to settle evenly before the next coat is applied.
Sealing the Shine with a Glossy Top Coat
Once your silver layers have dried completely, the final step is to apply a generous layer of a glossy, quick-drying top coat. A top coat does more than just protect your manicure from chipping; it plays a crucial role in smoothing out any minor brush strokes that may have appeared during application. The top coat slightly re-wets the very top micro-layer of polish, allowing the metallic pigments to blend and settle into a seamless, high-lustre finish. Be sure to cap the free edge of your nails to lock in the colour and prevent premature wear.




