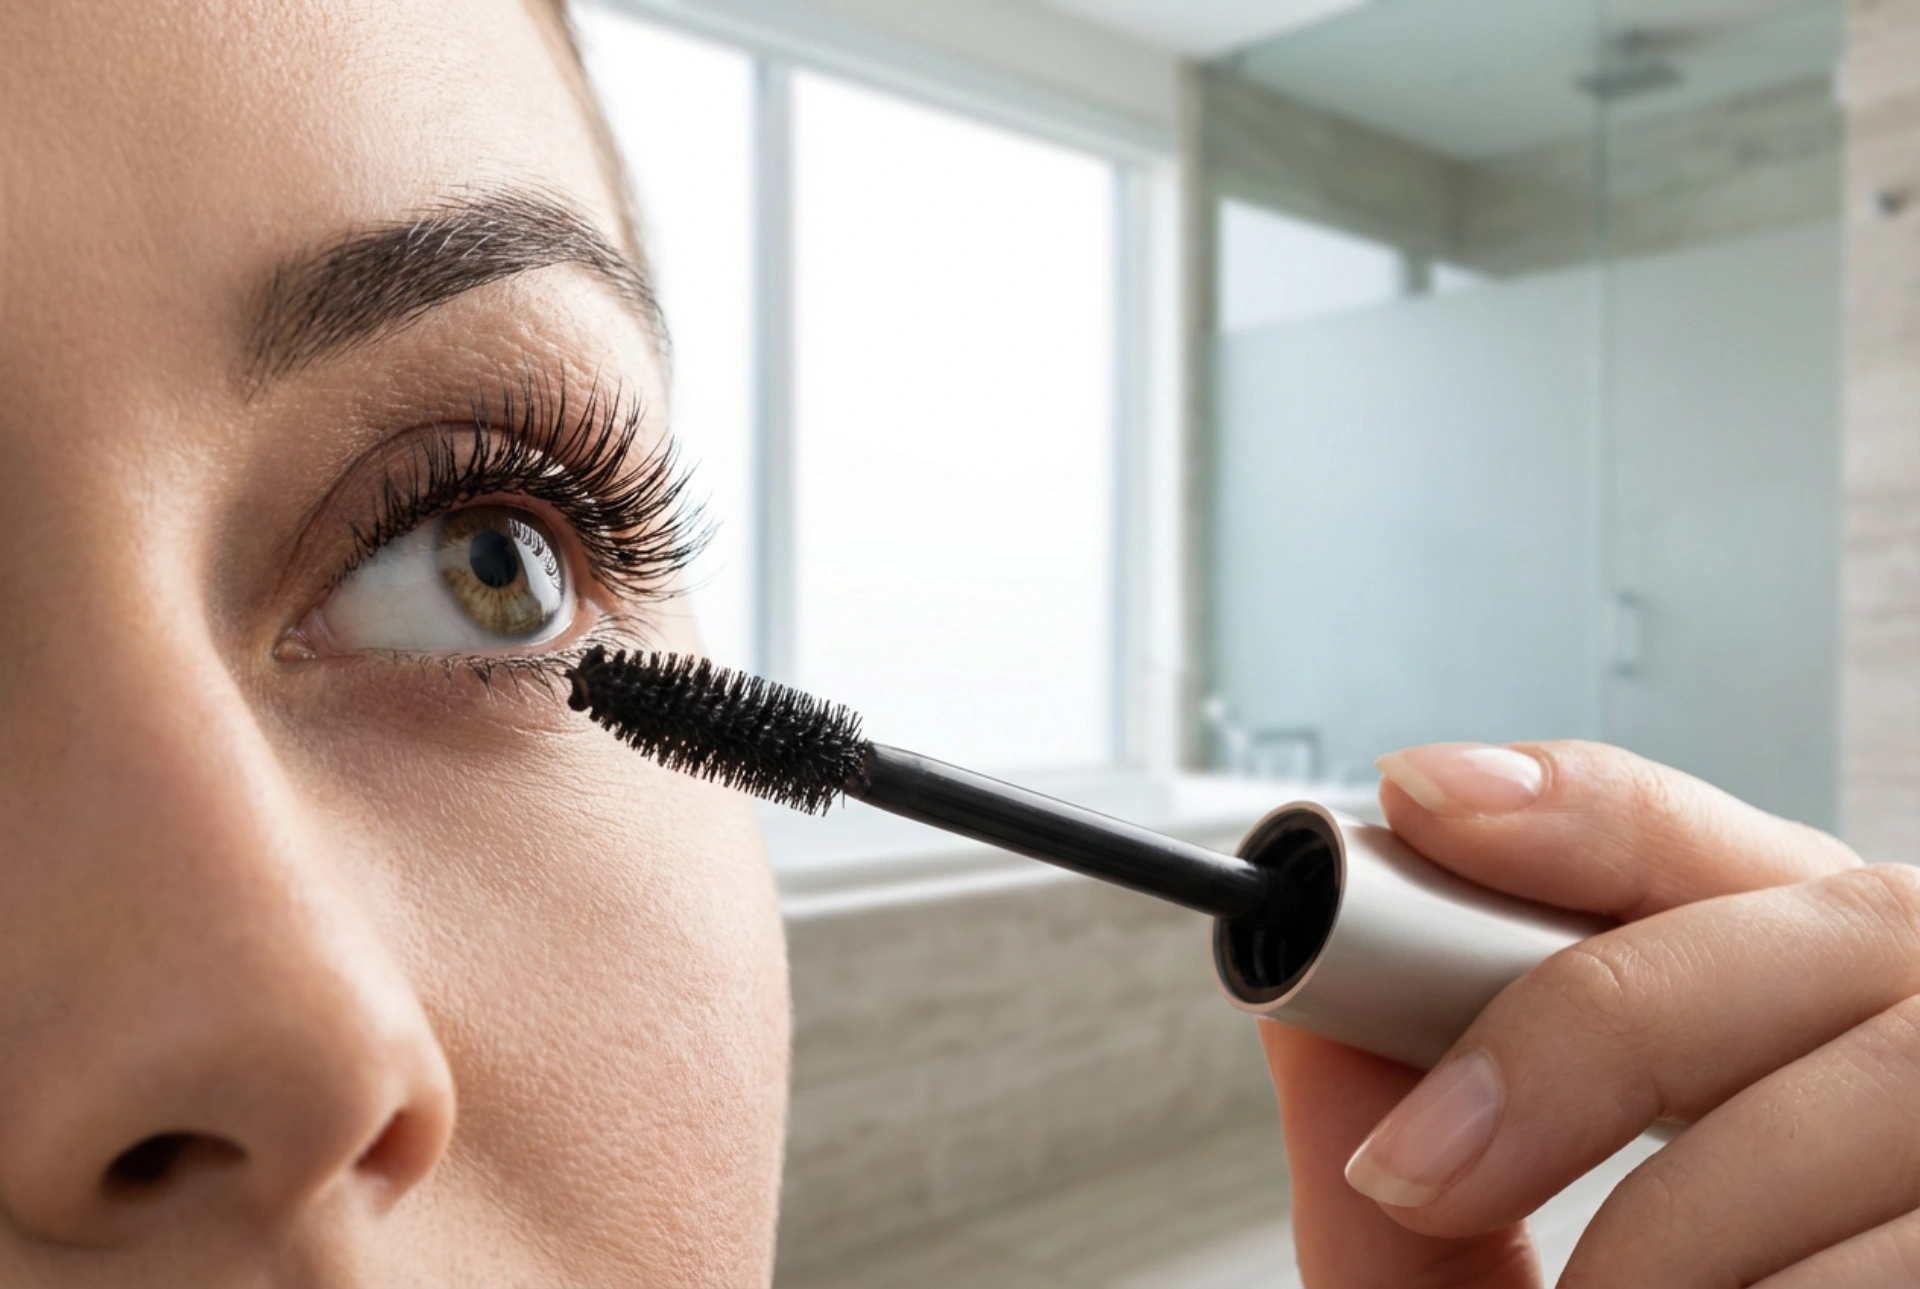


Achieving the perfect balance of volume and length without the dreaded clumping is the ultimate goal of any makeup routine. Beautifully defined, long, and volumised dark lashes have the power to instantly open up the eyes, creating a sophisticated and polished look. While many dream of effortlessly separated, fan-like lashes, the reality often involves struggles with product build-up, spider-like spikes, and heavy formulas. Understanding the art of layering mascara is the key to transforming a standard application into a flawless, elegant beauty finish.
The Fundamentals of Lash Layering
Layering mascara is not simply about applying multiple coats one after the other. It is a precise technique that requires an understanding of how cosmetic formulas interact with lash hairs. When mascara is applied, it creates a flexible film over each individual lash. To build both length and volume successfully, the first layer must act as a structured foundation. If the second coat is applied while the first is still completely wet, the formula can merge, causing lashes to stick together. Conversely, waiting too long until the first layer is completely dry and rigid will make the second application feel gritty and uneven.
The secret lies in the 'semi-dry' state. Waiting approximately thirty seconds between coats allows the first layer to set slightly, maintaining its flexibility while providing enough grip for the subsequent coat to cling to without causing clumps.
Preparing Your Lashes for Flawless Application
A perfect mascara application starts long before the wand touches the lashes. Just as canvas preparation is essential for painting, lash prep ensures smooth product distribution. Ensuring the eye area is clean and free of leftover oils, creams, or makeup residue from the previous day is vital, as these substances can break down mascara formulas, leading to smudging and premature clumping.
- Gently Cleanse: Always start with clean, dry lashes. Use a gentle, oil-free cleanser if necessary.
- Brush Through: Use a clean, dry spoolie brush to separate the lashes and remove any stray powder or shadow before you begin.
- Curl Wisely: If you use an eyelash curler, always use it before applying mascara. Curling wet or dry mascara-coated lashes can cause them to stick to the metal plate, leading to breakage and pulling.
The Step-by-Step Layering Technique
To achieve maximum impact, follow a structured approach that prioritises control and distribution. The following steps outline how to layer for both length and volume without compromises.
Step 1: The Foundation Coat
Begin by removing excess product from the mascara wand. Too much formula on the brush is the primary cause of clumping during the first pass. Place the wand at the absolute base of your lashes, close to the root. Wiggle the brush gently from side to side before sweeping it upwards to the tips. This root-focused movement deposits the majority of the product at the base, creating natural thickness and lift, while leaving the tips light and elongated.
Step 2: The Critical Pause
Allow the first layer to dry for about thirty seconds. During this brief window, you can use a clean lash comb to separate any fibres that may have crossed over. This ensures the foundation is perfectly aligned before building density.
Step 3: Building Volume and Length
For the second coat, focus primarily on the middle to the tips of the lashes. Sweep the wand smoothly upwards without the wiggling motion used in the first step. This technique adds length to the ends and density to the body of the lash without overloading the roots. If you desire extra drama on the outer corners, angle the wand diagonally outwards to create a flattering, wide-eyed effect.
Maintaining Your Mascara and Tools
The state of your mascara tube and applicator plays a significant role in how the product performs. Over time, air enters the tube, causing the formula to dry out and form tiny particles that transfer as clumps onto your lashes. To extend the life of your mascara, never pump the wand in and out of the tube, as this forces air inside. Instead, gently swirl the wand to collect product.
Additionally, wiping the tip of the wand on a clean tissue before application removes excess build-up that accumulates over time. Keeping a dedicated metal lash comb in your beauty kit is also a wise investment, as its fine teeth can effortlessly glide through wet lashes to remove any minor imperfections and ensure a perfectly separated finish.





