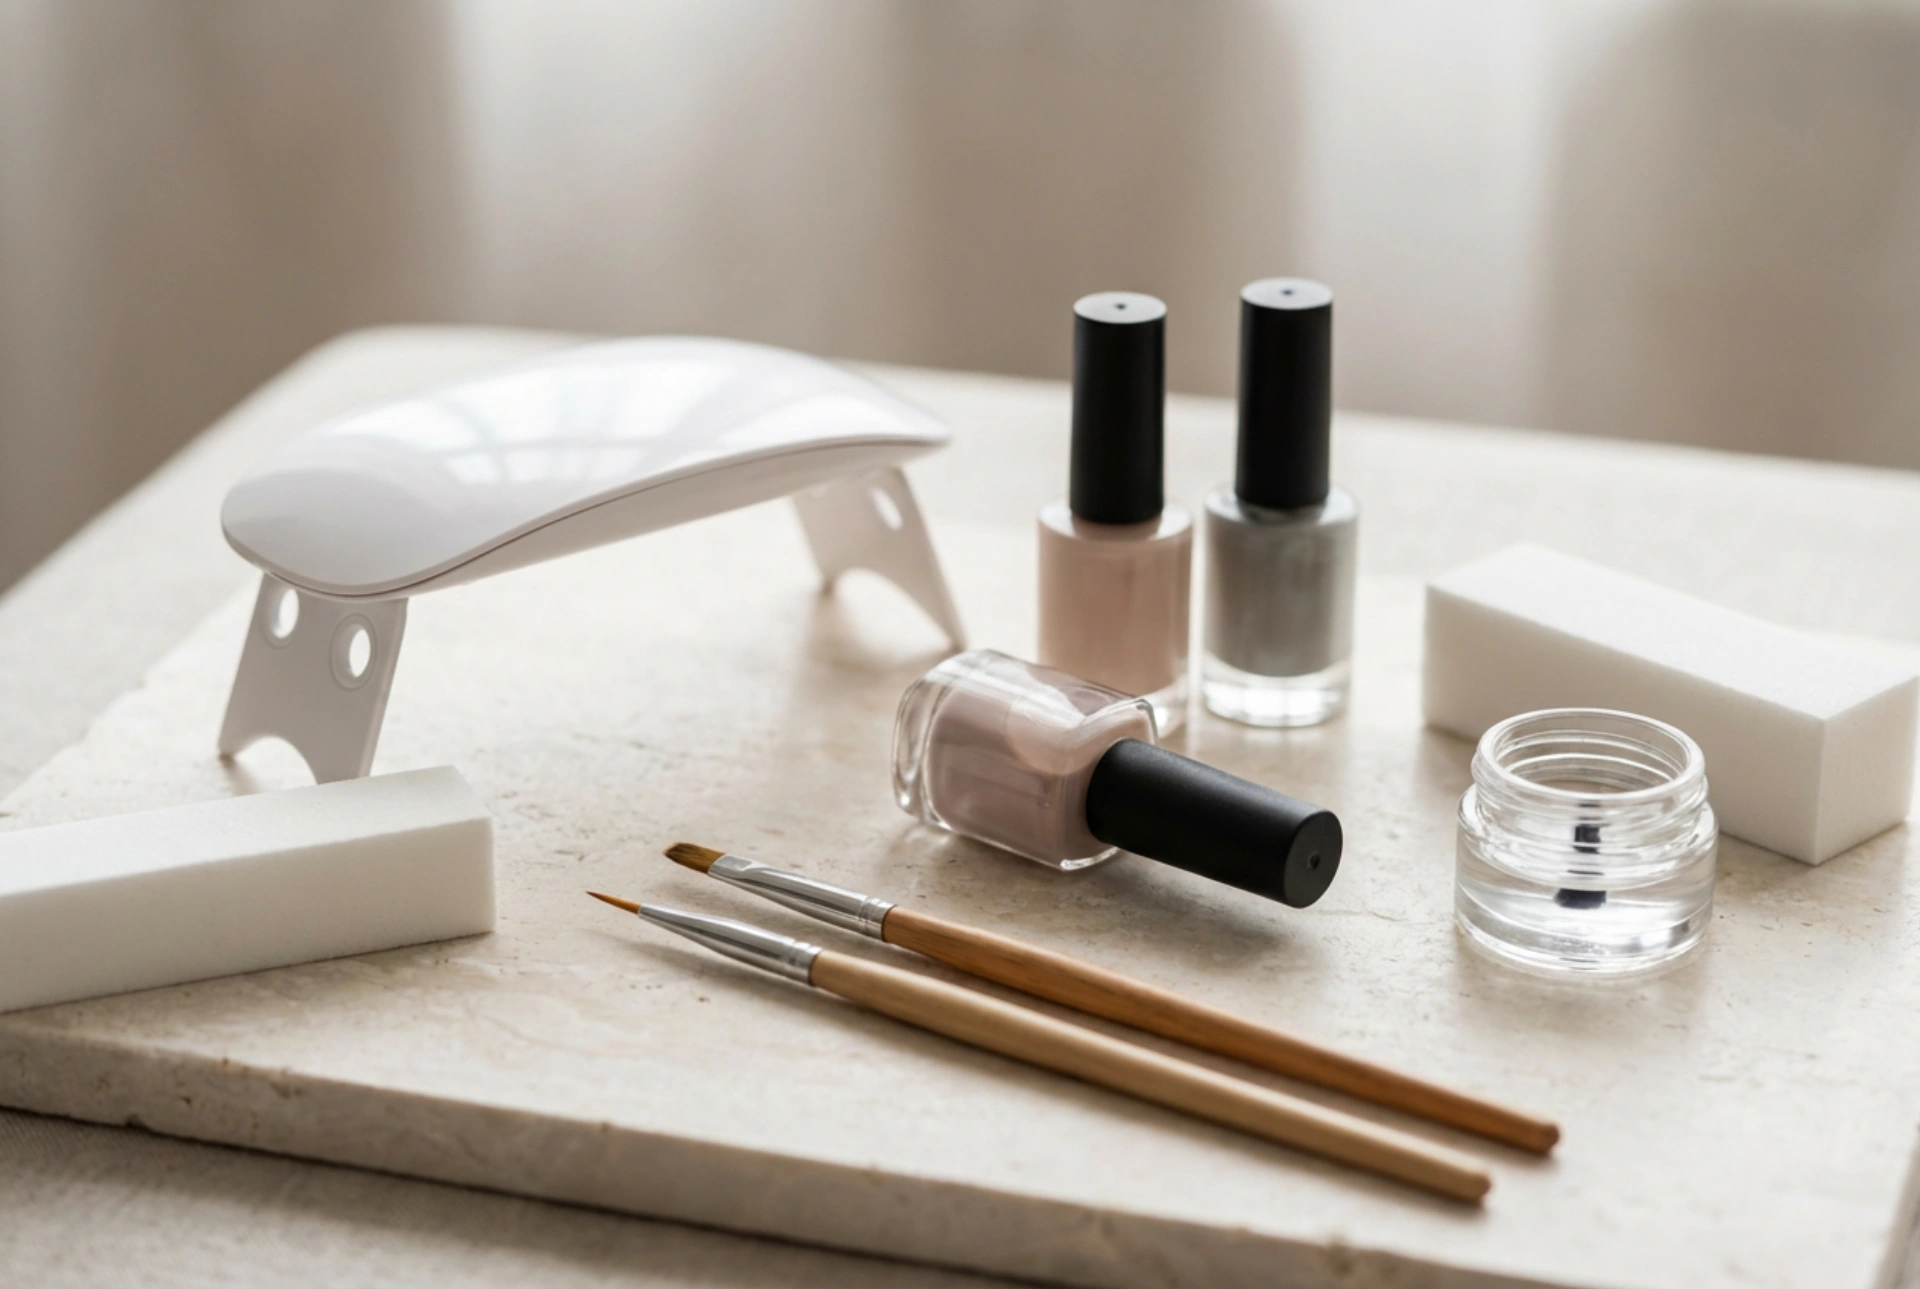


Creating a professional-looking manicure at home has become a beloved ritual for many, transforming a simple beauty routine into a serene moment of self-care. When you look at a beautifully organised flatlay of minimalist nail tools, from compact curing lamps to precise buffers resting on a clean surface, the process feels both artistic and achievable. To achieve a long-lasting, glossy finish that rivals any professional service, having the right accessories is just as important as the technique itself. Understanding what each tool does and how to use it safely ensures your nails remain healthy, strong, and beautifully styled.
The Essential Preparation Tools
The secret to a durable hybrid manicure lies in the preparation of the natural nail plate. Without proper prep, even the highest quality polishes may lift or chip prematurely. To set yourself up for success, you will need a few fundamental preparation accessories.
- Wood Sticks or Cuticle Pushers: Gently pushing back the cuticles clears the nail plate, allowing for a clean application close to the root. Wooden sticks are highly recommended for beginners as they are gentle on the delicate nail matrix.
- Nail Files (180/240 Grit): A fine-grit file is ideal for shaping the free edge of your natural nails. Always file in one direction to prevent splitting and to keep the nail layers intact.
- Buffer Blocks: A soft buffer is used to gently remove the natural shine from the nail plate. This creates a slightly textured surface, which is essential for the base coat to adhere properly. It is crucial not to over-buff; a few light passes are all that is required.
The Application and Curing Essentials
Once your nails are shaped and prepared, the next phase involves the application of the hybrid layers and the curing process. This stage requires precision and the correct technical equipment to ensure the polish sets correctly.
The UV/LED Lamp
A compact, reliable curing lamp is the heart of any hybrid nail setup. LED lamps are particularly popular for home use due to their efficiency and fast curing times, often setting layers in just thirty to sixty seconds. When selecting a lamp, look for one that offers even light distribution so that all fingers, including the thumbs, cure uniformly.
Base Coat, Colour, and Top Coat
The classic hybrid system relies on a three-step process. The base coat acts as a protective barrier and an adhesive layer. The colour coats provide the desired aesthetic, and the top coat seals the design, offering either a high-gloss or a modern matte finish. Applying these layers thinly is the absolute golden rule of home manicures; thick layers may not cure properly underneath, leading to wrinkling and lifting.
Finishing and Cleaning Accessories
The final steps of your manicure transition the polished nails into a completed, durable look. Several auxiliary products are indispensable during this phase to remove residues and care for the surrounding skin.
- Nail Cleaner (Isopropyl Alcohol): After curing the top coat, a sticky inhibition layer often remains on the surface. A specialised cleaner is used to wipe this layer away, revealing the true shine of your manicure.
- Lint-Free Wipes: Standard cotton pads can leave tiny fibres on your sticky nail polish, ruining the smooth finish. Dust-free, lint-free wipes are essential for cleaning the nail plate both before application and after curing the final top coat.
- Nurturing Cuticle Oil: The prep and curing process can dry out the surrounding skin. Applying a drop of nourishing oil to the cuticles at the very end restores hydration and gives your manicure a polished, healthy appearance.
Step-by-Step Guide to Using Your Accessories Safely
To enjoy beautiful hybrid nails while preserving the health of your natural nail plate, follow a structured and gentle routine. Start by washing your hands and shaping your nails with a 180-grit file. Use a wooden stick to gently push back the cuticles, clearing any invisible skin cells from the nail plate. Next, lightly mattify the surface with a buffer block, and wipe away all dust using a lint-free wipe soaked in cleaner.
Apply a very thin layer of base coat, making sure not to touch the cuticles, and cure it under the lamp. Follow with two thin coats of your chosen colour, curing after each layer. Finally, apply the top coat, ensuring you seal the free edge of the nail to lock in the colour. Cure the top coat, wipe away the sticky residue with cleaner, and finish with a drop of cuticle oil to moisturise the skin.
Maintaining and Disinfecting Your Nail Tools
Keeping your accessories clean is vital for safe home manicures. Always wipe down non-porous tools, such as metal pushers or glass files, with a safe disinfectant after every use. Store your brushes away from direct sunlight and curing lamps, as any exposure to UV light can harden the bristles. By organising and maintaining your tools in a clean, dry place, you ensure they remain hygienic and perform beautifully for every session.




