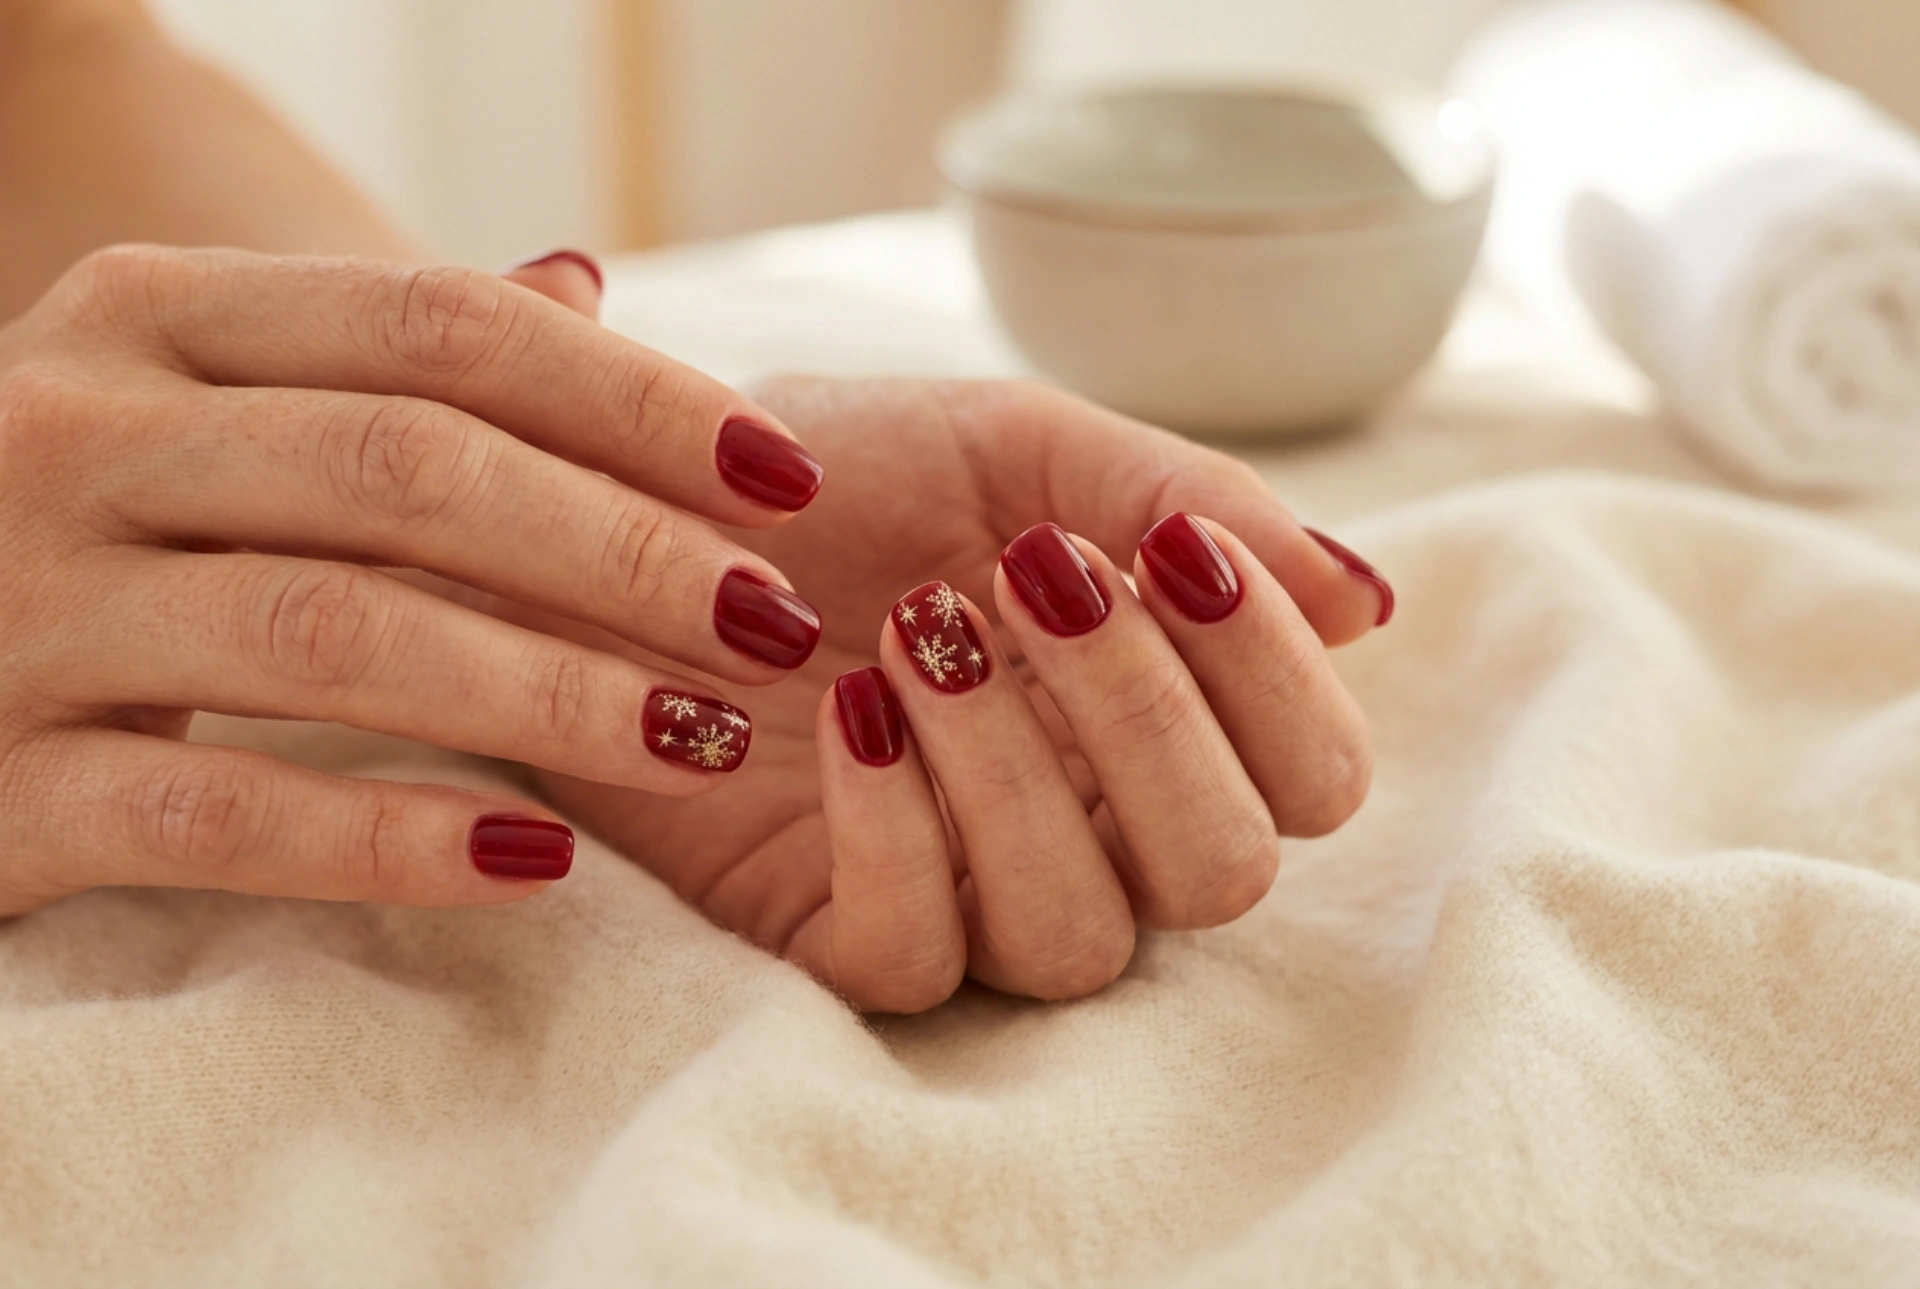


Elegant hands with perfectly manicured, glossy red nails resting against soft winter fabrics create a truly classic aesthetic for the festive season. Red has long been a symbol of sophistication, warmth, and timeless style during the colder months. Achieving a flawless, professional-looking red manicure at home is entirely possible with the right approach to preparation, precise application, and a touch of subtle artistry. By understanding how to work with this bold colour and protect your natural nail plate, you can enjoy a beautiful, long-lasting manicure that adds a refined charm to your seasonal wardrobe.
Choosing the Perfect Festive Red Shade
Not all red nail polishes are created equal, and finding the perfect hue can transform your overall look. When selecting a festive red, consider the undertones of the polish and how they complement your skin tone. Cool-toned reds, which feature subtle blue or berry undertones, look exceptionally striking on cool or neutral skin tones and evoke a classic, wintry feel. On the other hand, warm-toned reds, infused with orange or gold undertones, offer a vibrant, fiery energy that pairs beautifully with warmer skin tones.
In addition to undertone, the finish of the polish plays a crucial role in the final aesthetic. A classic cream finish provides a clean, opaque look that never goes out of fashion. For those looking to capture the magic of winter light, polishes with micro-shimmer or a subtle metallic sheen can mimic the glittering effect of frost. Matte finishes offer a modern, velvety twist, though they may require a specialised top coat to maintain their unique texture.
Step-by-Step Preparation and Polish Application
A flawless finish relies heavily on the preparation of the natural nail plate. Before applying any colour, it is essential to shape the nails gently using a fine-grit file, working in one direction to prevent splitting. Soften and gently push back the cuticles using a wooden stick, ensuring the nail bed is completely clean and clear of any excess skin. Gently buffing the surface of the nail helps remove natural oils, allowing the product to adhere more effectively.
Once the nails are shaped and cleaned, follow these systematic steps to ensure an even, bubble-free application:
- Apply a protective base coat: This step is non-negotiable, especially when working with highly pigmented shades like red. A high-quality base coat prevents staining, smooths out minor ridges, and provides a gripping surface for the colour.
- Apply thin, even layers: It is always better to apply two or three thin layers of red polish rather than one thick coat. Thin layers dry faster and are much less prone to bubbling or smudging. Start in the centre of the nail, a fraction of a millimetre away from the cuticle, and swipe down to the free edge, then repeat on each side.
- Seal the free edge: With every layer of polish, including the base and top coats, remember to run the brush lightly along the very edge of the nail tip. This technique, known as capping, significantly reduces the likelihood of chipping.
Delicate Winter Nail Art and Shimmer Techniques
Once you have achieved a solid, vibrant red base, you may wish to add a touch of festive artistry. The key to elegant holiday nail art is restraint; subtle, delicate designs often carry more sophistication than overly complex patterns. You do not need professional tools to create beautiful accents; household items or simple detail brushes are perfect for DIY designs.
One classic option is the minimalist winter star or snowflake. Using a very fine detailing brush or a wooden toothpick dipped in a contrasting shade—such as a soft white, creamy gold, or metallic silver—you can gently paint intersecting lines to create elegant starbursts. Placing these designs on just one or two accent nails keeps the overall look refined and balanced.
Alternatively, a subtle glitter gradient can beautifully capture the essence of festive lights. Apply a fine, micro-glitter polish starting at the base of the nail and gently fade it upwards towards the middle, or reverse the direction by applying glitter only to the tips for a modern, sparkling twist on the classic French manicure.
Ensuring Longevity and Festive Aftercare
The final step in any successful manicure is the application of a high-performance top coat. A glossy top coat not only seals in your hard work and protects the color from daily wear and tear but also provides that enviable glass-like shine that catches the light beautifully. To extend the life of your manicure, consider reapplying a thin layer of top coat every two to three days to refresh the shine and reinforce the tips.
Winter weather can be particularly harsh on your hands and nails, leading to dryness and premature peeling of the polish. To combat this, integrate a rich cuticle oil and a nourishing hand cream into your daily beauty routine. Massaging oil into the cuticles every evening helps keep the surrounding skin soft and prevents painful hangnails. Additionally, wearing gloves when performing household chores or stepping out into the cold air will safeguard your manicure and keep your hands looking exceptionally soft and elegant throughout the season.




