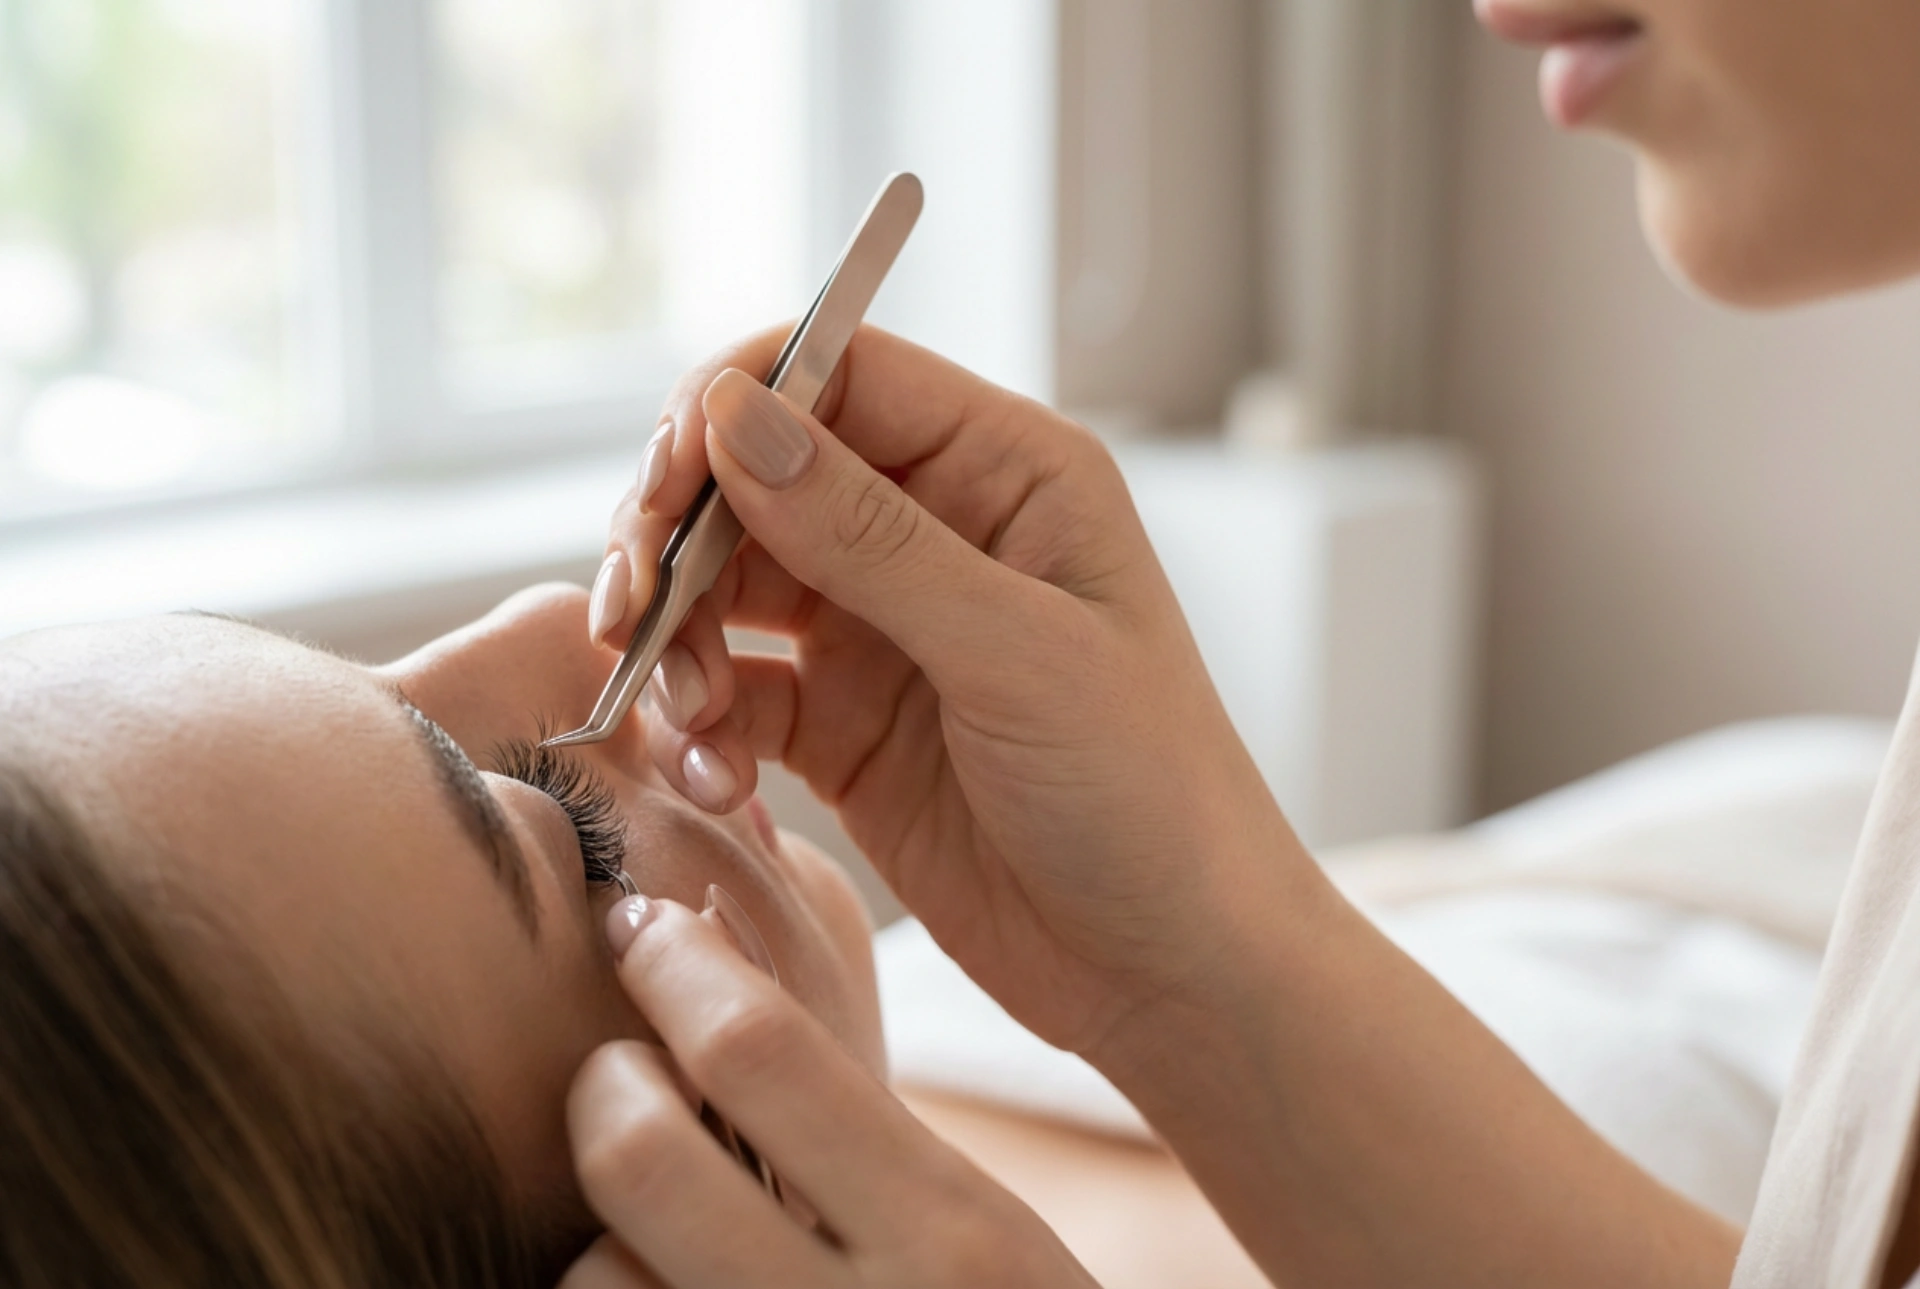


Achieving a flawless, natural-looking gaze often relies on the subtle details of application, much like the precise touch of manicured hands placing delicate lash clusters near the corner of the eye. Individual lash clusters have transformed the approach to home beauty, offering a customisable alternative to full strip lashes. By applying small segments rather than a single band, you can seamlessly enhance your natural lash line, adding volume and length exactly where it is needed most. This guide explores the essential techniques for selecting, placing, and blending individual lash clusters to achieve a beautiful, professional finish at home.
Selecting Your Lash Clusters and Adhesive
Before beginning the application process, it is important to understand the different types of lash clusters available. These clusters usually come in various lengths, typically ranging from short (8mm) to long (14mm or more), and different curl patterns. For a natural day-to-day look, a mix of short and medium lengths is usually ideal, whereas longer lengths can be used toward the outer corners for a subtle winged effect.
Understanding Lash Lengths and Curls
When selecting your clusters, consider your natural lash shape. If your natural lashes are relatively straight, choosing a gentle curl will prevent a stark contrast between the natural lash and the synthetic cluster. Using a combination of lengths creates a textured, realistic appearance. Applying shorter clusters toward the inner corner of the eye and gradually increasing the length toward the outer edge mimics the natural growth pattern of human eyelashes.
Choosing the Right Adhesive
A high-quality, gentle cosmetic adhesive is key to a successful application. For individual clusters, a latex-free adhesive that dries clear is highly recommended, especially for beginners, as it hides minor placement mistakes. Dark-toned adhesives can also be used if you frequently wear eyeliner, as they help to blend the base of the clusters into the lash line. Ensure the glue is formulated for temporary use and can be easily removed at the end of the day to protect your natural lashes.
Preparing the Eye Area for Application
Proper preparation is crucial for ensuring that the adhesive bonds correctly and that the lashes remain comfortable throughout the day. Any oil, makeup residue, or moisture on the eyelids can prevent the glue from adhering properly, causing the clusters to slide or lift prematurely.
- Cleanse the Eyelids: Use a gentle, oil-free cleanser or micellar water to clean the entire eye area. Ensure the skin and lashes are completely dry before proceeding.
- Curl Your Natural Lashes: Gently curl your natural lashes with a clean eyelash curler. This provides a supportive shelf for the clusters and helps them blend together seamlessly.
- Prepare the Workstation: Place a small drop of adhesive onto a clean, flat surface, such as a piece of foil or a glass palette. Let it sit for about thirty seconds to become slightly tacky before you begin application.
Step-by-Step Placement Technique
The secret to a beautiful application lies in the precision of the placement. Using fine-tipped tweezers or a dedicated lash applicator allows you to hold each cluster securely and place it with absolute accuracy.
Dipping the Lash Base
Carefully pick up a lash cluster from the tray, gripping it near the tips rather than the base. Dip the very bottom of the cluster into the tacky adhesive. You only need a tiny bead of glue; too much adhesive can cause clumping, make the lashes feel heavy, or irritate the delicate skin around the eyes.
Positioning on the Lash Line
Using your non-dominant hand, gently lift your eyelid to expose the base of your natural lashes. Place the cluster as close to the natural lash line as possible, but never directly on the eyelid skin. Attaching the cluster to the skin can cause discomfort and block natural hair follicles. Instead, let the base of the cluster rest gently on top of your natural lash roots, just a fraction of a millimetre away from the skin. Hold it in place for a few seconds until the adhesive grips.
Spacing and Customisation
Work from the outer corner of the eye inward. For a full, voluminous look, place the clusters side by side. For a lighter, more natural appearance, leave small gaps between each cluster. Remember to use shorter lengths as you move closer to the nose to maintain a balanced, flattering shape.
Blending and Final Adjustments
Once all the clusters have been applied, the final step is to blend them with your natural lashes so that the transition is completely invisible. This creates the illusion of naturally long, thick eyelashes.
Fusing the Lashes
Once the adhesive has dried completely, use your tweezers or a lash applicator to gently squeeze the base of the clusters and your natural lashes together. This fusing technique secures the bond and ensures the lashes lie in a uniform direction. Be careful not to pull or tug during this step.
Grooming and Styling
Use a clean, dry spoolie brush to gently brush through the lashes from the middle to the tips. This separates any fibres that may have stuck together and softens the overall look. Avoid applying heavy mascara over the clusters, as this can clump the delicate fibres and make subsequent removal difficult. If you must use mascara, apply a very light coat to your natural bottom lashes to balance the look.
Safe Removal and Aftercare
To maintain the health of your natural lashes, it is essential to remove the clusters gently. Never pull, yank, or rub the clusters off, as this can tear out your natural eyelashes.
To remove, soak a cotton pad in an oil-based makeup remover or a dedicated lash adhesive remover. Hold the damp pad over your closed eye for about thirty seconds to break down the adhesive. Gently wipe downwards; the clusters should slide off effortlessly. Cleanse your eye area thoroughly afterwards to remove any remaining adhesive residue and apply a nourishing lash serum or oil to keep your natural lashes hydrated.





