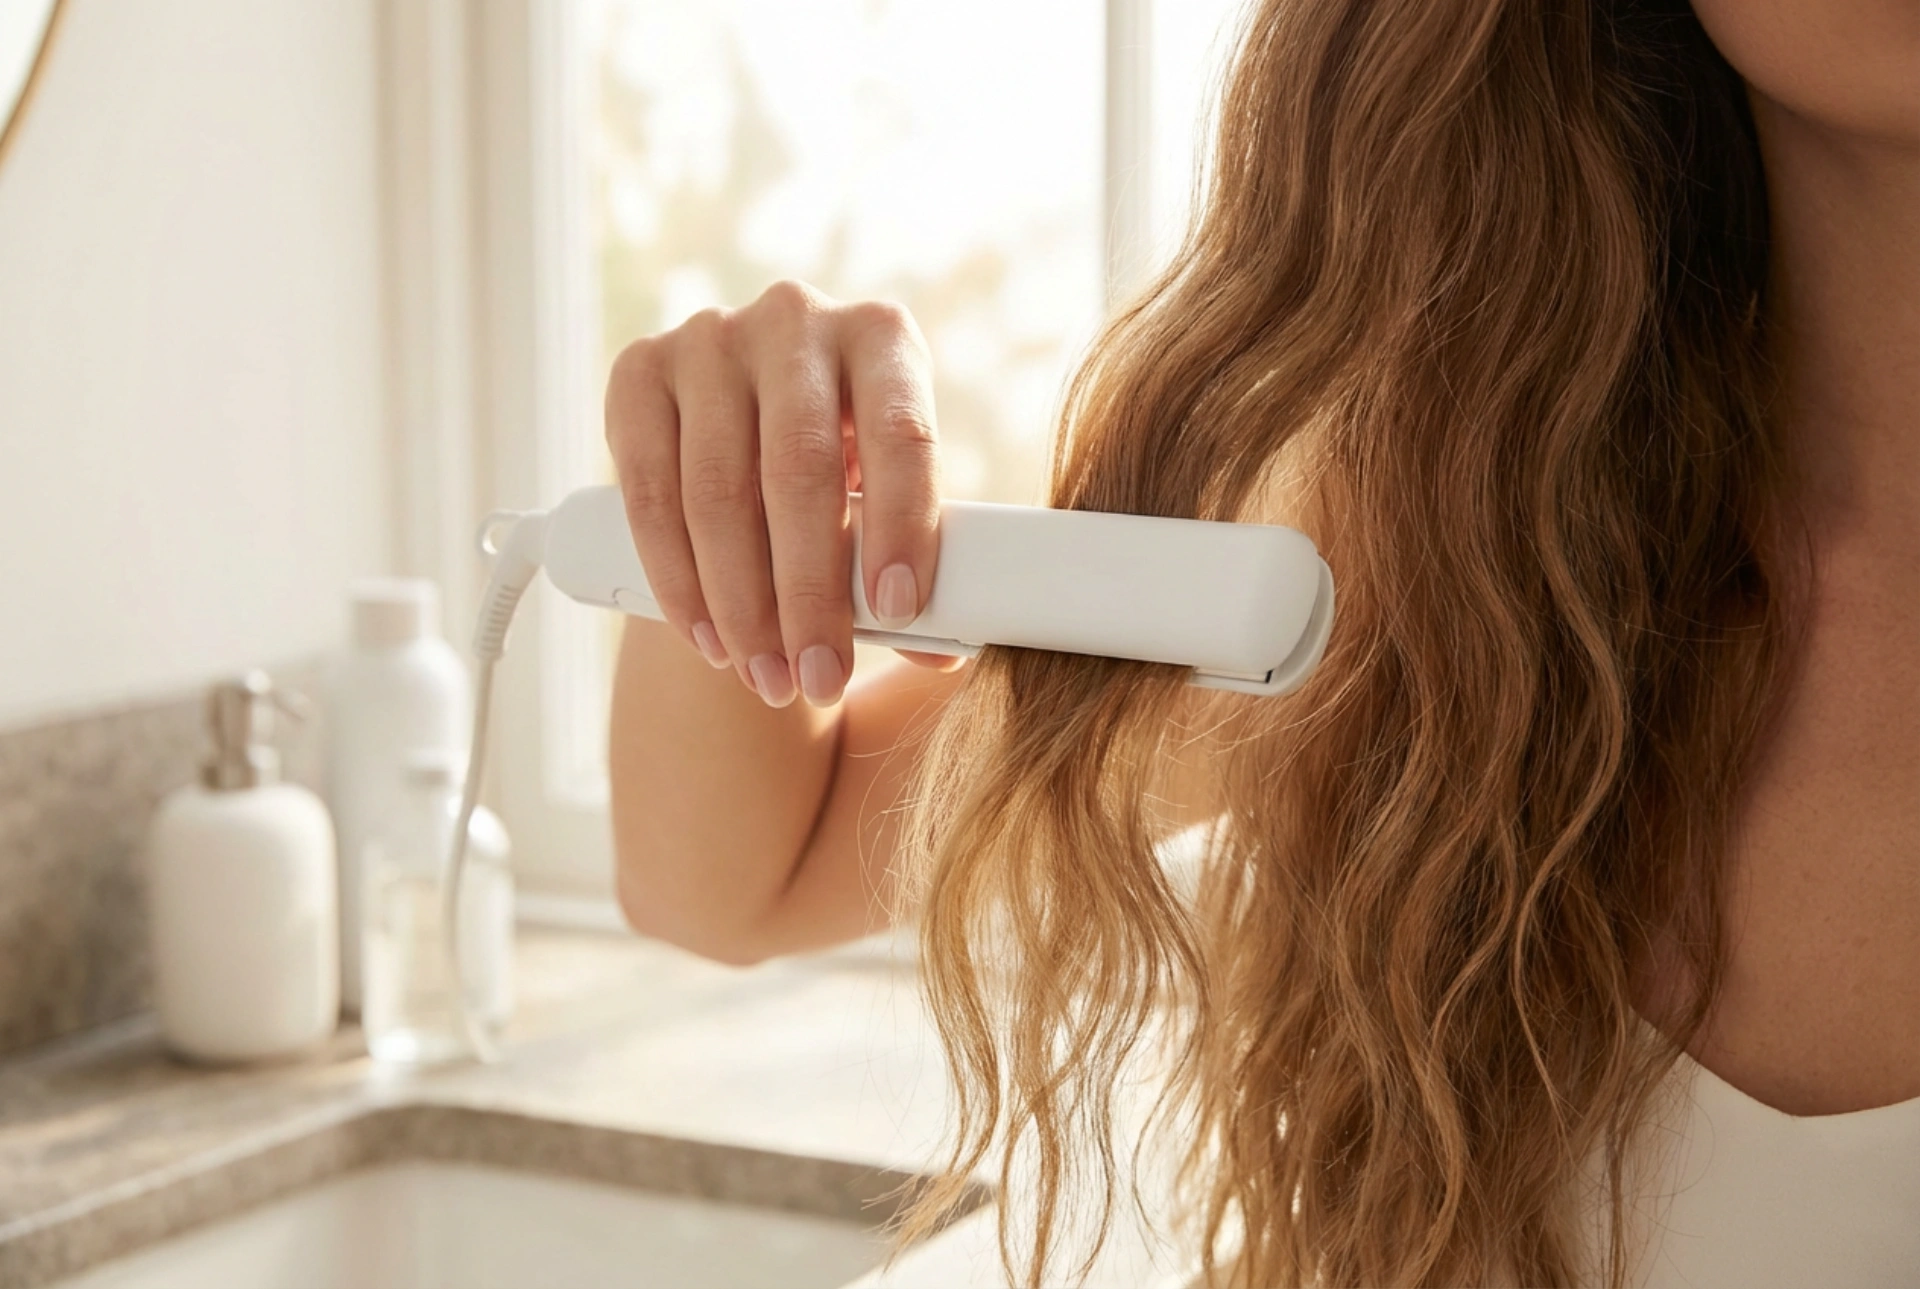


Achieving natural-looking volume and effortless texture is a common goal in modern hair styling. While traditional styling tools like curling wands and straighteners are staples in many beauty routines, the mini hair crimper has emerged as a versatile secret weapon. Gently working through sections of long, light brown hair, this compact tool can create subtle, soft waves and a noticeable lift at the roots. Understanding how to use a mini crimper safely and effectively can elevate your everyday look with minimal effort.
Understanding the Mini Hair Crimper
Mini hair crimpers differ from their larger counterparts primarily in plate size and wave depth. The narrow plates, often featuring smaller ridges, allow for precise application close to the scalp. This precision makes them highly effective for targeting specific sections of the hair to boost volume without creating overly dramatic, blocky patterns. They are excellent for fine or flat hair, providing structure and texture where it is needed most.
Essential Preparation Steps
To achieve the best results and maintain hair health, proper preparation is essential. Heat styling should always be performed on completely dry hair to prevent moisture damage.
- Cleanse and dry: Wash your hair with a lightweight volumising shampoo and conditioner, then blow-dry or air-dry it completely.
- Apply heat protection: Distribute a high-quality heat protection spray evenly throughout your locks to shield the hair shaft from high temperatures.
- Detangle thoroughly: Gently brush through your hair to remove any knots, ensuring the crimper glides smoothly.
Step-by-Step Guide for Root Volume
If your main goal is to lift flat hair, the secret lies in crimping the under-layers near the scalp. This technique creates a hidden support structure that lifts the top layers.
Step 1: Sectioning the Hair
Part your hair as you normally would. Clip away the very top section along your parting—this top layer will remain smooth and uncrimped to conceal the textured hair underneath.
Step 2: Crimping the Under-Layers
Take a small, horizontal section of hair directly beneath the parted-off section. Hold the section taut and place the mini crimper close to the roots. Press gently for two to three seconds, then release.
Step 3: Creating the Foundation
Repeat this process on the next few sections down, focusing only on the first two inches of hair nearest to the scalp. Once you drop the smooth top layer back over the crimped sections, you will notice an instant, natural-looking lift.
Creating Soft Waves and Texture
Beyond root volume, a mini crimper can be used to add a delicate, modern texture to the lengths of your hair. Instead of crimping every strand from root to tip, focus on random sections to create a soft, lived-in wave effect.
Take thin, vertical sections of hair and lightly press the crimper down the length, leaving a few inches uncrimped at the ends for a more relaxed finish. Brush through the crimped sections with a wide-tooth comb or your fingers to soften the waves, transforming the distinct crimp pattern into a beautiful, voluminous texture.
Maintenance and Post-Styling Tips
To ensure your newly styled waves and volume last throughout the day, finish with a light-hold texturising spray. Avoid heavy styling creams or oils near the roots, as these can weigh the hair down and counteract the volume you have just created. With a little practice, this compact styling tool can become an indispensable part of your beauty routine, offering a quick and controlled way to refresh your hairstyle.





