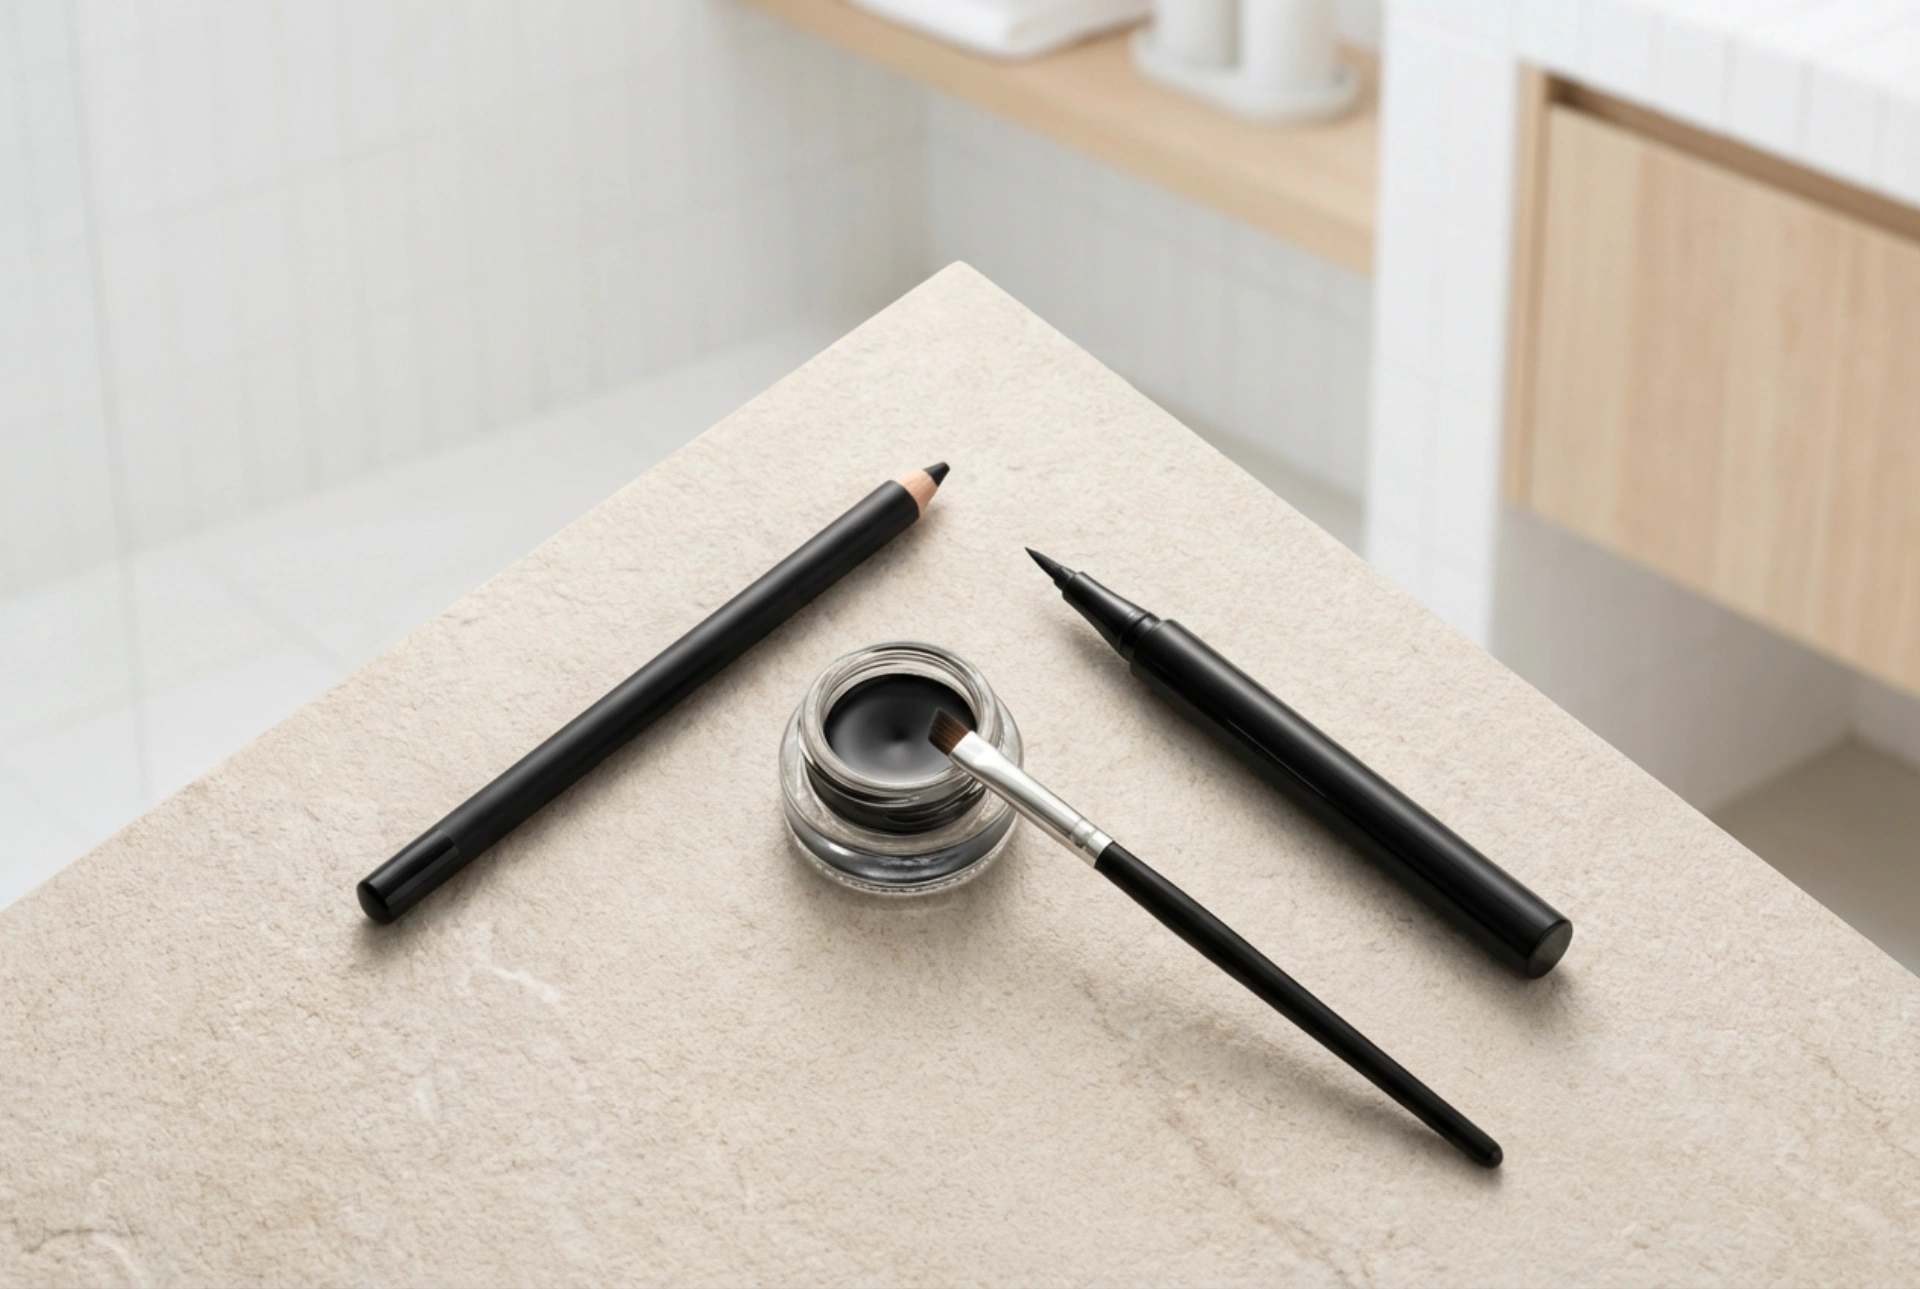


Achieving the perfect eyeliner is a timeless beauty art that can instantly elevate any look, from daily natural elegance to dramatic evening glamour. Looking at a collection of eyeliner tools arranged beautifully—ranging from classic pencils and sleek liquid pens to pots of rich gel paired with ultra-thin brushes—it is clear that the modern makeup routine offers versatile pathways to define the eyes. Each method has its own distinct characteristics, application techniques, and finishes. Choosing the right tool depends entirely on the desired style, the shape of the eye, and your level of experience.
The Classic Kohl and Pencil Eyeliner: Softness and Effortless Blending
The traditional eye pencil remains a staple in almost every makeup bag, primarily due to its versatility and ease of use. If you are looking for a soft, diffused look, a pencil is the ideal choice. Pencils are exceptionally forgiving for beginners, as they do not require the precise, steady hand that liquid or gel formulations demand. Any minor imperfections can easily be smudged out with a small sponge or a dense blending brush to create a beautiful, smokey effect.
How to Apply a Pencil Eyeliner
To achieve a clean line with a pencil, always ensure the tip is properly sharpened but not too pointy, as this could scratch the delicate skin of the eyelid. Gently hold the outer corner of your eye taut, and draw short, feathered strokes along the lash line rather than trying to create one continuous line. Once the line is drawn, you can use a small, angled brush to soften the edges, or leave it defined for a subtle daily frame.
- Best for: Soft, daily definitions, smokey eyes, and quick applications.
- Pro tip: Warm the pencil tip slightly on the back of your hand before application to ensure a smoother, tug-free glide.
The Precision Liquid Liner Pen: Sharp Wings and Clean Lines
For those who desire a stark, dramatic wing or a crisp, graphic line, the liquid liner pen is the ultimate tool. Liquid liners usually feature a very fine felt-tip or a flexible brush-tip that allows for absolute precision. The intense pigmentation of liquid liner creates a striking contrast that beautifully defines the eyes. However, because it dries relatively quickly and shows every wobble, it requires a steady hand and a bit of practice.
Perfecting the Winged Look
When using a liquid liner pen, it is highly recommended to rest your elbow on a flat, stable surface to minimise hand shaking. Start by mapping out the angle of the wing, using the lower lash line as a natural guide pointing up towards the end of the eyebrow. Draw a thin line from the outer corner, then connect it back to the middle of the eyelid, gradually thinning the line as you reach the inner corner of the eye. Fill in the empty space to complete the classic cat-eye.
- Best for: Crisp graphic lines, dramatic cat-eyes, and long-lasting definition.
- Pro tip: Keep your eyes half-open and look down into a mirror when drawing the wing to avoid skin creasing during application.
The Professional Gel Liner: Smooth Glide and Unmatched Longevity
Often preferred by makeup enthusiasts and professionals alike, gel eyeliner offers the perfect middle ground between the blendability of a pencil and the precision of a liquid liner. Sold in small glass pots and applied with a separate thin, angled brush, gel eyeliner provides incredible control. The creamy texture glides onto the skin effortlessly, allowing you to build the thickness of the line gradually. Once dry, gel eyeliner is exceptionally smudge-resistant and offers excellent longevity.
Mastering the Gel and Brush Technique
The key to successful gel liner application lies in the choice of brush. A very fine, pointed eyeliner brush or a small, stiff angled brush works best. Dip the tip of your brush lightly into the pot, coating both sides of the bristles evenly. It is crucial to wipe any excess product onto a tissue or the back of your hand before touching your eyelid to prevent clumping. Smoothly draw along your lash line, adding more product in thin layers if a thicker line is desired.
- Best for: Bold retro looks, precise smudging, and long-wearing styles.
- Pro tip: Always close the gel liner pot tightly between applications, or turn it upside down on your vanity table, to prevent the formula from drying out prematurely.
General Eyeliner Tips for Beginners and Pros
Regardless of the method you choose, a few universal principles can make your eyeliner routine much easier and more successful:
- Prep the eyelids: Always apply a light layer of translucent powder or a neutral eyeshadow primer to the eyelids before starting. This absorbs excess oils and prevents the liner from transferring or smudging throughout the day.
- Fix mistakes gracefully: Do not panic if your line is uneven. Keep a cotton bud dipped in a tiny amount of micellar water nearby. You can use it like an eraser to clean up and sharpen any edges.
- Tightlining: For a fuller lash look, try applying a waterproof pencil eyeliner along the upper waterline, right underneath the eyelashes. This fills in any gaps and makes the lashes appear naturally thicker.
Ultimately, mastering eyeliner is a journey of trial and error. Experimenting with different tools, from soft pencils to sharp liquid pens and smooth gel pots, will help you discover which application method feels most comfortable in your hand and best complements your unique eye shape.





