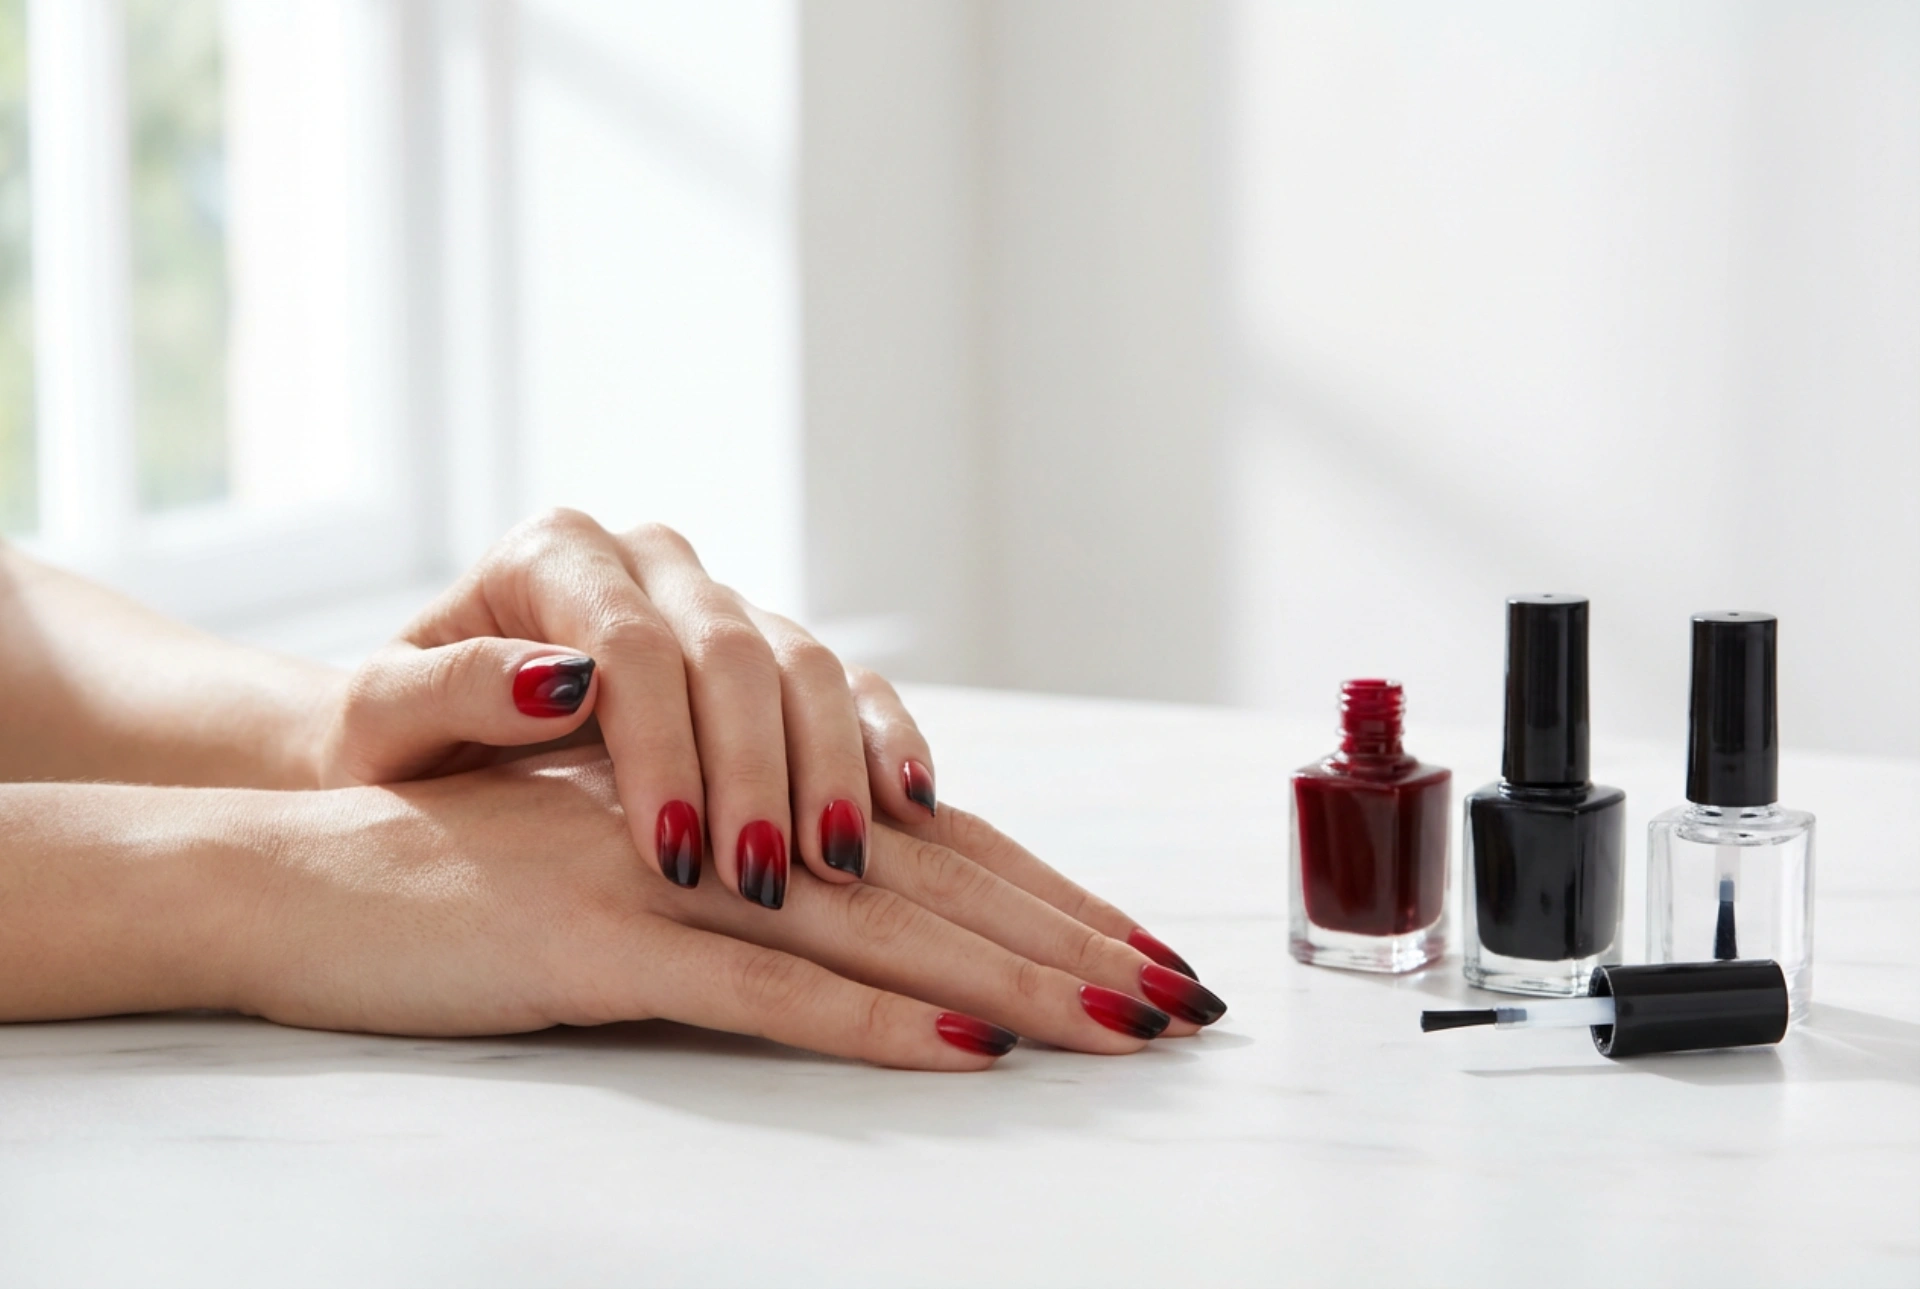


Creating a sophisticated manicure at home is a wonderful way to express personal style while enjoying a relaxing beauty ritual. Among the classic yet bold designs, the red-to-black ombre remains an absolute favourite. This striking combination transition from a fiery or deep red to a dark, mysterious black exudes elegance and confidence. Visually showcasing elegant hands with a perfectly blended gradient and a glassy, glossy finish can make a powerful impression, similar to the results of a professional salon visit, yet achieved comfortably at a minimalist home workspace using basic tools and a touch of patience.
Choosing the Ideal Shades of Red and Black
The success of a gradient manicure lies heavily in selecting the right colour harmony. Not all reds and blacks blend in the same way, and understanding how these pigments interact is key to a smooth, professional-looking finish.
The Red Base: Crimson, Burgundy, or Wine
When choosing your red polish, consider the undertone of your skin as well as the desired mood. A classic crimson or cherry red offers a vibrant, dramatic contrast against black, creating a fiery look. For a more subtle, gothic-inspired transition, deeper shades such as wine, burgundy, or plum are ideal. These darker reds blend more naturally into black, requiring fewer layers to mask the transition line. Whichever red you choose, ensure it has a creamy, opaque formula; sheer polishes can make the blending process muddy and uneven.
The Perfect Black
While black might seem like a simple choice, the formula matters immensely. A highly pigmented, pure cream black is essential for ombre designs. Avoid black polishes with shimmer or glitter unless you specifically want a sparkling effect, as these particles can disrupt the smooth gradient. A fluid, opaque black will yield the best results when dabbed with a sponge, allowing you to build up intensity without adding excessive bulk to the nail tip.
Essential Tools for a Flawless DIY Gradient
Before you begin the application, gather your essentials to ensure a smooth and seamless process. Having everything at your fingertips prevents accidental smudges and saves time.
- Base Coat: A high-quality base coat protects the natural nail plate from the heavy staining pigments of red and black polishes while ensuring a smooth surface for application.
- Makeup Sponge: A dense latex wedge sponge is the secret weapon for any ombre manicure. Avoid sponges with large pores, as they will create bubbles on the nail surface.
- Liquid Latex or Cuticle Oil: Applying a protective barrier around the nail wall makes cleanup incredibly easy, protecting your cuticles from excess polish.
- Acetone and a Fine Brush: Perfect for tidying up the edges and creating a clean, professional outline.
A Step-by-Step Guide to the Ombre Technique
Achieving a smooth gradient requires a methodical approach. Follow these simple steps for a gorgeous transition:
First, prepare your nails by shaping them and pushing back the cuticles. Apply your base coat and let it dry completely. Once dry, apply one or two coats of your chosen red polish as the base colour. This ensures that the red remains vibrant beneath the gradient. Allow this base layer to dry to the touch.
Next, prepare your makeup sponge. Slightly dampening the sponge with water and squeezing out the excess can prevent it from absorbing too much polish. Paint two horizontal stripes of polish directly onto the flat edge of the sponge: one of the red and one of the black, slightly overlapping them where they meet to create a middle transition shade.
Gently press the sponge onto your nail, moving it slightly up and down to diffuse the line between the two colours. It is better to use a light tapping motion rather than pressing hard. Do not worry if the first layer looks sheer or slightly textured; this is completely normal.
Allow the first gradient layer to dry for a minute before repeating the process. Apply fresh polish to the sponge and tap it onto the nail again. Usually, two to three layers of sponging are required to build full opacity and a seamless, smooth transition from red to black.
The Magic of the Top Coat
The real transformation of a sponge gradient occurs when the top coat is applied. The textured, slightly matte look left by the sponge is instantly smoothed out, and the transition between red and black becomes beautifully fluid.
A generous layer of a glossy, fast-drying top coat is essential. When applying it, float the brush gently over the nail rather than dragging it, which could smear the design. The top coat acts as a blending agent, melting the boundaries between the colours while sealing the design with a mirror-like shine that enhances the depth of the red and black hues. For a modern, edgy twist, a matte top coat can also be used, giving the ombre a luxurious, velvet-like texture.
Manicure Aftercare and Tips for Longevity
To keep your ombre nails looking pristine, finish your routine by applying a nourishing cuticle oil once the top coat is completely dry. To extend the life of your home manicure, apply a thin layer of top coat every two to three days. This prevents tip wear, which is particularly noticeable with dark colours like black. Always wear protective gloves when doing household chores to prevent premature chipping and keep your hands looking elegant and well-groomed.




