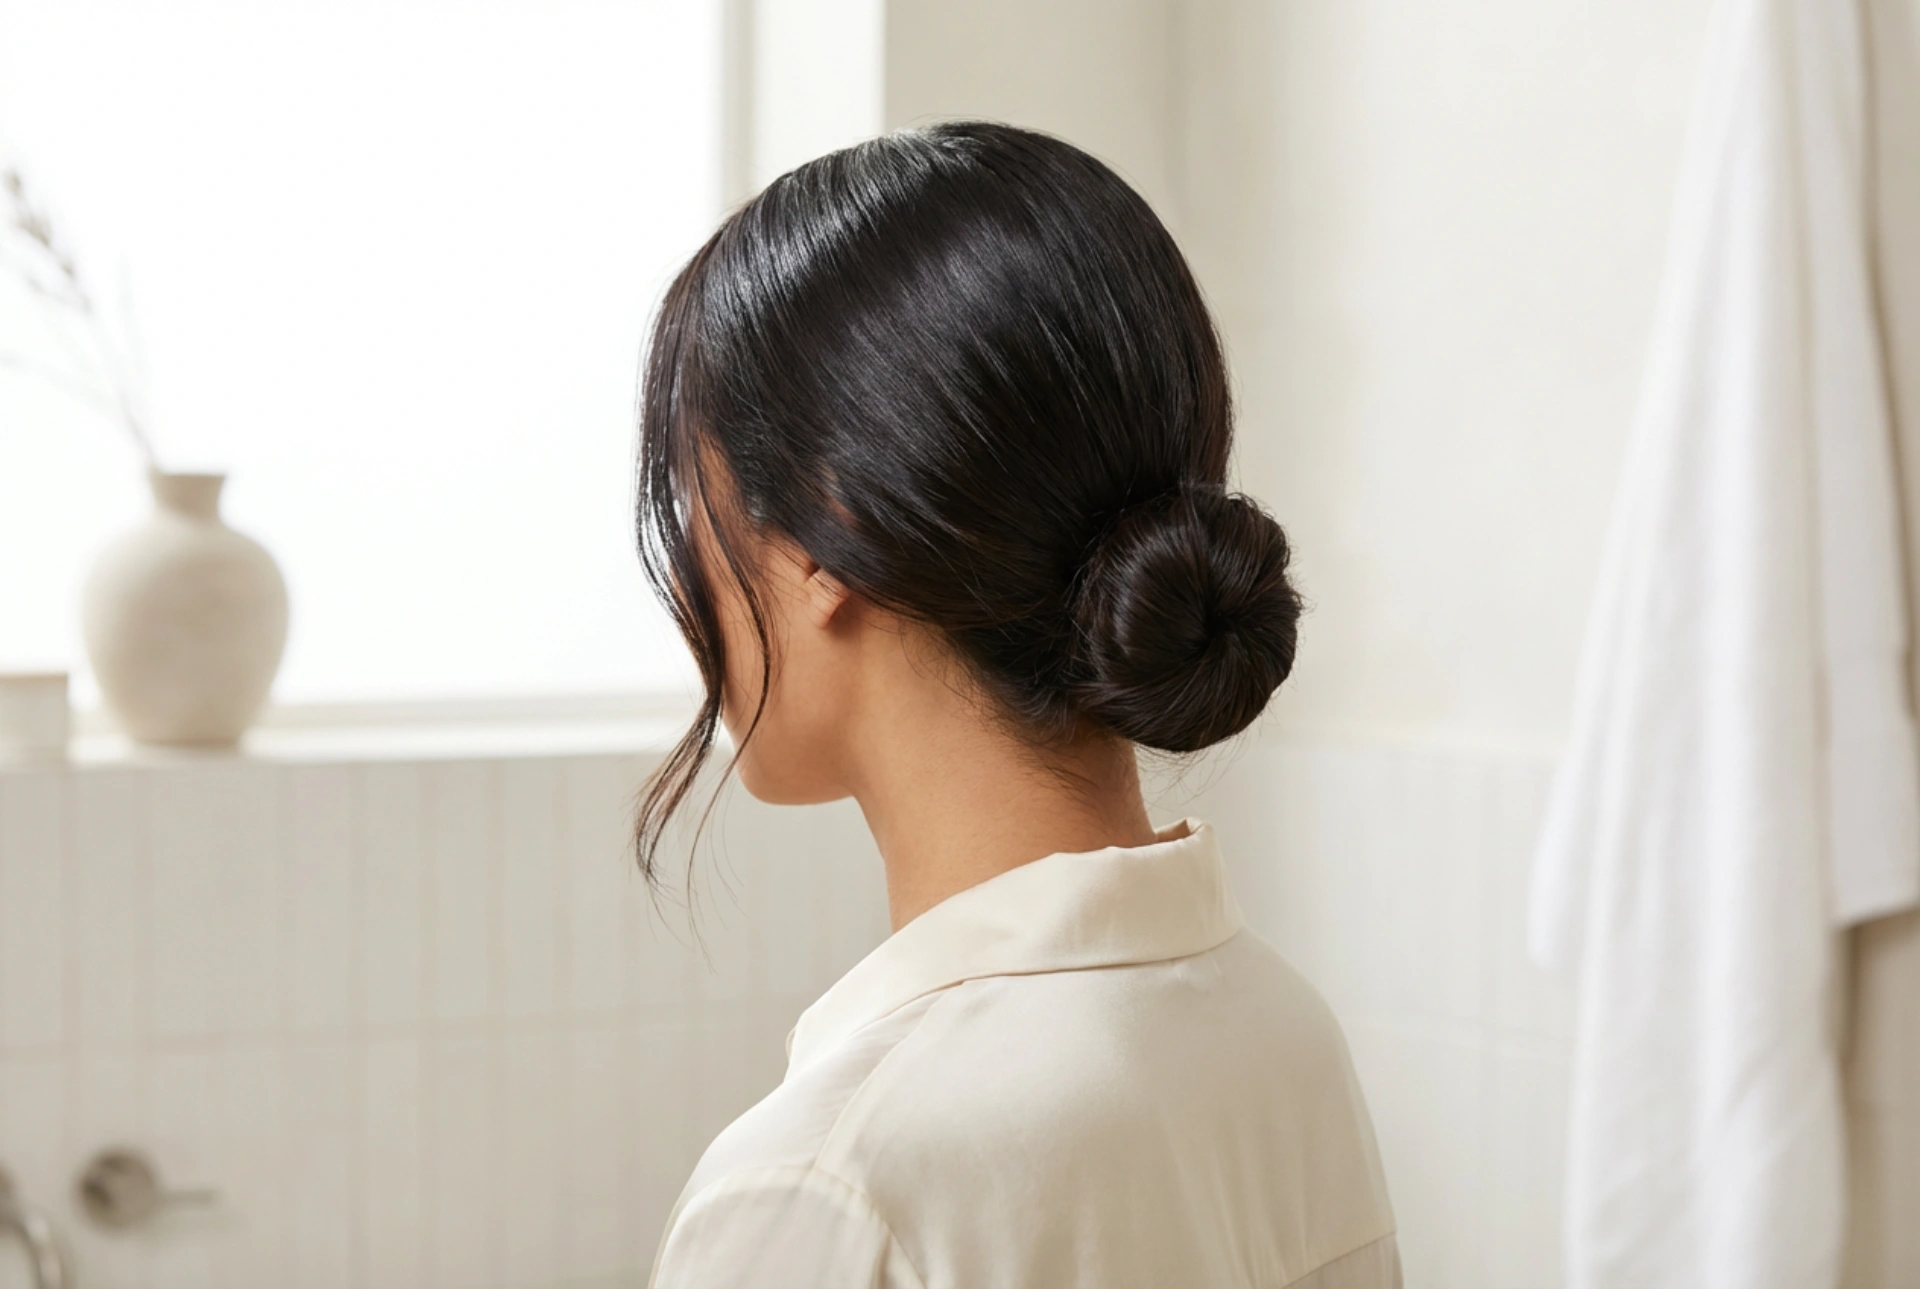


A classic bun is one of the most versatile hairstyles, embodying sophisticated simplicity and timeless elegance. Whether you are aiming for a polished, sleek low bun with a healthy sheen or a casual, messy bun with artfully loosened strands framing the face, these styles offer an effortlessly refined aesthetic. Perfecting these looks at home requires just a few simple steps and the right approach to styling, allowing you to transition seamlessly from a professional daytime setting to an elegant evening event. By mastering the fundamentals of hair prep and securing techniques, you can achieve salon-worthy results without any fuss.
Preparing Your Hair for the Perfect Bun
To achieve a flawless finish, preparation is key. The texture and condition of your hair will dictate how well the style holds throughout the day. Starting with clean, well-conditioned hair provides a smooth canvas, but sometimes second-day hair offers better natural grip, especially for messy and relaxed styles. If you are starting with freshly washed hair, consider applying a lightweight styling cream or a gentle texturising mist to add some hold and volume. Gently brushing your hair to remove any tangles is essential, as this ensures a neat foundation for whatever bun style you choose to create.
The Sleek Low Bun: Step-by-Step Elegance
The sleek low bun is a timeless choice that exudes professionalism, grace, and confidence. It highlights the natural shine of your hair and keeps everything neatly in place, making it perfect for formal occasions or hot summer days.
Step 1: Create a Clean Parting
Use a fine-tooth comb to create a precise parting. A sharp centre parting offers a modern, symmetrical look, while a deep side parting adds a touch of classic glamour. Ensure the parting is straight and clean from the forehead to the crown of your head.
Step 2: Gather into a Low Ponytail
Smooth your hair back towards the nape of your neck. To achieve that ultra-sleek finish, you can use a soft-bristle brush to tame any flyaways as you gather the hair. Secure the ponytail firmly at the nape of your neck with a neutral-coloured hair tie that matches your hair shade.
Step 3: Twist and Secure
Twist the length of your ponytail tightly in one direction. Wrap the twisted hair around the base of the hair tie to form a neat, compact coil. Secure the bun in place using hairpins or bobby pins, tucking the ends underneath. Ensure the pins are inserted pointing towards the centre of the bun for maximum hold and security.
Step 4: Smooth and Finish
To finish the look, gently smooth over the top and sides of your hair with a touch of lightweight hair oil or a smoothing serum. This adds a beautiful, healthy sheen and ensures every single strand remains perfectly in place throughout the day.
The Effortless Messy Bun: Step-by-Step Casual Chic
For those days when you want a relaxed, bohemian vibe, the messy bun is the ideal option. The goal is to make the hairstyle look natural and undone, yet structured enough to stay secure.
Step 1: Build Texture
Unlike the sleek bun, the messy bun thrives on texture and natural volume. Gently backcomb the roots or apply a dry texturising spray to give your hair more body. Do not worry about making the parting perfect; a natural parting works best here.
Step 2: Gather Loosely
Loosely gather your hair at the nape of your neck or slightly higher, depending on your preference. Avoid using a brush; instead, use your fingers to pull the hair back to maintain natural texture and volume. Secure into a loose ponytail with a soft hair tie.
Step 3: Create the Bun
As you wrap the hair tie around for the final loop, pull the hair only halfway through to create a casual loop. Alternatively, wrap the hair loosely around the base and secure it with a few pins, letting the ends stick out slightly for a relaxed, carefree feel.
Step 4: Detail and Frame the Face
This is the most crucial step for achieving that effortlessly refined aesthetic. Gently pull out a few soft strands of hair around your ears and temples to frame your face. You can also lightly tug at the hair at the crown of your head to add height and a softer silhouette.
Tips for Optimising Your Bun Hairstyles
Creating the perfect bun is an art that can be refined with a few simple techniques. Here are some key tips to keep in mind:
- Choose the right pins: Match your bobby pins to your hair colour so they blend in seamlessly. Matte-finish pins tend to grip the hair much better than shiny ones.
- Protect your hair: Avoid pulling the hair too tight, as constant tension can lead to breakage. Opt for soft, fabric-covered hair ties instead of harsh elastics.
- Adjust for your hair type: If you have very fine hair, a hair doughnut can help create the illusion of fullness. For thick hair, using double hair ties can provide the necessary support.
With these versatile techniques, you can easily master both the sleek, sophisticated low bun and the relaxed, messy alternative, ensuring your hair always looks beautifully styled, healthy, and elegant.





