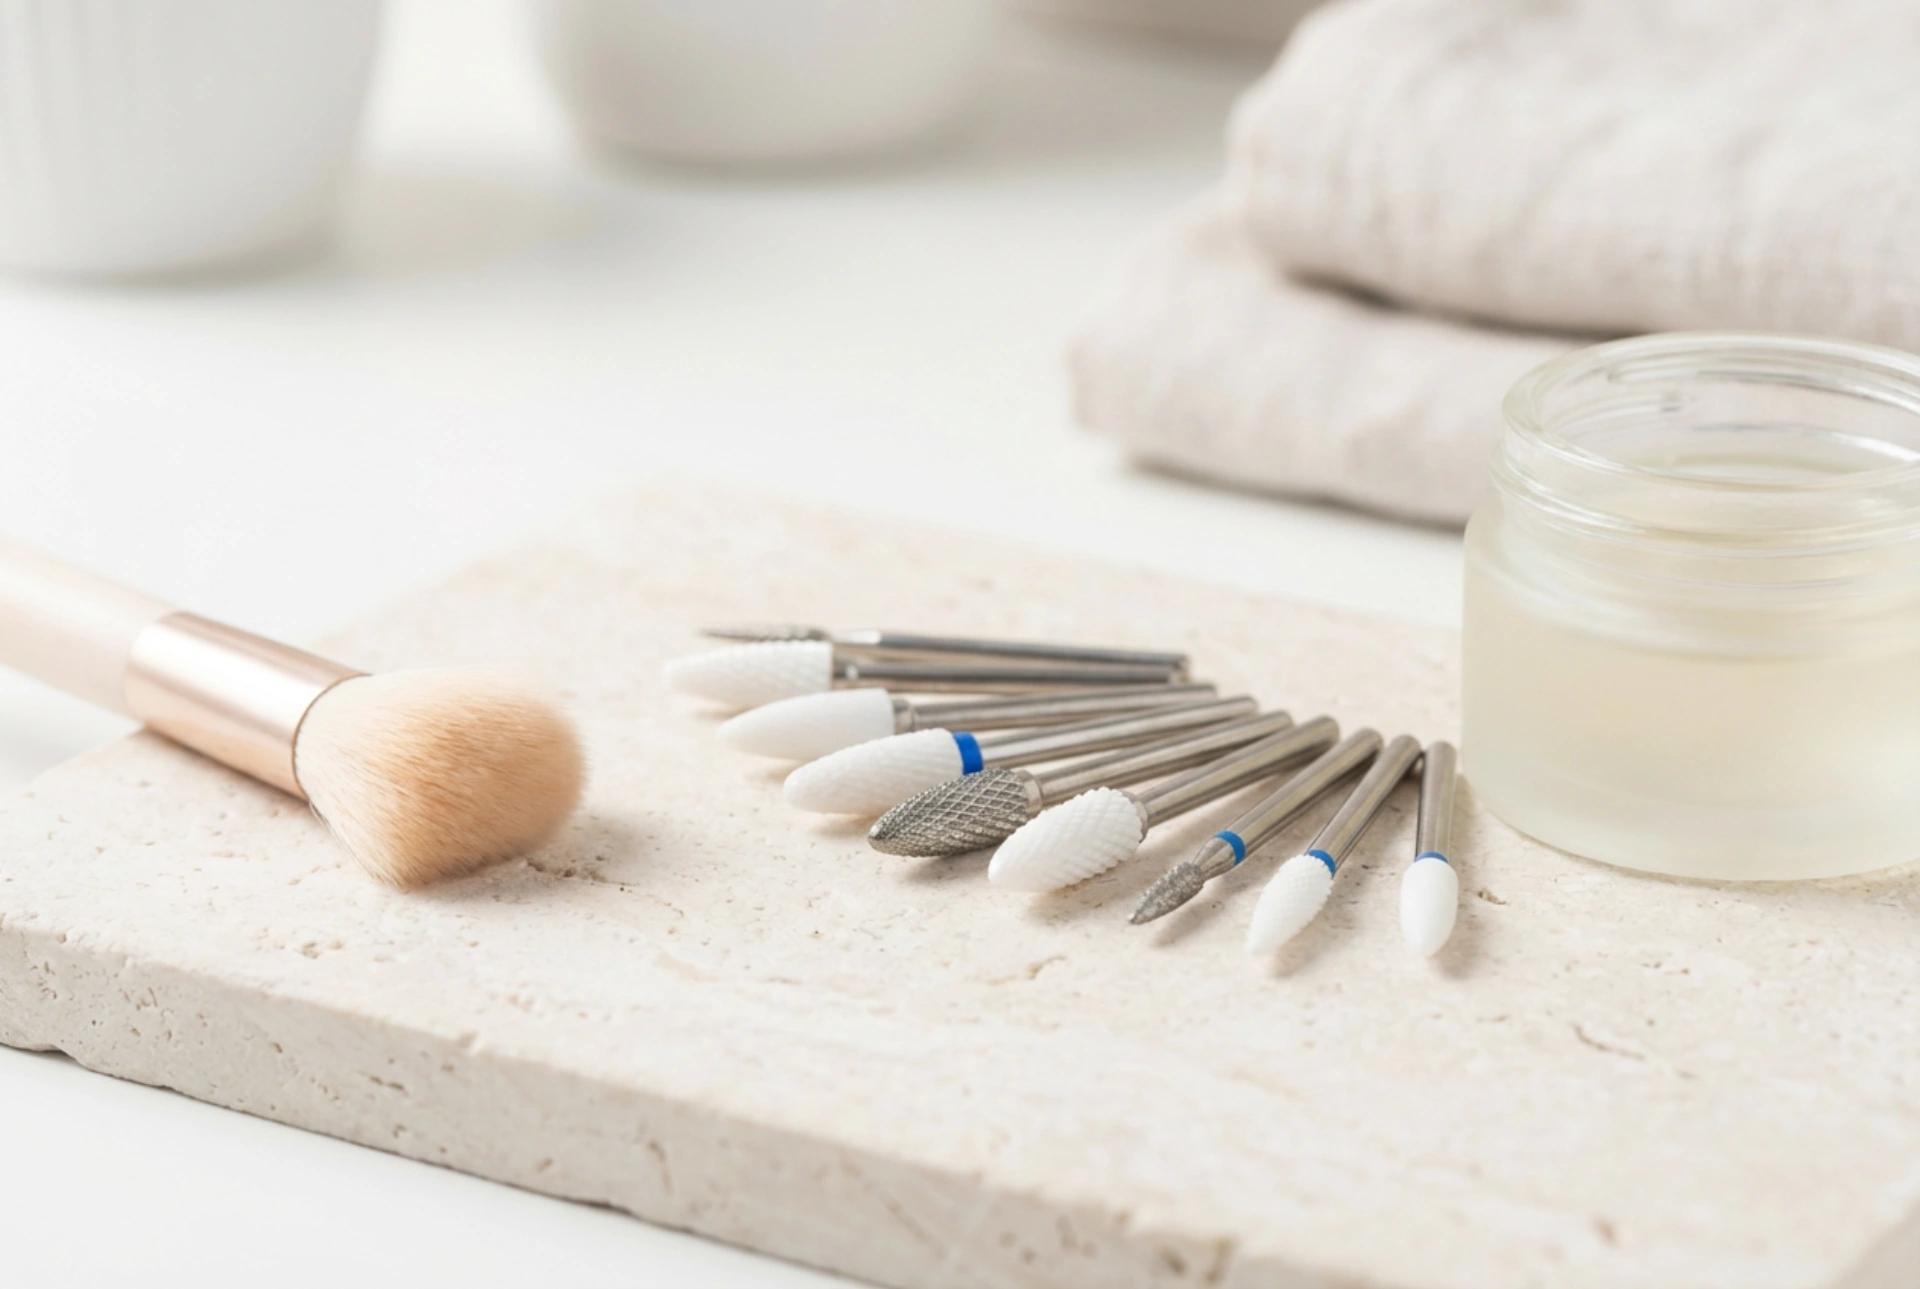


Achieving a salon-quality manicure at home requires not only patience and practice but also the right tools kept in pristine condition. When looking at a beautifully arranged set of clean, generic nail drill bits, with their diverse shapes and grits glowing under soft natural light, it becomes clear that precision is key. Each tiny tool has a dedicated purpose, designed to make nail styling safer, quicker, and more professional. Understanding which bit to choose and how to care for them with simple cleaning brushes and hygienic sanitising routines is the foundation of flawless, safe nail care.
The Materials: Ceramic, Diamond, and Carbide
Nail drill bits are crafted from different materials, each offering unique properties for shaping, refining, and preparing the nail surface. Choosing the right material ensures a smooth process and protects your natural nails from excessive heat or friction.
Diamond Bits
Diamond bits are highly popular for detailed prep work. Made from synthetic diamond dust, they are perfect for gently removing dry skin around the cuticle area and smoothing out rough lateral folds. Because they work by grinding rather than cutting, they offer excellent control for beginners practising home manicures.
Carbide Bits
Carbide bits are made from high-quality metal and feature small teeth-like flutes that shave away product rather than grinding it. They are ideal for thinning out gel overlays or removing old product quickly. Due to their sharp structure, they generate less dust but require a steady hand and controlled speed to ensure safety.
Ceramic Bits
Ceramic bits are lightweight and known for their heat-resistant properties. They do not conduct heat as quickly as metal bits, making them incredibly comfortable for sensitive nails. They are excellent for removing gel products and smoothing the nail surface without causing a warm sensation on the nail plate.
Shapes and Sizes: Which Bit to Use and When
The shape of a drill bit determines its specific function during a manicure. Having a versatile collection allows you to address every part of the nail plate and surrounding skin safely.
- The Flame Bit: Characterised by its pointed tip and wider base, this bit is essential for lifting the cuticle and cleaning the tight spaces along the lateral nail folds. It should be used flat against the nail plate to avoid gouging.
- The Cone Bit: Excellent for working underneath the nail or cleaning up tight corners. Its tapered shape helps you reach difficult areas with ease without touching the surrounding skin.
- The Cylinder or Barrel Bit: This flat-topped bit is designed for surface work. It is used to shorten length, shape the nail extension, and smooth out the bulk of the product. Care must be taken not to touch the skin with the sharp top edge.
- The Ball Bit: A tiny spherical bit designed specifically for dry cuticle removal. It gently buffs away lifted skin around the cuticle area, leaving a neat and clean finish.
Deciphering the Colour-Coded Grits
Nail drill bits feature coloured bands around their collars. These bands indicate the grit level, helping you instantly identify the coarseness of the tool before starting your manicure.
- Yellow (Extra Fine) and Red (Fine): These bits are gentle and highly suited for natural nail prep, delicate cuticle work, and finishing touches.
- Blue (Medium): A versatile grit used for smoothing out product, refining the nail shape, and gentle cuticle exfoliation on thicker skin.
- Green (Coarse) and Black (Extra Coarse): These should be reserved for the rapid removal of hard gels or acrylic products. They should never be used directly on the natural nail plate.
A Hygienic Routine: Cleaning and Storing Your Bits
Keeping your tools clean is vital for maintaining their performance and ensuring safe hygiene practices at home. Dust, skin particles, and product residue can clog the flutes of your bits, reducing their effectiveness and leading to uneven friction.
Step 1: Manual Cleaning with a Brush
Immediately after finishing your manicure, use a small, delicate brass or nylon cleaning brush to scrub away the loose dust and debris trapped in the crevices of the bit. Doing this right away prevents the dust from hardening.
Step 2: Washing
Soak the bits in warm, soapy water for a few minutes. Use your cleaning brush once more to ensure all remaining residue is completely removed from the textured surfaces. Rinse them thoroughly under running water.
Step 3: Sanitisation
Submerge the clean bits in a suitable cosmetic disinfectant solution designed for manicure tools, following the manufacturer's recommended contact time. This step eliminates bacteria and keeps your tools safe for your next beauty session.
Step 4: Thorough Drying and Storage
Place the sanitised bits on a clean paper towel and allow them to dry completely. Storing damp bits can lead to corrosion or rust, which ruins the grit. Once dry, store them in a closed, dust-free container or a dedicated organiser stand, keeping them tidy and protected.
Safe Practices for Home Use
When working with a nail drill at home, patience is your best ally. Always start at a low speed, especially when working near the skin. Avoid applying downward pressure; instead, let the speed of the machine and the grit of the bit do the work for you. Keep the handpiece constantly moving across the nail to prevent heat build-up in one spot. Selecting the correct rotation speed is crucial for safety. For cuticle prep with fine diamond bits, a low speed of around 5,000 to 10,000 RPM is usually sufficient and prevents friction burns. When removing gel products with ceramic or carbide bits, a slightly higher speed of 15,000 RPM allows the tool to glide smoothly without grabbing the product. Always rest your pinky finger on your hand or table as a stabiliser to prevent slipping. Practising these basic techniques and keeping your bits clean ensures a professional finish while preserving the natural strength and beauty of your nails.




