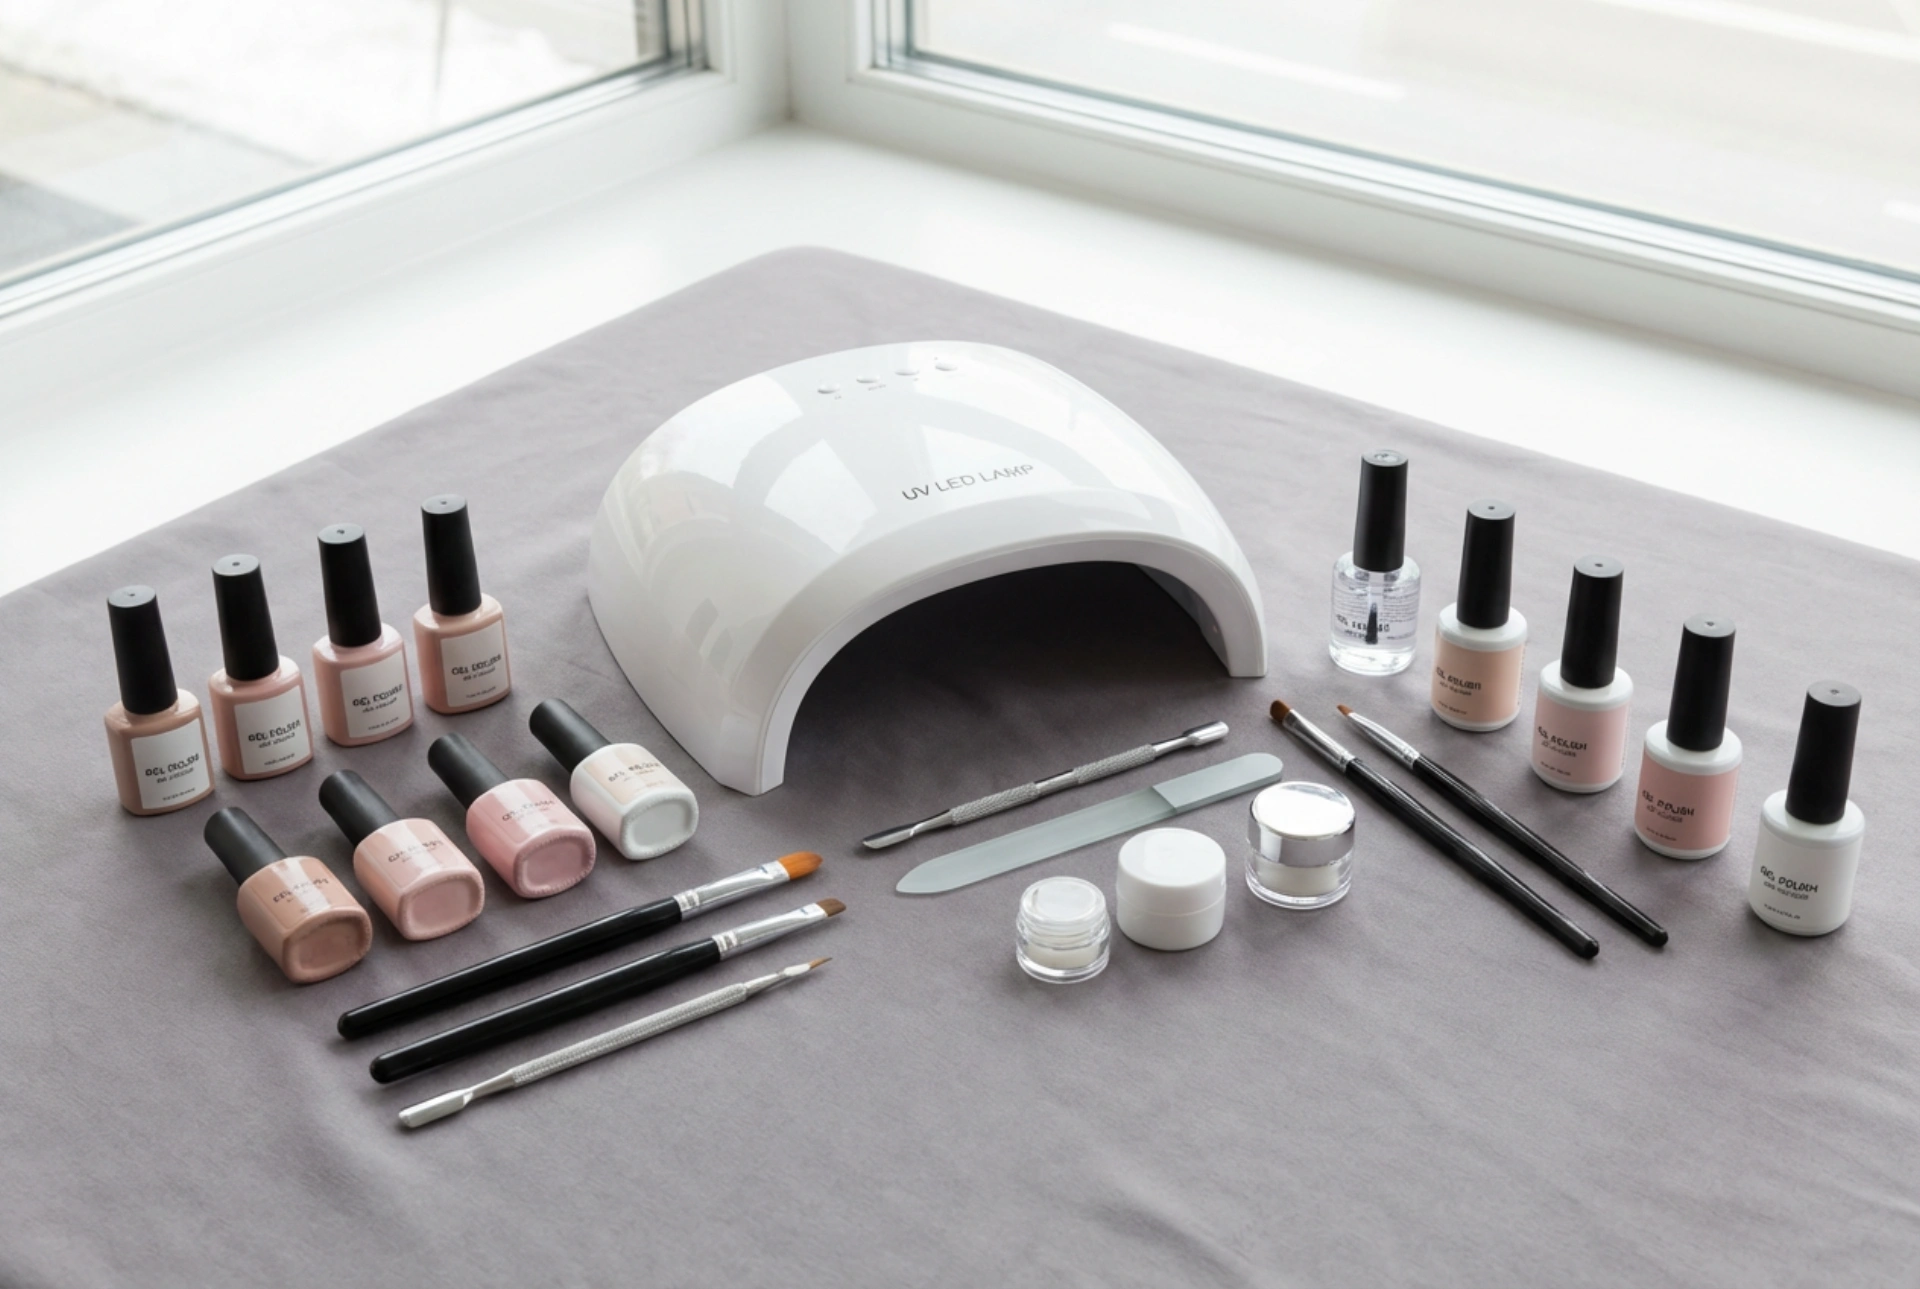


Creating professional-looking gel manicures at home has become a popular and rewarding self-care ritual. An immaculate flat lay of a starter kit, featuring a clean arrangement of a curing lamp, polish bottles, and preparation tools against a soft, muted background, illustrates how accessible and organising this beauty routine can be. Transforming your nails with gel polish offers long-lasting shine and durability, but achieving the perfect finish requires the right tools and a solid understanding of the process. Having a complete starter kit is the first step towards mastering this delicate, creative art at home.
Essential Components of a Gel Nail Starter Kit
Before diving into your first application, it is important to understand the role of each item in your collection. A standard starter set is designed to provide all the necessary phases of the manicure, from the initial preparation to the final protective seal. Here are the key elements you will find in a high-quality kit:
- The Curing Lamp: This is the heart of the gel manicure process. Gel polishes contain photo-initiators that require specific wavelengths of light—either UV or LED—to harden and bond to the natural nail. LED lamps are highly favoured for home use due to their rapid curing times, often setting a layer in just thirty seconds. Ensure your lamp is placed on a flat surface with sufficient room to insert your hand comfortably without touching the bulbs.
- Base Coat and Top Coat: The base coat acts as a double-sided tape, adhering securely to the natural nail plate while providing a smooth surface for the colour. The top coat seals the colour, prevents chipping, and provides that signature glass-like shine.
- Gel Polishes: Formulated differently from traditional nail varnishes, these highly pigmented gels require curing under the lamp after every layer.
- Nail Prep Solutions: Typically, this includes a dehydrator or a cleanser. These liquids remove natural oils, dust, and moisture from the nail plate, ensuring maximum adhesion.
- Manicure Tools: A proper set includes a fine-grit nail file, a buffing block to gently roughen the nail surface, and a wooden cuticle stick or metal pusher to tidy the nail bed.
Preparing the Nail Plate: The Foundation of Durability
The secret to a gel manicure that lasts for weeks without lifting lies in the preparation phase. Skipping these steps can cause the gel to peel prematurely. Begin by washing and thoroughly drying your hands to remove any surface dirt.
Step 1: Shaping and Cuticle Care
Gently file your nails to your desired shape, moving in one direction to prevent splitting. Next, use a wooden stick to carefully push back the cuticles. This step is crucial because gel polish will not adhere to the skin; if the gel cures on top of the cuticle, it will lift within days. For a clean finish, you can also use a soft buffer around the cuticle area to ensure no invisible skin remains attached to the nail plate, as even the smallest barrier can compromise the seal.
Step 2: Buffing and Dehydrating
Use a gentle buffing block to lightly remove the natural shine from your nail plate. The goal is not to thin the nail, but to create a micro-textured surface that the base coat can grip. After buffing, wipe each nail thoroughly with a lint-free wipe soaked in a dehydrating cleanser. Avoid using standard cotton wool, as it can leave tiny fibres behind that ruin the smooth finish.
Applying the Gel: A Step-by-Step Guide
With the preparation complete, you can begin the application process. Patience and thin layers are the secrets to success here. Applying thick coats will prevent the gel from curing properly and may cause bubbling.
- The Base Coat: Apply a very thin layer of base coat, taking care to leave a tiny gap between the gel and your cuticles. Before placing your hand under the lamp, swipe the brush across the free edge of the nail to cap it. Cure according to your lamp's instructions, usually 30 to 60 seconds.
- The Colour Coats: Apply your chosen colour in thin, even strokes. If the first coat looks slightly streaky, do not worry; the second coat will even it out. Remember to cap the free edge with each layer. Cure each layer individually under the lamp.
- The Top Coat: Apply a layer of top coat over the entire nail to lock in the colour and add a beautiful gloss. Cap the free edge once more and cure for the final time.
- Wiping Away the Sticky Layer: Some top coats leave a tacky residue after curing. If yours does, simply wipe it away with a lint-free pad saturated with nail cleanser to reveal a perfectly dry, glossy surface.
Organising Your Nail Space for a Relaxing Ritual
Creating a beautiful gel manicure at home is not just about the technical steps; it is also about creating a peaceful, organised environment that enhances the experience. Much like the clean, balanced aesthetics of a professional salon, setting up a dedicated space can make the process feel like a relaxing wellness ritual. Choose a flat, stable surface in a well-lit area, ideally near a window for natural light, or under a bright desk lamp. Lay down a clean towel or a protective silicone mat to catch any spills or nail dust.
Arranging your tools neatly before you begin—placing your curing lamp on one side, your prep files in the middle, and your polishes on the other—helps you maintain focus and prevents accidental smudges. When your tools are easily accessible, you can move smoothly from one step to the next without rushing, turning your home nail care session into a creative and therapeutic escape.
Safe Practices and Aftercare for Home Manicures
To keep your natural nails healthy under the gel, a few simple rules should be observed. Always moisturise your cuticles and hands with a nourishing cuticle oil after the manicure is finished, as the preparation and cleaning agents can be drying. Additionally, never peel or scrape off lifting gel polish, as this strips away the top layers of your natural nail. Instead, use the correct soak-off method with gentle remover wraps to ensure your nails remain strong and beautiful.




