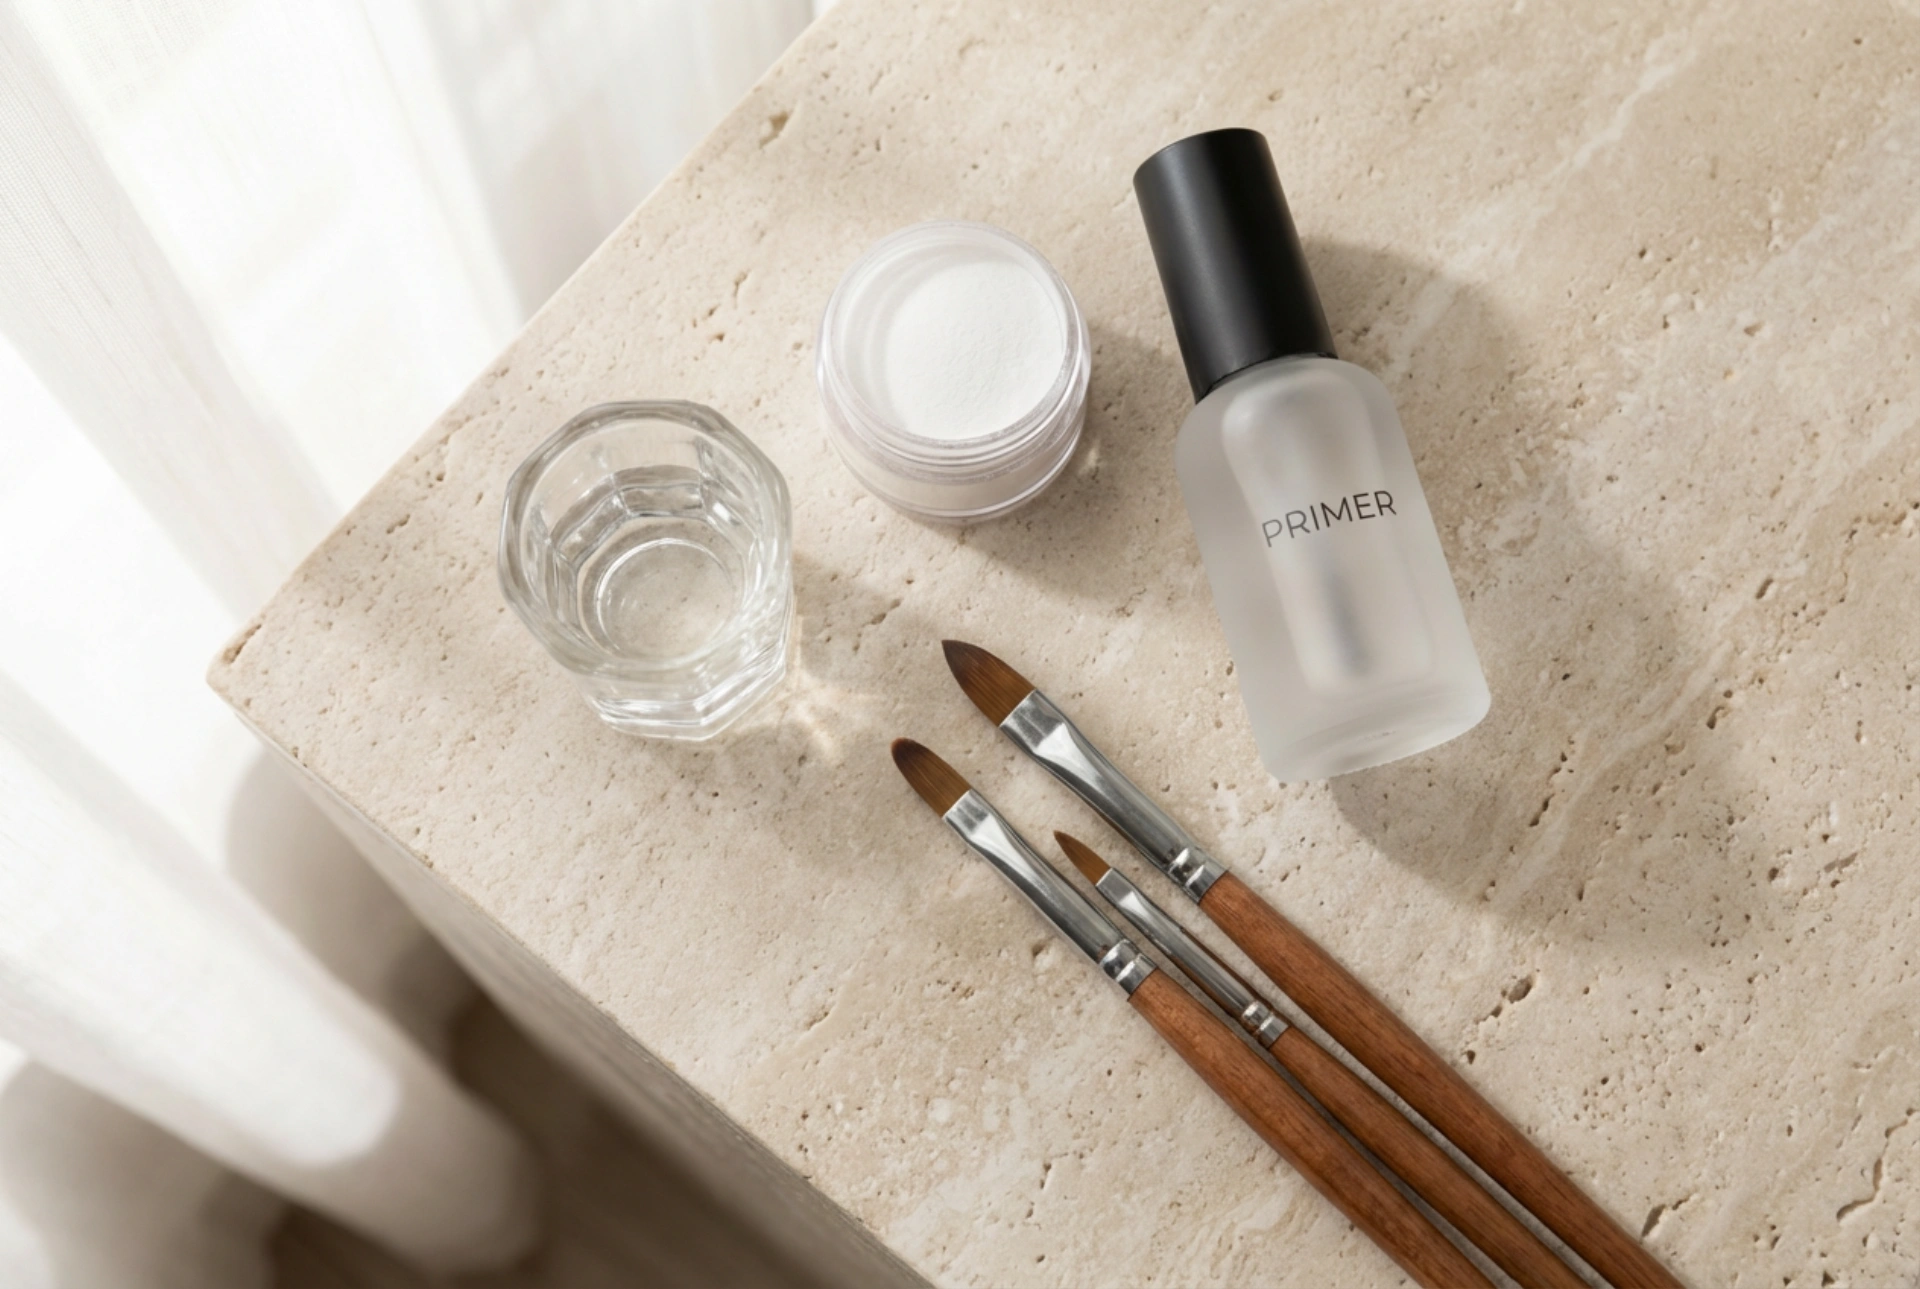


A pristine flatlay showcasing essential acrylic nail system components—such as fine powder, liquid monomer, prep primer, and professional brushes arranged beautifully on a smooth, light-toned surface—evokes the feeling of a mindful at-home beauty ritual. Taking the time to care for and style your nails is a rewarding form of self-care. Among the various methods of nail styling, the acrylic system remains a classic choice for creating durable, elegant, and customisable extensions. To achieve a smooth, professional-looking finish in the comfort of your own home, it is vital to understand both the products involved and the fundamental application techniques. With patience and practice, this process can become a creative and relaxing routine.
The Core Components of an Acrylic Nail Kit
Before beginning your application, it is important to familiarise yourself with the essential tools of the trade. A basic, high-quality acrylic kit contains several key elements that work together to create the hard, protective coating over your natural nails.
Acrylic Powder and Liquid Monomer
These two products are the foundation of the entire system. Acrylic powder, or polymer, is a fine powder available in various shades, including clear, soft pink, and white. The liquid monomer is a specialised fluid that, when mixed with the powder in the correct ratio, initiates a chemical reaction. This reaction forms a pliable bead that can be easily sculpted before it self-hardens in the air. Understanding the balance between these two components is key to a successful application.
The Acrylic Nail Brush
Your brush is your primary sculpting tool. Typically made from high-quality natural hairs, these brushes are designed to hold the correct amount of liquid monomer and smoothly release it when in contact with the powder. Acrylic brushes come in different shapes and sizes, with round or oval brushes being the most popular for beginners due to their versatility and ease of control.
Nail Prep Essentials: Primer and Dehydrator
To ensure that the acrylic adheres properly to the natural nail plate, prep products are essential. A nail dehydrator removes natural oils and moisture from the nail surface, while a primer acts as a double-sided tape, creating a strong bond between the natural nail and the acrylic mixture. Using these products correctly prevents premature lifting and extends the life of your manicure.
Preparing Your Natural Nails
The secret to a long-lasting and beautiful acrylic application lies in the preparation. Skipping this step can lead to moisture trapping and lifting, which can compromise the health of your natural nails.
- First, wash and thoroughly dry your hands to remove any surface impurities.
- Gently push back the cuticles using a wooden stick or a dedicated pusher. Avoid cutting the cuticles to protect the skin barrier.
- Lightly buff the surface of the natural nails with a fine-grit buffer to remove the natural shine. This creates a slightly textured surface for better adhesion.
- Wipe away any dust with a lint-free pad soaked in a gentle cleanser or rubbing alcohol.
- Apply the dehydrator, followed by a thin layer of primer, allowing each to dry completely before proceeding to the acrylic application.
Mastering the Acrylic Application Technique
Applying acrylic requires a steady hand and a bit of coordination. The goal is to create a smooth, balanced overlay that mimics the natural curve of the nail. Start by pouring a small amount of liquid monomer into a small glass dish and placing your acrylic powder nearby.
Creating the Perfect Bead
Dip your brush into the liquid monomer, wiping the excess off on the side of the dish. The brush should be damp but not dripping. Gently press the tip of the brush into the acrylic powder at a forty-five-degree angle for two to three seconds. As you lift the brush, you should see a perfectly round, satin-like bead form on the tip of the bristles. If the bead looks dry and powdery, you need more liquid; if it looks runny, you have too much liquid.
Sculpting the Nail
Place the bead onto the centre of the nail, near the stress point where the natural nail meets the free edge. Gently pat and press the bead with the body of the brush, smoothing it out towards the edges. Keep a small gap between the acrylic and your cuticles to prevent lifting. Work quickly but gently, shaping the sides and the free edge until you achieve a smooth, even layer. Clean your brush frequently in the monomer to prevent the product from hardening in the bristles.
Filing, Buffing, and Finishing the Look
Once the acrylic has completely cured—which usually takes a few minutes and can be tested by gently tapping the nail with the back of your brush to hear a clicking sound—it is time to refine the shape.
Use a medium-grit nail file to smooth out any unevenness on the surface and to clean up the side walls and the free edge. File in one direction to maintain control and achieve clean lines. Once you are satisfied with the shape, use a fine buffer to smooth the surface, removing any visible scratches. Finish by applying a nourishing cuticle oil to hydrate the surrounding skin and a high-shine top coat to seal and protect your beautiful new manicure.




