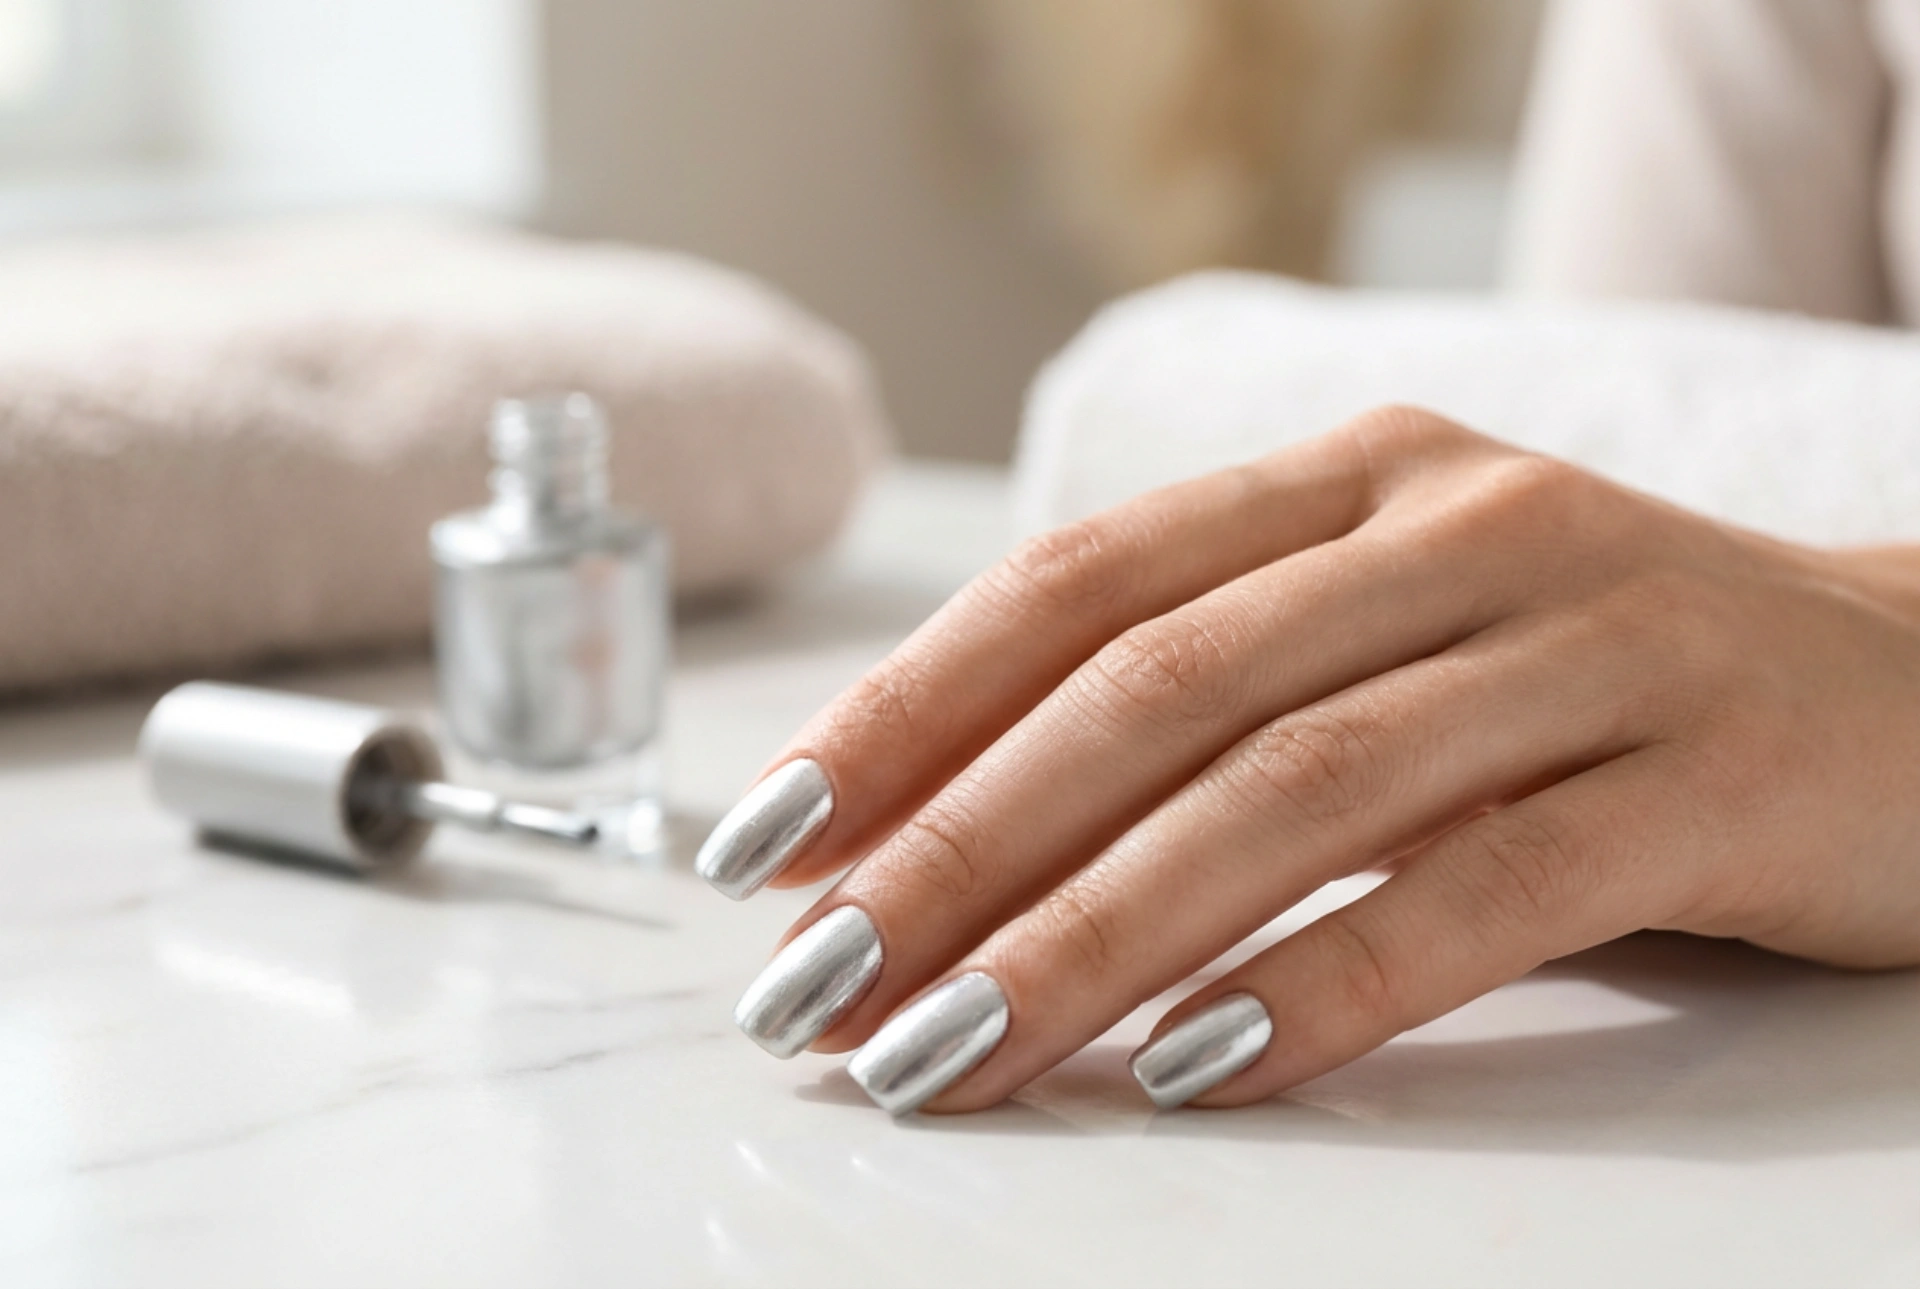


Elegantly manicured nails coated in a lustrous, even silver polish have a unique way of catching the soft natural light, showcasing a flawless and durable high-shine finish. Metallic shades, particularly silver, have transitioned from seasonal novelties into staples of sophisticated beauty. Achieving that perfect, mirror-like reflection requires a blend of proper preparation, precise application techniques, and the right aftercare. This guide explores how to master the art of the silver manicure at home, ensuring a smooth, streak-free look that lasts for days.
The Timeless Appeal of Silver Manicures
Silver nail polish embodies modern elegance and versatility. Unlike traditional nudes or classic reds, silver offers a futuristic yet sophisticated edge that complements almost any outfit and skin tone. It can range from a subtle, fine-shimmer metallic to a bold, reflective chrome finish. The key to its charm lies in its clean, luminous quality, which adds an instant touch of refinement to your hands. Whether you are dressing up for a formal evening event or looking to elevate your everyday style, silver nails provide a polished, contemporary look that stands out without being overly dramatic.
One of the greatest advantages of silver polish is its ability to adapt. Cooler skin undertones are naturally flattered by icy silver shades, while warmer undertones can opt for silver polishes with slight champagne or pewter hints. The metallic particles within the polish work to reflect light, which visually elongates the fingers and gives the illusion of impeccably neat, well-groomed hands. However, because metallic finishes are highly reflective, they also tend to highlight any imperfections on the nail plate, making proper preparation and application essential.
Preparing the Nails for a Flawless Metallic Finish
To ensure your silver manicure looks as flawless as possible, preparation is the most critical stage. Any ridges, bumps, or unevenness on the nail surface will be magnified by the reflective nature of metallic pigments. By taking the time to smooth and protect your nails beforehand, you create the perfect canvas for an even, professional-looking application.
- Shape and Buff: Start by filing your nails into your preferred shape, such as an elegant oval or a soft square. Use a gentle buffer to smooth out any ridges on the surface of the nail plate. Be careful not to over-buff, as this can weaken the nails; a light touch is all that is required to create a smooth surface.
- Cleanse the Nail Plate: Remove any trace of dust, natural oils, or old polish. A clean nail surface ensures that the base coat adheres properly, preventing premature chipping. You can use a gentle, acetone-free remover or a simple nail wipe to dehydrate the nail plate slightly before polishing.
- Apply a Smoothing Base Coat: A high-quality base coat is non-negotiable when working with silver polish. Opt for a ridge-filling base coat, which acts like a primer, filling in tiny imperfections and creating a perfectly flat foundation. The base coat also prevents staining and helps the colour coat stick firmly to the nail.
Mastering the Streak-Free Application
Metallic and silver polishes are notorious for showing brush strokes. To achieve an even, liquid-metal look, your application technique must be deliberate and steady. Following a few professional habits can make a significant difference in the final result.
The Three-Stroke Method
When applying silver polish, try to use as few strokes as possible to minimise lines. Place a small bead of polish near the cuticle line, push it slightly backward without touching the skin, and then sweep down the centre of the nail. Follow with one stroke on the left side and one on the right. Keep your brush parallel to the nail plate and use a light hand to avoid dragging the pigment.
Thin, Multiple Layers
It is always better to apply two or three very thin layers of silver polish rather than one thick coat. Thin layers dry faster, cure more evenly, and are far less likely to bubble or smudge. Allow each layer to dry completely before applying the next. This patience is rewarded with a deeper, more uniform silver pigment that displays a rich, metallic lustre.
Capping the Free Edge
An often overlooked step is sealing the very tip of the nail. Swipe the brush horizontally along the edge of each nail with both the colour coat and the top coat. This technique, known as capping, seals the polish and prevents it from lifting or chipping at the tips, which is particularly noticeable with bright metallic shades.
Sealing the Shine and Ensuring Longevity
The final step to a durable silver manicure is the application of a protective top coat. A top coat not only locks in the metallic pigment but also enhances the reflective qualities of the silver, creating that desired high-shine, glossy finish. To maintain the look, look for a top coat that offers both UV protection and a high-gloss finish, which prevents the silver from dulling over time.
For ongoing maintenance, apply a fresh layer of top coat every two to three days to seal any micro-cracks that develop through daily activities. Additionally, keep your cuticles hydrated with a nourishing cuticle oil. Moisturised hands and cuticles frame the silver polish beautifully, drawing attention to the sleek, clean manicure. When performing household chores or using cleaning products, wearing gloves will protect your manicure from harsh elements, ensuring your silver nails remain pristine and chip-free for as long as possible.




