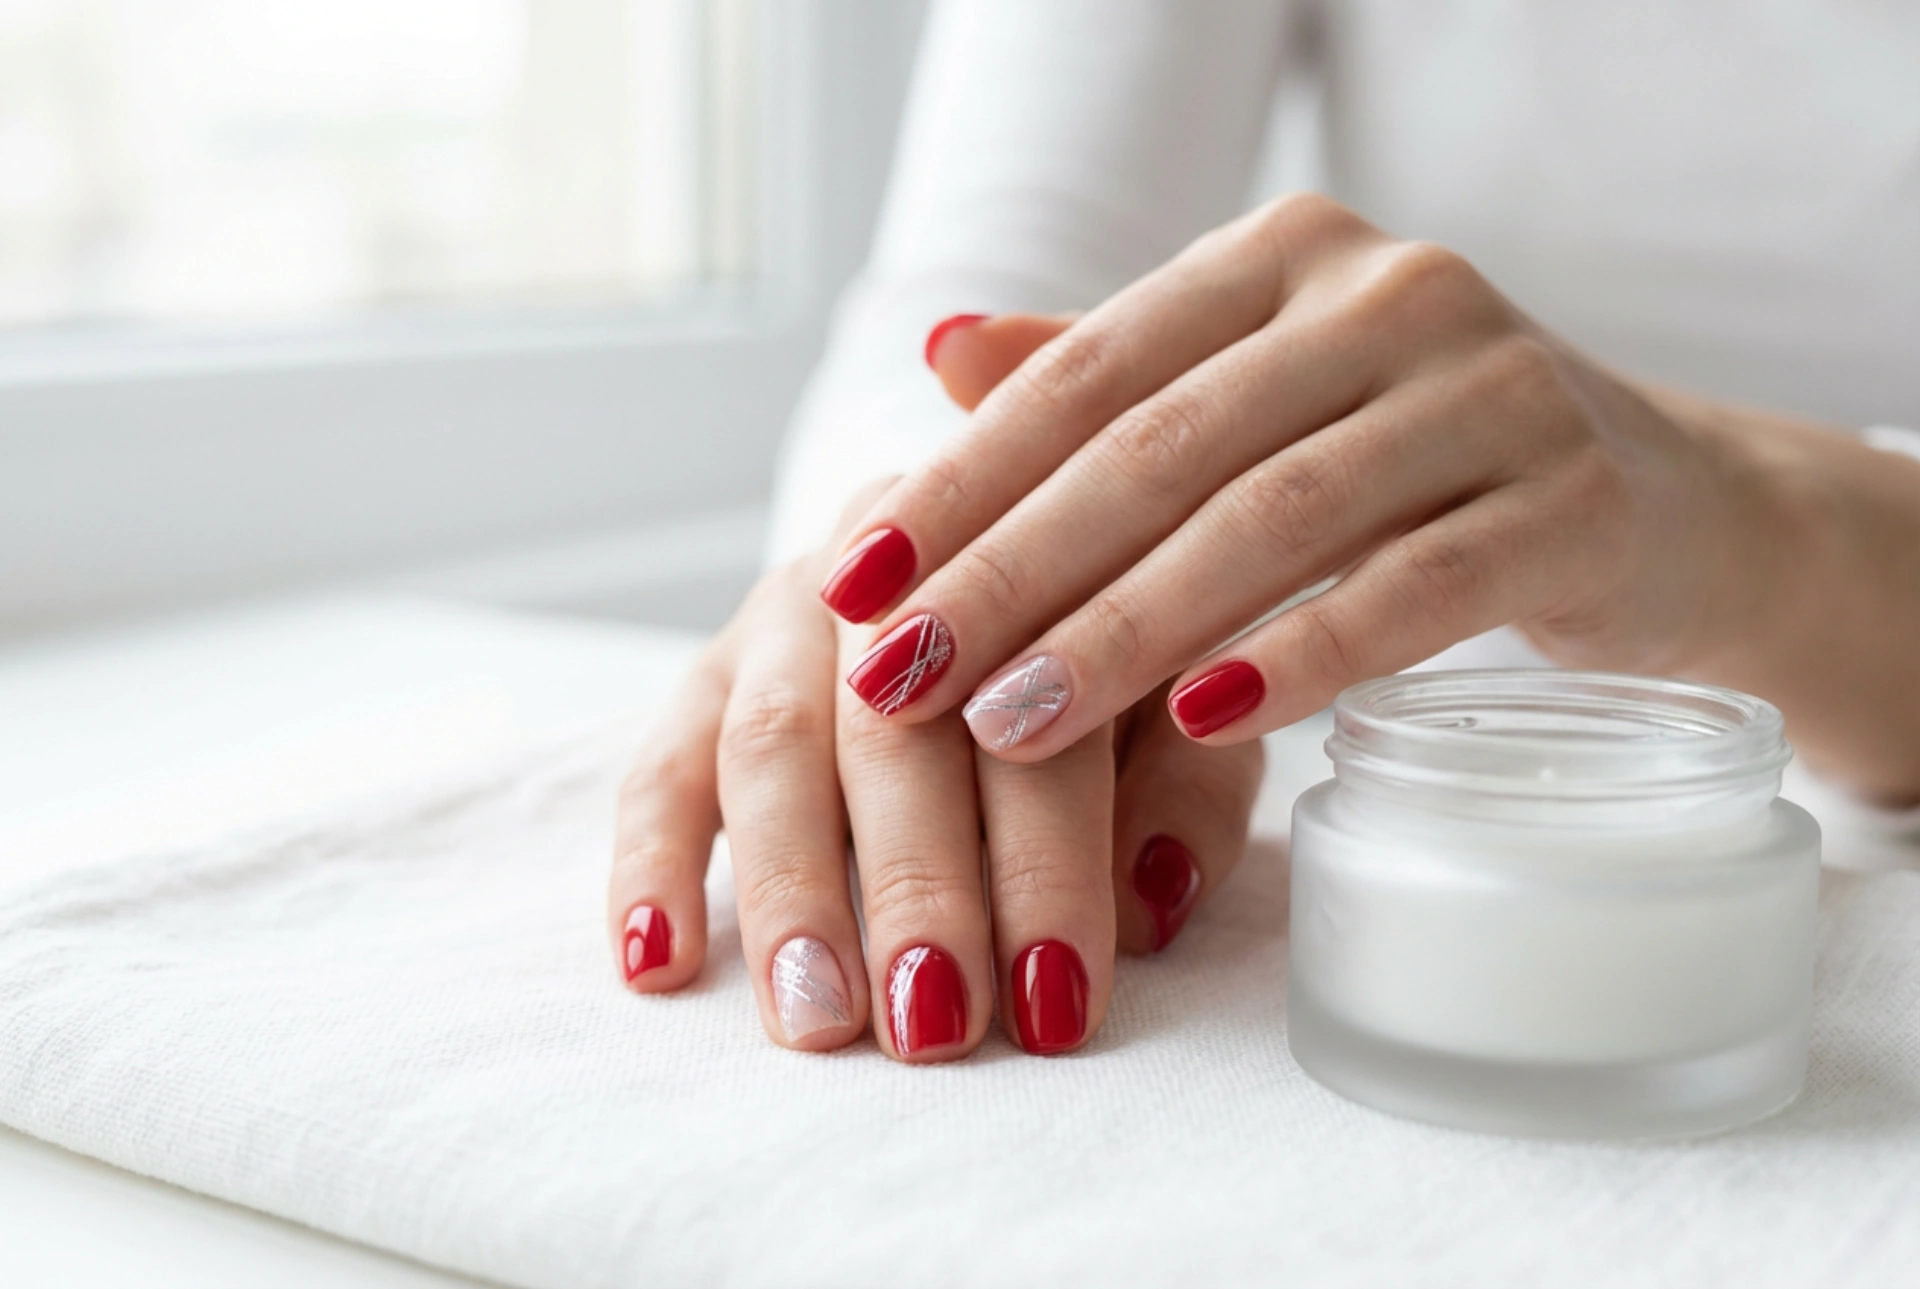


There is something inherently sophisticated about a classic red manicure. When paired with delicate silver accents, this timeless colour palette is elevated to a new level of elegance. The contrast between the rich warmth of a crimson base and the cool, catching shimmer of silver creates a striking look that remains clean and professional. Whether you are preparing for a special occasion or simply want to add a touch of sparkle to your daily style, mastering this design at home is both accessible and highly rewarding.
The Harmony of Red and Silver
The combination of red and silver relies on the balance of contrasting tones. Red is a powerful, warm, and attention-grabbing colour, while silver introduces a cool, modern, and reflective element. When combined, they do not compete; instead, the silver highlights the depth of the red, and the red serves as a vibrant backdrop that makes even the finest silver lines stand out. This classic pairing mimics the appearance of fine jewellery against rich fabrics, offering a polished aesthetic that complements any skin tone.
By choosing different shades of red—from a bright poppy red to a deep burgundy—you can easily customise this look to suit your mood or the season. Adding silver in various forms, such as fine metallic stripes, geometric blocks, or a dusting of micro-glitter, allows for endless creativity while keeping the overall appearance refined and elegant.
Prepping the Nails for a Polished Finish
A beautiful manicure always begins with thorough preparation. To ensure your design looks clean and lasts as long as possible, take the time to prepare your nails properly before applying any colour. This safe, step-by-step prep routine can easily be done at home:
- Shape and Smooth: Use a gentle nail file to shape your nails. Rounded or soft square shapes work particularly well with classic red designs. Always file in one direction to prevent splitting.
- Care for Cuticles: Apply a cuticle softener and gently push back the cuticles using a wooden manicure stick. Avoid cutting the cuticles to maintain a healthy skin barrier.
- Cleanse the Surface: Wipe each nail with a lint-free pad soaked in a gentle nail cleanser or rubbing alcohol. This removes natural oils and dust, helping the polish adhere better.
- Apply a Protective Base Coat: A high-quality base coat is essential, especially when working with highly pigmented red polishes. It prevents staining and creates a smooth surface for your colour application.
Design Ideas: From Minimalist Lines to Shimmering Accents
Depending on your personal style, there are several ways to incorporate silver into your red manicure. Here are three popular design ideas that you can easily replicate at home:
Fine Silver Lines
For a modern, minimalist look, use a very thin striping brush dipped in metallic silver polish to paint delicate lines. You can draw a single vertical line down the centre of an accent nail, create a subtle diagonal stripe across the tips, or try a modern French tip design using silver instead of white. The key is to keep the lines crisp and fine to maintain an elegant appearance.
Subtle Silver Accents
If you prefer a more understated design, consider adding small silver accents to just one or two nails on each hand. This could be a tiny silver dot near the cuticle line, a small painted triangle at the base of the nail, or even a delicate leaf pattern. These small details catch the light beautifully without overwhelming the classic red base.
Delicate Glitter Details
Glitter adds a festive and playful touch to the manicure. To keep the look sophisticated, focus the glitter on a specific area rather than coating the entire nail. Try a glitter gradient, where you apply a dense layer of silver glitter near the cuticle and gently fade it out towards the middle of the nail. Alternatively, a micro-glitter top coat applied over a single accent nail provides a subtle, overall shimmer that catches the light elegantly.
Step-by-Step Red and Silver Nail Art Guide
Creating this look at home is simple when you follow a structured approach. Here is how to achieve a professional-looking finish step by step:
- Step 1: The Red Base. Apply two thin, even coats of your chosen red polish. Allow the first coat to dry completely before applying the second. Ensure you cap the free edge of your nails to prevent chipping.
- Step 2: Prepare the Silver Polish. Dispense a small drop of metallic silver polish or silver glitter polish onto a clean palette or piece of foil. This makes it easier to control the amount of product on your brush.
- Step 3: Apply Your Chosen Design. Using a fine detail brush or a dotting tool, carefully apply your lines, accents, or glitter. If you are creating fine lines, pull the brush smoothly across the nail in a single, fluid motion. If you are using glitter, dab it gently onto the desired areas to control the density.
- Step 4: Clean Up. If any polish has touched your skin or cuticles, dip a clean, flat brush into nail polish remover and carefully wipe away the excess for a clean, sharp edge.
- Step 5: Seal and Protect. Once your design is dry to the touch, apply a generous layer of a glossy top coat. This protects your hard work, smooths out any texture from the silver glitter, and gives the manicure a beautiful, professional shine.
Tips for Manicure Longevity and Hand Care
To keep your red and silver manicure looking fresh and beautiful for as long as possible, daily care is essential. Regular application of a nourishing cuticle oil will keep the skin around your nails hydrated, preventing hangnails and dry patches that can detract from your elegant look.
Additionally, remember to wear protective gloves when doing household chores, such as washing dishes or cleaning, to shield your nails from harsh soaps and excess water. Reapplying a thin layer of top coat every few days can also help prevent chips and maintain that glossy, fresh-from-the-salon appearance.




