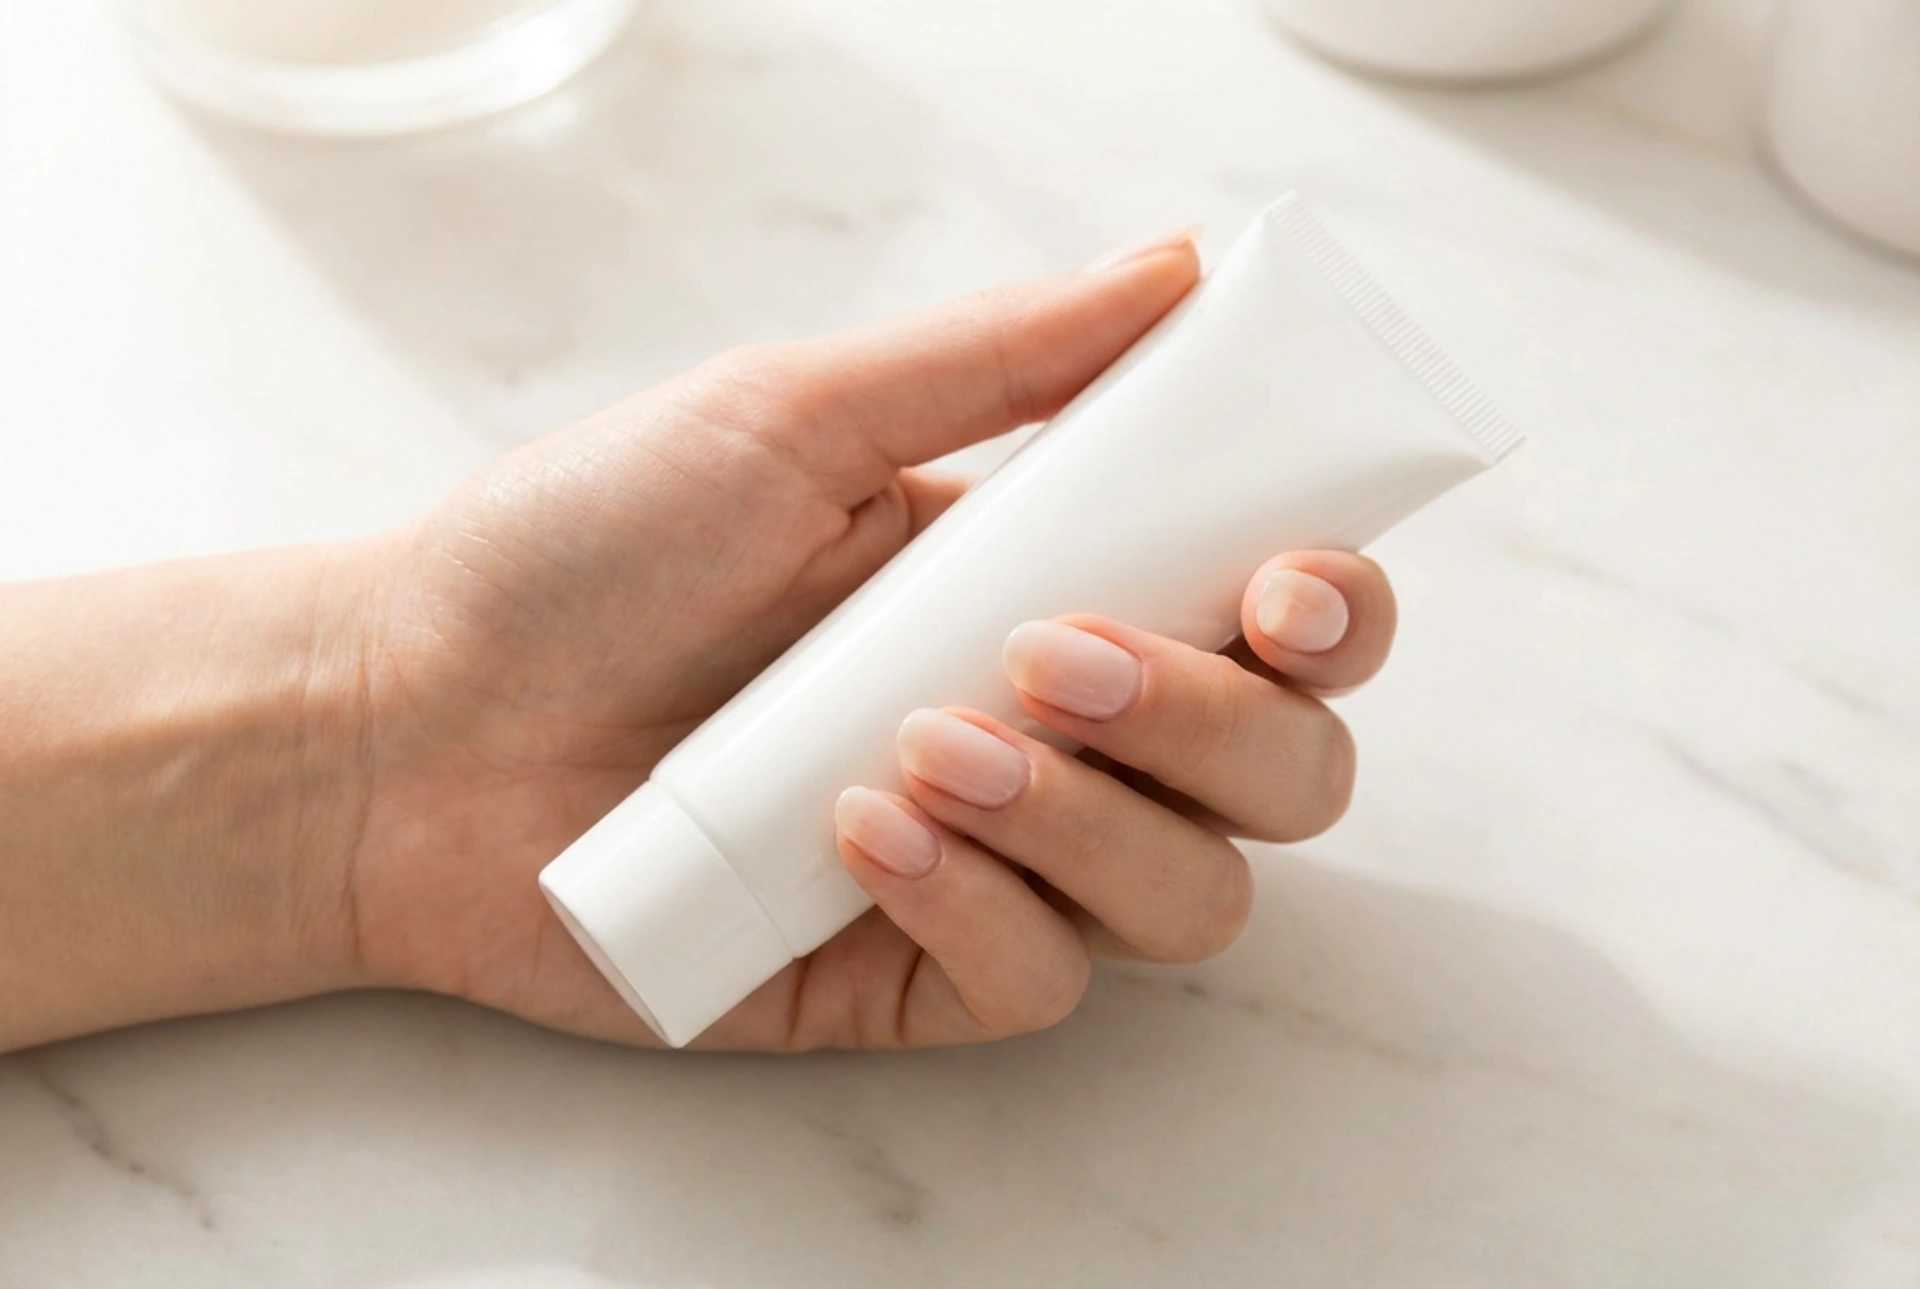


A beautifully manicured hand with perfectly shaped, glossy nails is the ultimate symbol of elegant grooming. Achieving this sophisticated finish at home has become remarkably simple, thanks to the introduction of tube nail gels. Often referred to as polygel or acrylgel, this innovative product combines the best qualities of traditional acrylics and classic hard gels in a single, user-friendly format. Squeezed effortlessly from a sleek tube, this modern manicure solution allows beauty enthusiasts to shape and model their nails with professional precision under soft, natural light at their own vanity table.
What is Tube Nail Gel and Why is it Revolutionary?
Traditional nail enhancement methods often require a steep learning curve. Liquid and powder acrylic systems can dry too quickly, while standard builders gels can run into the cuticles if not manipulated fast enough. Tube nail gel solves both of these common dilemmas. It features a thick, paste-like consistency that remains completely stable until it is cured under a lamp. This means you can take as much time as you need to perfect the shape of each nail without any rushing or dripping.
The product is squeezed directly from the tube, allowing for precise dosage and minimal product waste. It provides a lightweight yet incredibly durable overlay that feels natural on the nail plate. Whether you want to strengthen your natural nails, repair a chip, or extend the length using dual forms, the gel in a tube offers unparalleled versatility for home manicures.
Key Benefits of the Tube Gel System
Switching to a tube-based nail gel offers several distinct advantages for both beginners and experienced nail enthusiasts looking for a reliable, salon-quality finish at home:
- Complete control: The thick consistency does not move or self-level rapidly, giving you absolute control over the placement and thickness of the product.
- Odourless application: Unlike traditional acrylic systems that require strong-smelling monomers, tube gels are virtually odourless, making them ideal for home use.
- Minimal dust and filing: Because the gel can be shaped so smoothly before curing, the amount of filing required afterwards is significantly reduced.
- Strong yet flexible: The cured gel provides the robust strength of acrylics combined with the natural flexibility of classic gels, reducing the risk of lifting or snapping.
Step-by-Step Guide to Perfect Home Modelling
Creating a flawless manicure with tube gel requires a systematic approach. By preparing the nail plate correctly and using the right tools, you can achieve a glossy, long-lasting result.
Step 1: Preparation
Begin by gently pushing back the cuticles and shaping the free edge of your natural nails. Lightly buff the surface of the nail plate with a fine-grit buffer to remove any natural oils. Wipe the nails thoroughly with a dehydrating prep solution to ensure optimal adhesion.
Step 2: Base Coat
Apply a thin layer of a compatible base coat to the prepared nails. Cure this layer under an LED or UV lamp according to the manufacturer’s instructions. This creates a secure foundation for the tube gel.
Step 3: Dispensing and Shaping
Squeeze a small, pea-sized bead of the gel from the tube. Use a spatula tool to slice the bead and place it onto either the natural nail or a dual form. Dip your brush into a mild shaping liquid (often called slip solution) to prevent the gel from sticking to the bristles. Gently pat and smooth the gel into the desired shape.
Step 4: Curing and Finishing
Once you are satisfied with the shape, cure the nail under the lamp. After curing, remove any sticky residue with a cleanser. Use a nail file to refine the edges and smooth the surface. To achieve that gorgeous, glossy finish, apply a high-shine top coat and cure it as the final step.
Practical Tips for a Professional Finish
To avoid common mistakes and ensure your manicure looks effortlessly professional, keep these practical tips in mind. Firstly, avoid using too much shaping liquid on your brush; the brush should be slightly damp, not soaking wet, as excess liquid can break down the gel structure and cause lifting. Secondly, ensure the gel is applied thinly near the cuticle area to create a seamless transition as your natural nails grow. Finally, invest in a reliable curing lamp to ensure the thick gel cures thoroughly from the surface down to the base.




