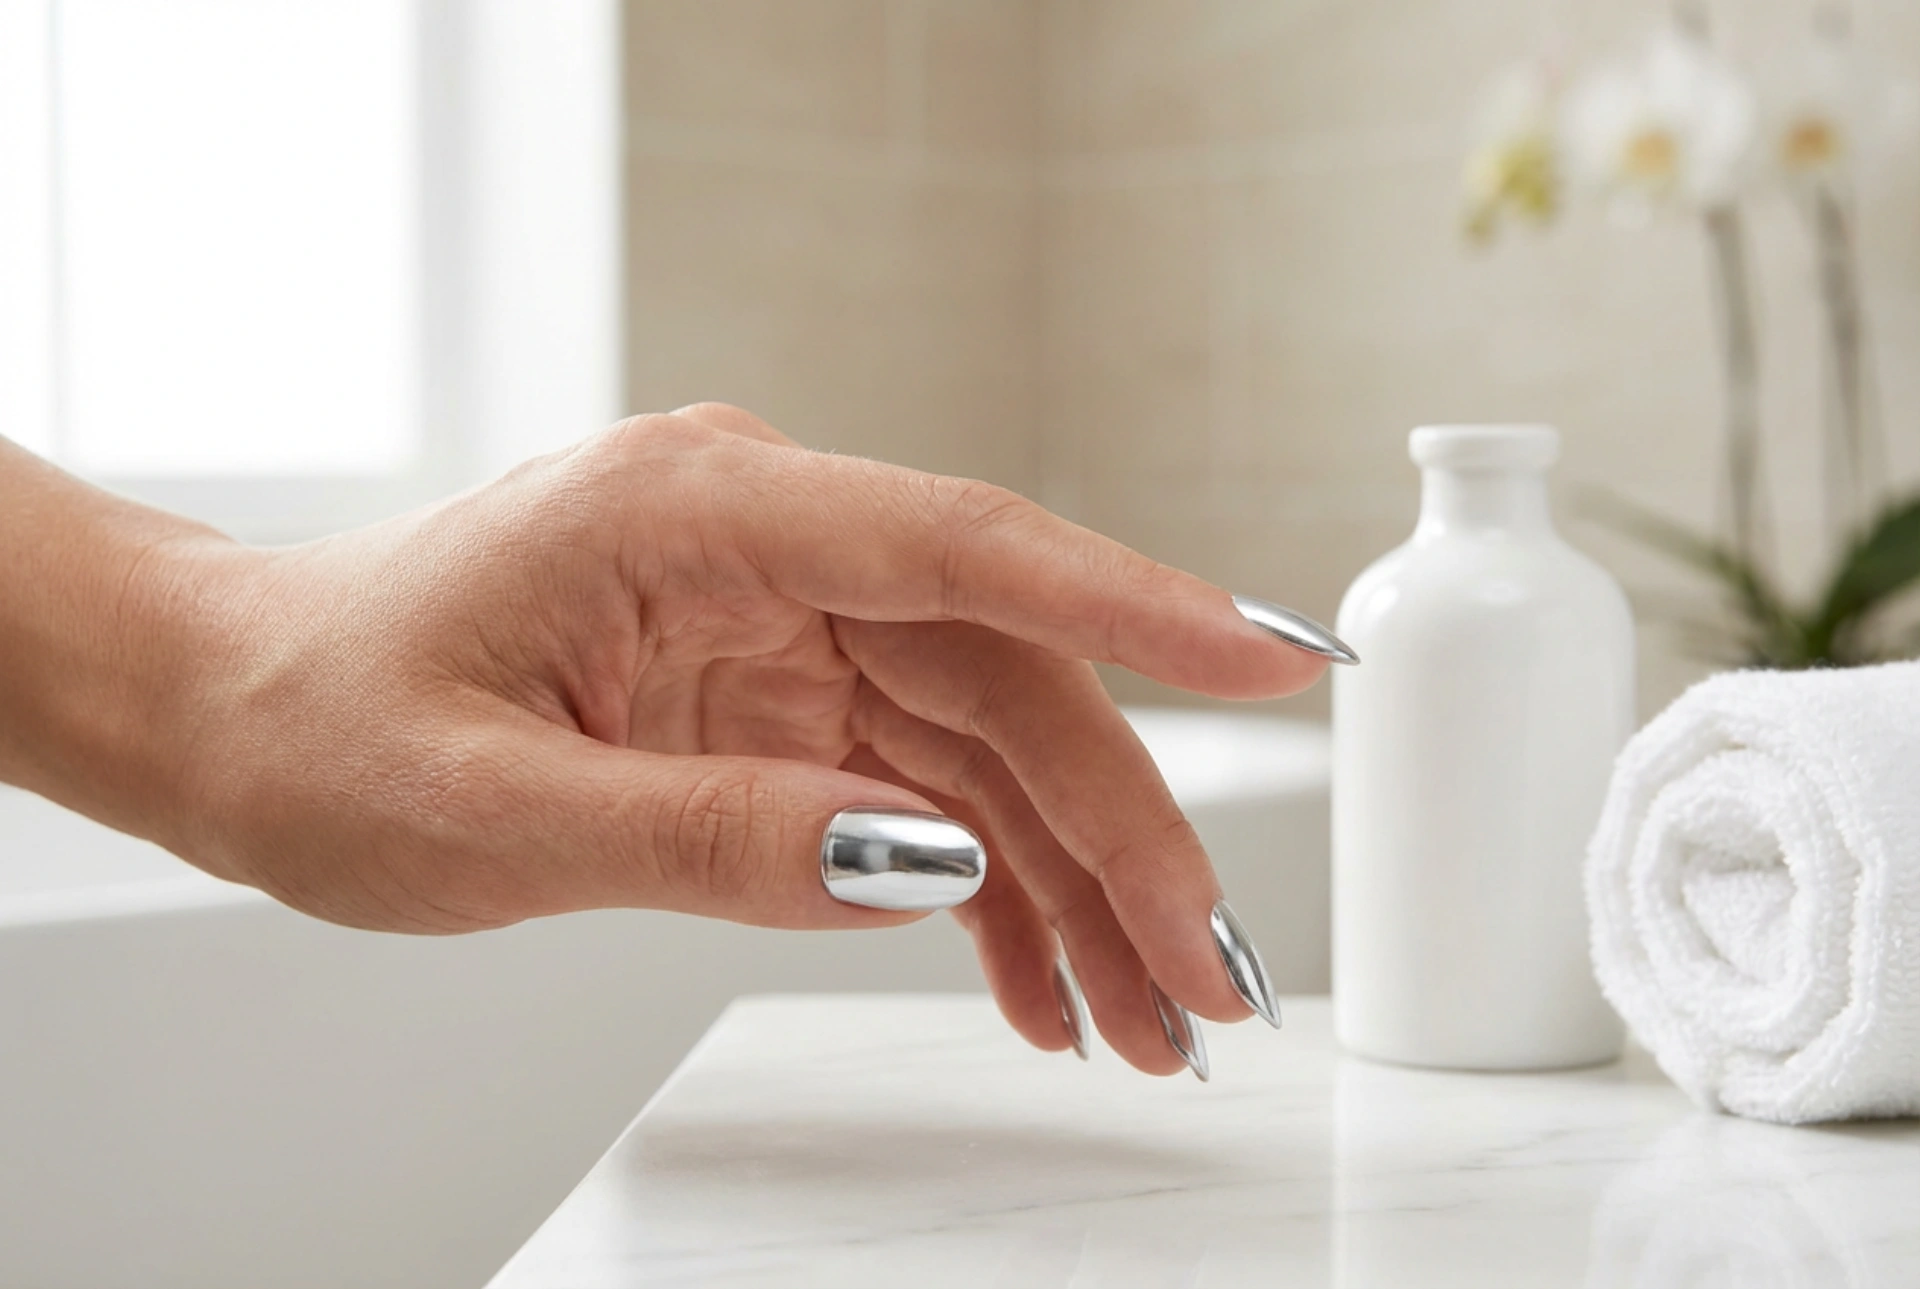


Achieving a perfectly manicured hand with a stunning, streak-free mirror effect is the ultimate goal for many home beauty enthusiasts. When soft, ambient light catches a highly reflective nail surface, it showcases a flawless sheen that looks professional yet is entirely achievable at home. Mirror powder, also known as chrome powder, has revolutionised DIY nail art, offering an ultra-shiny finish that traditional nail polishes simply cannot replicate. However, mastering this technique requires precision, the correct sequence of steps, and an understanding of how light-reflecting pigments interact with nail products.
Preparing the Nail Surface for a Flawless Canvas
The secret to a perfect mirror effect lies beneath the chrome pigment. Because mirror powders are highly reflective, they acts like a magnifying glass for any imperfections on the nail plate. Any ridges, bumps, or dust particles will be amplified once the metallic shine is applied. Therefore, meticulous preparation is the essential first step.
Begin by shaping your nails and gently pushing back the cuticles. Use a fine-grit buffer to smooth out the surface of the nail plate, removing any natural oils and unevenness. Once buffed, thoroughly cleanse the nails with a lint-free wipe soaked in a dehydrating prep solution or isopropyl alcohol. This ensures no dust or moisture remains. Applying a high-quality base coat and curing it fully creates a strong, even foundation that prevents lifting and ensures the subsequent colour layers sit perfectly flat.
Selecting the Best Base Colour and the Magic of Non-Wipe Top Coat
To achieve the deepest and most vibrant mirror finish, the choice of undercoat colour is crucial. Classic silver or gold chrome powders look most intense over a rich black base, as the dark undercoat absorbs light, allowing the reflective particles to shine at their brightest. However, experimenting with pastel, white, or sheer bases can yield beautiful pearlescent or holographic variations. Ensure that your base colour is applied evenly in thin coats and fully cured according to the instructions.
The absolute key to applying chrome powder successfully is the top coat used directly underneath the powder. You must use a non-wipe (or no-wipe) gel top coat. Standard top coats that leave a sticky inhibition layer will trap the powder in clumps, creating a glittery, textured look rather than a smooth, liquid-metal mirror finish. The non-wipe top coat cures to a perfectly smooth, glass-like surface that allows the micro-pigments to align flatly when rubbed.
The Timing Secret: Curing the Top Coat
The curing time of the non-wipe top coat is the most critical variable in avoiding streaks. If you under-cure the top coat, it will still be slightly tacky, and the powder will stick too thickly, causing dark patches and clumping. If you over-cure it, the surface will become too hard and slick, meaning the powder will slide off without adhering, resulting in patchy, bald spots. Usually, curing a non-wipe top coat for about 30 seconds (in a standard LED lamp) is the sweet spot, but this can vary. It should feel smooth and completely dry, yet still retain enough warmth and microscopic grip to hold the pigment.
Step-by-Step Mirror Powder Application
Once your non-wipe top coat is cured to the ideal state, it is time to apply the mirror pigment. For the best results, follow this structured application method:
- Apply the powder immediately: Work on one hand at a time while the cured top coat is still warm from the lamp, as this warmth helps the powder adhere smoothly.
- Use the right tool: A silicone tool or a dense sponge eyeshadow applicator works best. Dip the applicator sparingly into the powder; a tiny amount goes an incredibly long way.
- Gently buff, do not scrub: Start in the centre of the nail, pressing the powder down gently, then buffing in circular, circular motions towards the edges. Avoid pressing too hard, which can scratch the underlying gel.
- Switch to a clean finger: For the ultimate streak-free finish, use a clean, gloved fingertip to gently buff the surface in long, sweeping motions from the cuticle to the free edge. The warmth and texture of a glove help align the particles into a seamless sheet of metal.
How to Avoid Streaks, Speckles, and Imperfections
Even with careful application, you might sometimes encounter streaks or a sparkly, rather than metallic, appearance. To prevent these common issues, pay close attention to dust removal. After buffing the powder into the nail, use an incredibly soft, dense powder brush to sweep away all loose, excess metallic particles. If you leave loose powder on the nail, it will mix into your final top coat, creating a glittery finish instead of a clean mirror effect.
Another common mistake is applying too much pressure during the rubbing phase. If you press too hard, you risk rubbing off the powder you just applied or denting the gel layer underneath. Always maintain a light, gliding touch. Lastly, ensure your workspace is entirely free of drafts or dust, as tiny airborne particles landing on the nail mid-process can disrupt the reflective surface.
Sealing the Chrome Finish for Long-Lasting Wear
Because chrome powder is an ultra-fine pigment rather than a cohesive gel layer, it can easily chip or wear off at the free edge if not sealed correctly. To protect your beautiful mirror finish and maintain its glossy appearance for weeks, a double-sealing technique is highly recommended.
First, apply a thin layer of a clear, flexible base gel or builder gel directly over the buffed chrome, making sure to cap the free edge of the nail completely. This creates a protective sandwich layer. Cure this layer fully. Next, finish with a generous layer of high-shine top coat, ensuring you seal the edges once more. Capping the free edge is vital because any exposed chrome pigment will quickly wear away during daily activities, allowing water to get underneath and cause peeling. With this double-seal method, your streak-free, professional-looking mirror nails will remain flawless and brilliant.




