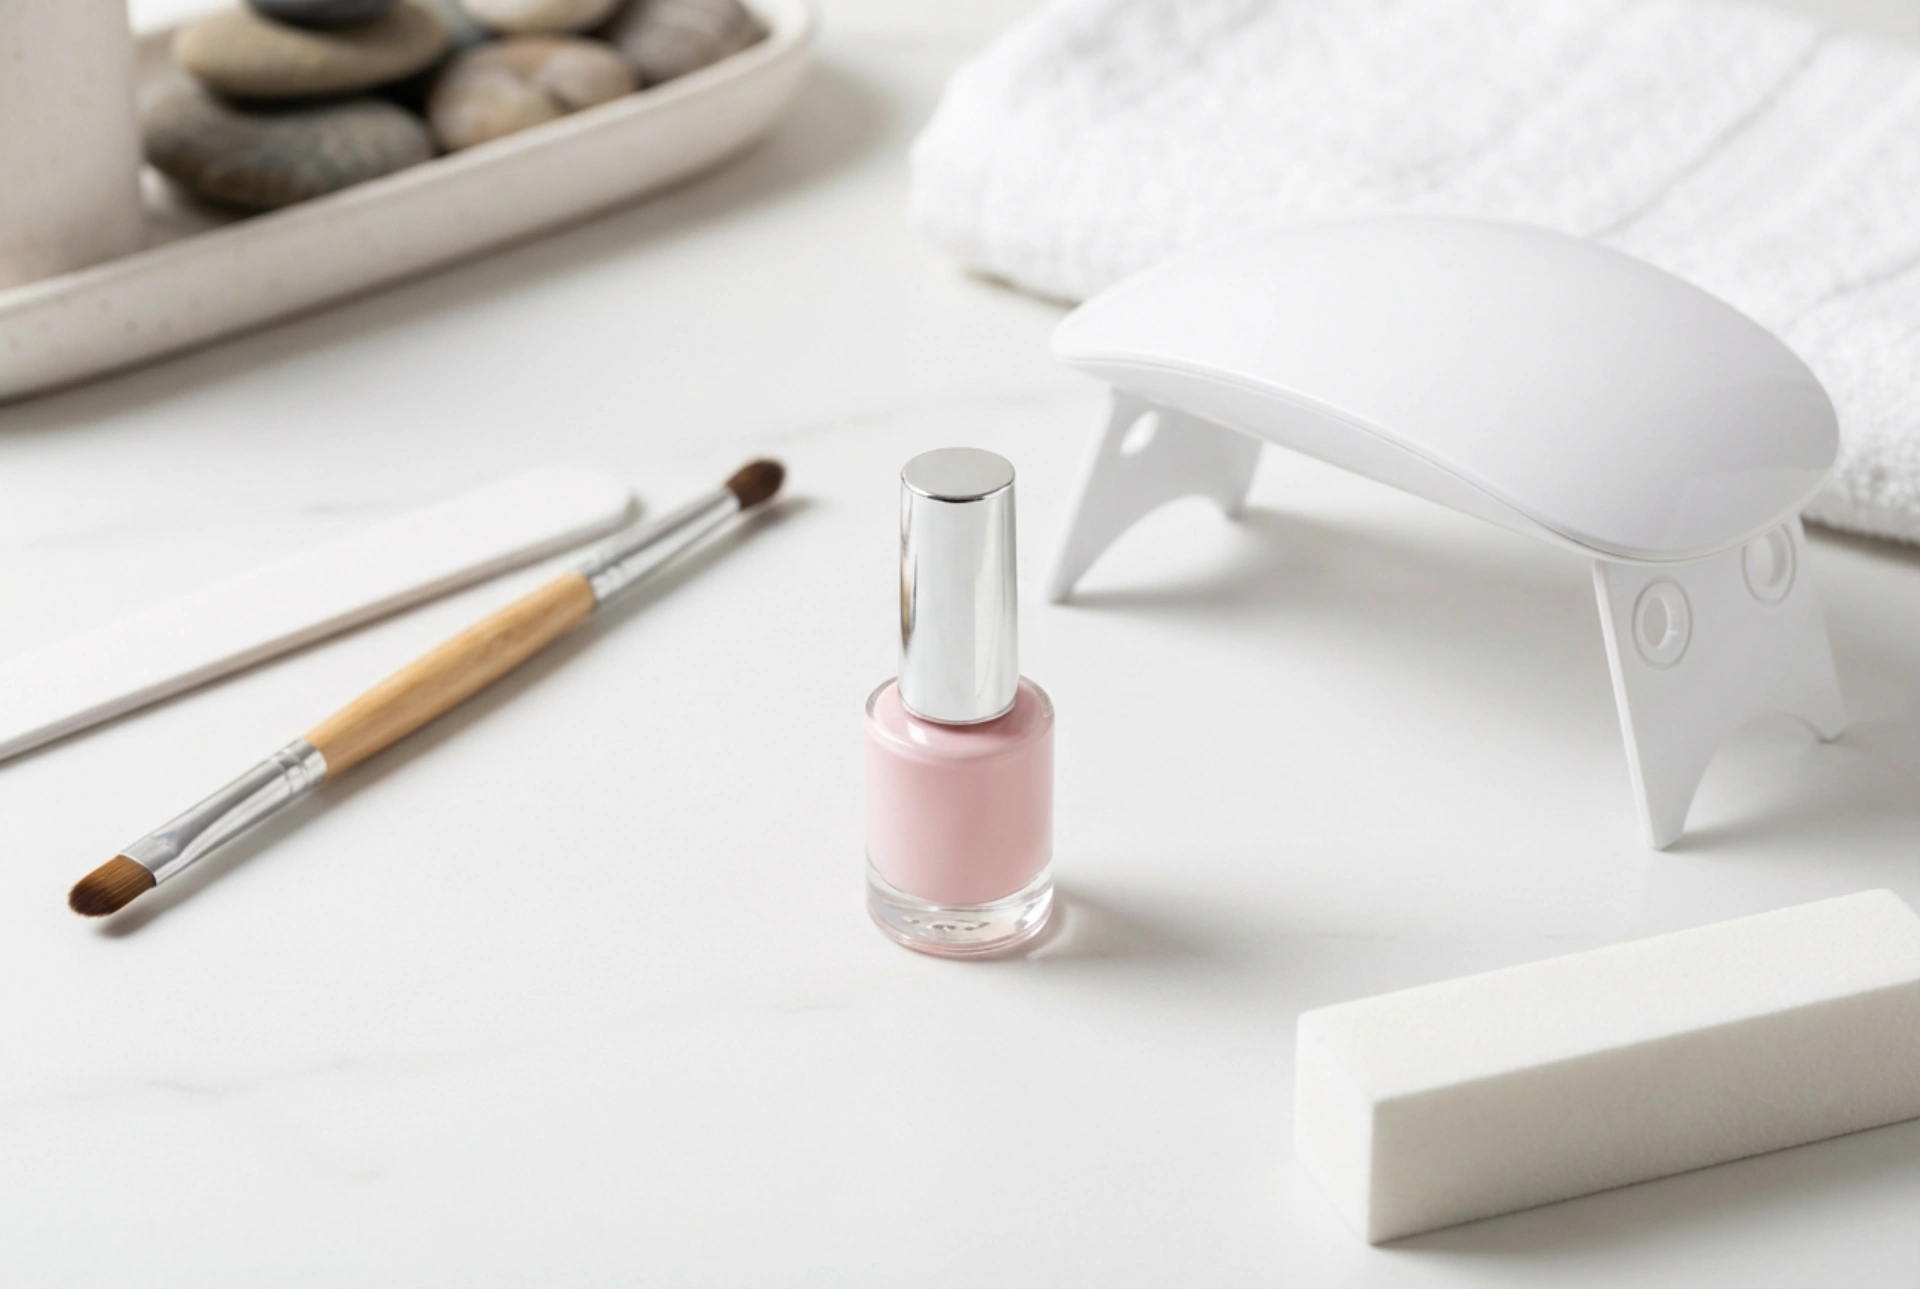


Creating a professional-looking manicure at home has never been more accessible, with a serene setup of essential tools allowing anyone to achieve beautiful results. A minimalist table adorned with a UV/LED lamp, a precise shaping brush, and a buffer offers the perfect starting point for a relaxing self-care ritual. While classic gel polish provides exceptional durability and colour, there are times when natural nails require extra support, structure, or length. This is where combining builder gel with hybrid gel polish becomes a game-changer. Understanding when to introduce gel into your at-home routine, and mastering the techniques of modelling and curing, is key to achieving a flawless, long-lasting finish.
When to Incorporate Gel into Your Hybrid Manicure
Standard gel polish is excellent for adding colour and a moderate layer of protection, but it remains relatively flexible. If your natural nails are particularly thin, brittle, or prone to splitting, classic hybrid products might not prevent them from bending and breaking. Builder gel provides a rigid, reinforcing layer that shields the natural nail plate from mechanical damage. It allows you to grow your natural nails to your desired length without the fear of constant chipping.
Another common scenario for using gel is nail correction. Many of us struggle with uneven nail plates, downward-growing nails, or minor structural imperfections. A thicker builder gel allows you to self-level and reconstruct the nail shape, creating a smooth, beautifully arched surface that mimics professional salon results. Additionally, if you accidentally chip or break a corner of an otherwise perfect nail, gel can easily extend and repair the damaged area without requiring you to file all your other nails short.
Essential Tools for At-Home Gel Modelling
To transition successfully from basic gel polish to gel modelling, a few specific tools are required. Having these prepared in a clean, organised space makes the process seamless and enjoyable. Here is what you will need for a precise application:
- A High-Quality UV/LED Lamp: Gel requires a specific light wavelength to polymerise correctly. A lamp with a gentle, low-heat mode is highly recommended to prevent discomfort during the curing process.
- A Fine Styling Brush: While some builder gels come in bottles with built-in brushes, jar-based gels require a separate, flat or oval-shaped synthetic brush for precise product placement.
- Nail Prep Solutions: A gentle dehydrator and an acid-free primer are crucial to ensure the gel adheres perfectly to the natural nail plate, preventing premature lifting.
- Buffers and Files: A 180-grit file is ideal for shaping the cured gel, while a softer buffer is perfect for smoothing the surface before applying the final colour.
The Step-by-Step Guide to Modelling and Shaping
Proper preparation is the foundation of any long-lasting manicure. Begin by gently pushing back the cuticles and removing the natural shine from the nail plate using a soft buffer. Cleanse the nails thoroughly with a prep solution to remove any dust and oils, and apply a thin layer of primer. Once dried, apply a thin base coat and cure it under the lamp to create a sticky surface for the gel to grip onto.
When applying the builder gel, the secret lies in creating the correct structure, particularly the 'apex' – the highest point of the nail curve which provides strength. Pick up a small bead of gel on your brush and place it slightly below the cuticle area. Gently guide the product down the centre of the nail and towards the free edge, keeping the brush light and parallel to the nail plate. Use light, circular motions to spread the gel towards the side walls, ensuring you do not touch the skin or cuticles. If the gel seems uneven, flip your hand palm-up for a few seconds before curing; gravity will help the self-levelling product settle into a perfect, smooth arch.
The Art of Curing: Avoiding Heat and Ensuring Durability
Curing is the chemical process where liquid gel transforms into a hard, durable polymer. Because this reaction releases heat, you might sometimes experience a warm sensation under the lamp. To prevent discomfort, look for a lamp with a low-heat setting that gradually increases power. If you feel any heat, simply slide your hand out of the lamp for a few seconds until the sensation passes, then place it back inside to complete the cycle.
Ensure you cure the gel for the full duration recommended by the manufacturer, typically 60 to 90 seconds depending on your lamp's power. Under-cured gel can lead to lifting, pocket formation, or soft spots underneath the hard surface, which compromises the manicure's longevity. Once fully cured, wipe away the sticky inhibition layer with a cleanser before using your file and buffer to perfect the shape and refine the edges.
Finishing the Manicure and Safe Aftercare
Once you are satisfied with the shape and smoothness of your built-up nails, you can proceed with your favourite gel polish colour. Apply the colour in thin, even layers, curing each one individually. Finish with a high-shine or matte top coat, paying close attention to sealing the free edge of the nail to lock in the product and protect it from daily wear and tear.
Maintaining your beautiful new manicure involves regular hydration. Apply a nourishing cuticle oil daily to keep the surrounding skin soft and healthy. When it comes to removal, never try to peel or tear the gel off, as this can severely damage the layers of your natural nail plate. Instead, use a gentle filing technique to thin out the gel layer safely, or soak it off patiently if using a soak-off formula. Taking your time during both application and removal ensures your natural nails remain strong, healthy, and ready for your next elegant design.




