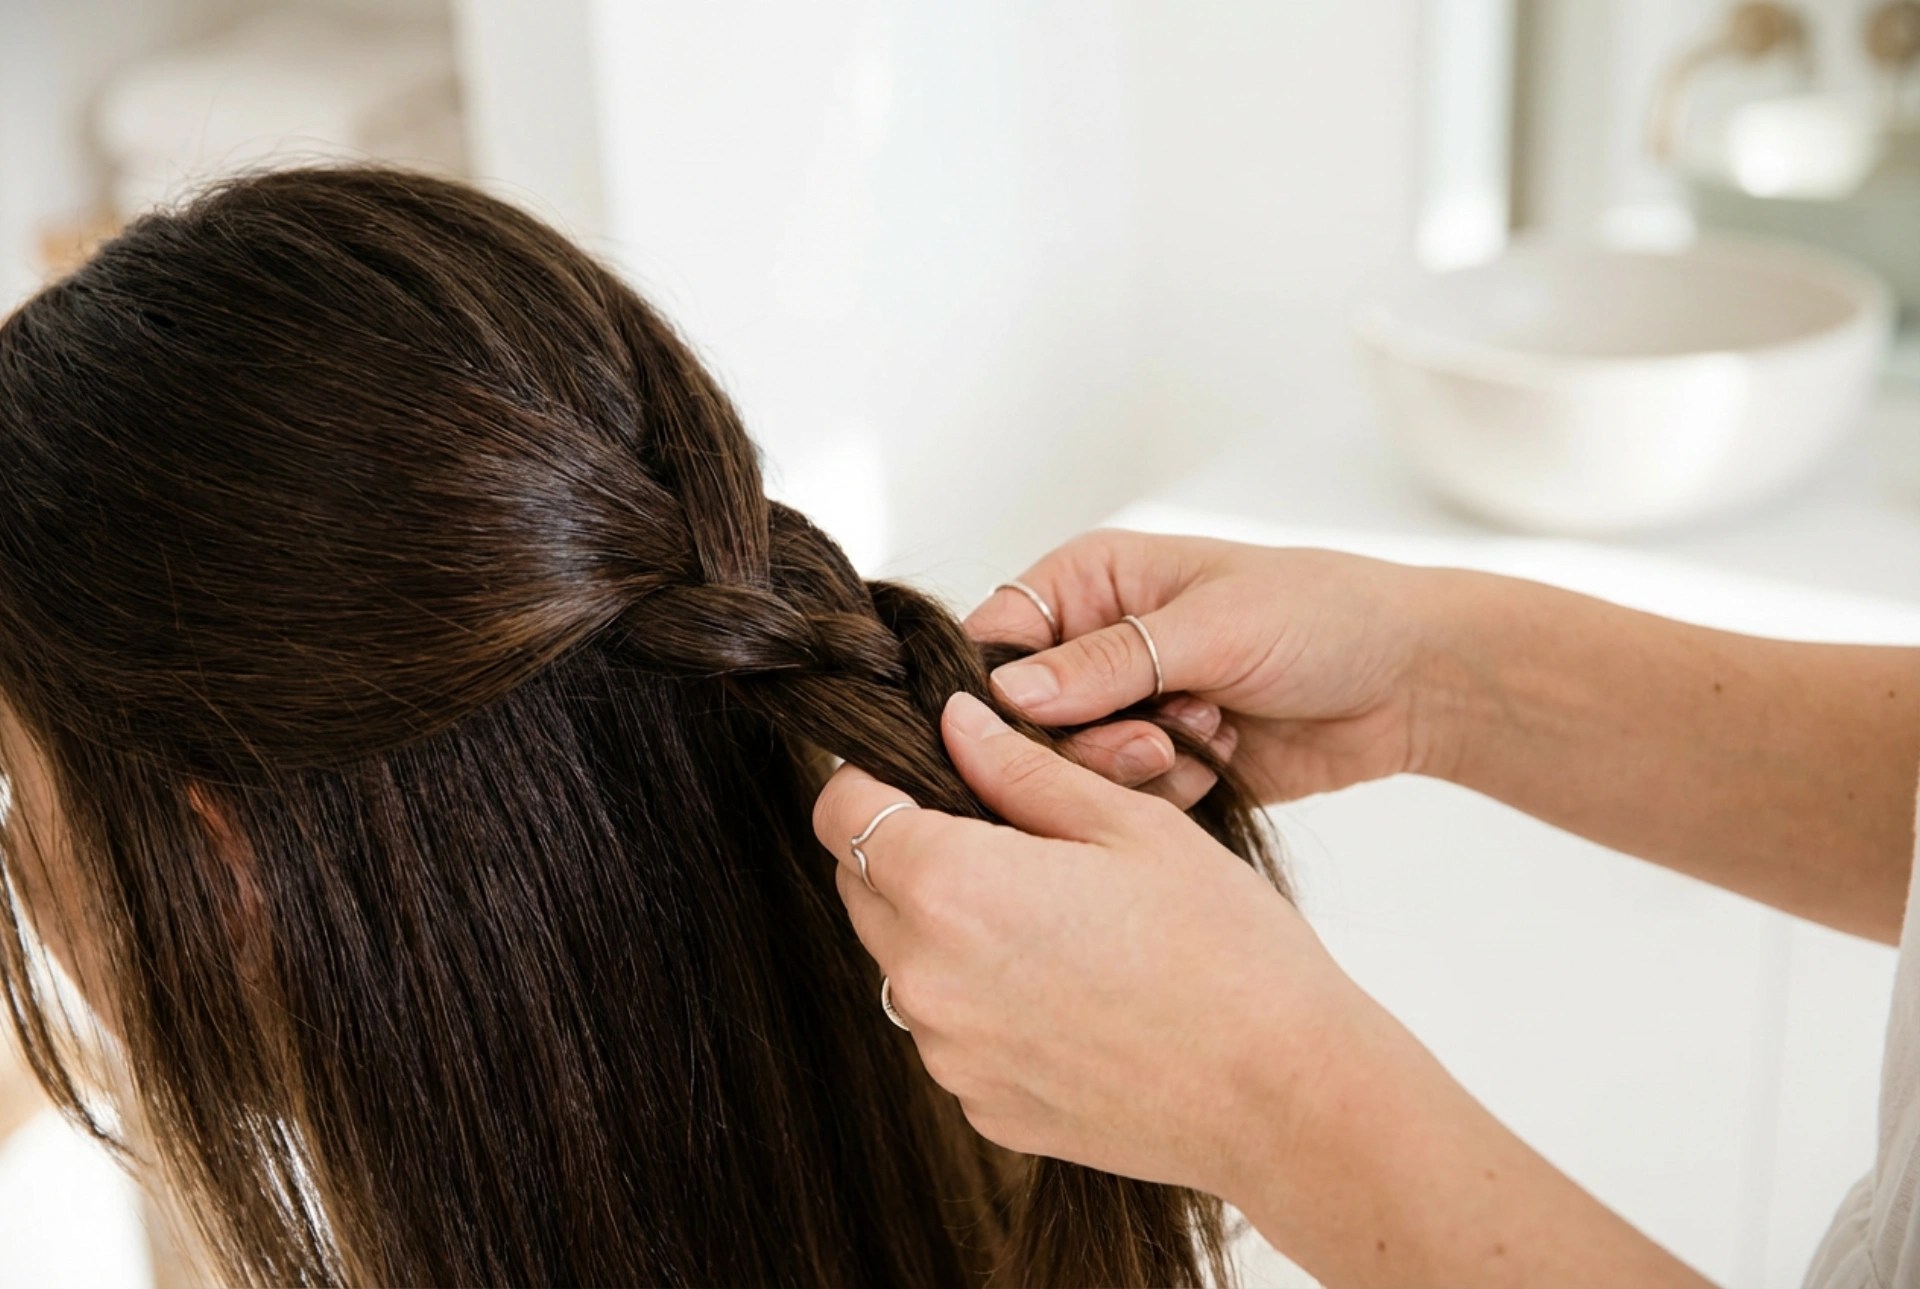


Long, healthy hair has a natural elegance that is beautifully highlighted when styled into intricate braids. Under soft, diffused light, the rich textures and deep tones of long hair truly come alive as strands are woven together. Braiding is not just a practical way to manage length; it is an art form that creates a refined, classic look suitable for both everyday wear and special occasions. Learning how to master different braiding techniques can transform your styling routine, allowing you to create beautiful, secure hairstyles at home.
Essential Preparation for Flawless Braids
Before you begin braiding, preparing your hair is key to achieving a neat, long-lasting finish. Braiding fresh, silky hair can sometimes be challenging as the strands may slide out of place. For the best grip and control, it is often easier to style hair on the second day after washing. If you are starting with clean hair, applying a small amount of lightweight styling cream or a gentle leave-in conditioner can add the necessary texture without weighing the hair down.
Start by thoroughly detangling your hair. Use a wide-tooth comb or a paddle brush, starting from the ends and working your way up to the roots to minimise breakage. Ensuring there are no knots makes the process of separating strands much smoother. For an extra touch of elegance, you can apply a tiny drop of natural hair oil to the lengths to enhance your hair's natural shine and keep flyaways at bay.
Step-by-Step: The Timeless French Braid
The French braid is a classic hairstyle that keeps hair securely in place while looking effortlessly sophisticated. It is the perfect foundation for many other braided styles.
- Step 1: Gather a section of hair from the top of your head, near the forehead and temples. Divide this section into three equal strands.
- Step 2: Begin a standard three-strand braid by crossing the right strand over the middle strand, and then crossing the left strand over the new middle strand.
- Step 3: Before crossing the strands again, gather a small, thin section of loose hair from the right side of your head and add it to the right strand. Now, cross this combined strand over the middle strand.
- Step 4: Repeat this process on the left side. Gather a small section of loose hair from the left side, add it to the left strand, and cross it over the middle.
- Step 5: Continue this pattern down the back of your head, adding equal sections of loose hair with each step. Once all the loose hair has been incorporated, finish with a standard three-strand braid to the ends and secure with a gentle hair tie.
Step-by-Step: The Elegant Fishtail Braid
The fishtail braid looks intricate and highly detailed, making it perfect for showcasing the subtle highlights and dimension in your hair. Although it looks complex, it is actually quite simple to master.
- Step 1: Brush your hair back and divide it into two large, equal sections. Unlike classic braids, the fishtail only uses two main sections.
- Step 2: Take a very thin strand of hair from the outer edge of the left section. Cross this thin strand over the left section and join it with the right section.
- Step 3: Next, take a thin strand from the outer edge of the right section. Cross it over the right section and merge it with the left section.
- Step 4: Repeat these steps, always taking small strands from the outer edges and crossing them to the opposite side. Pull the braid gently to keep it secure as you work.
- Step 5: Once you reach the ends, secure the braid with a clear or hair-coloured elastic. For a softer, more voluminous look, you can gently pull at the outer edges of the braid to loosen it slightly.
Step-by-Step: The Voluminous Dutch Braid
Often referred to as a reverse French braid, the Dutch braid sits on top of the hair, creating a striking, three-dimensional effect that adds beautiful volume and structure.
- Step 1: Separate a section of hair at the top of your head and divide it into three equal parts.
- Step 2: Instead of crossing the strands over each other as you would for a French braid, cross them underneath the middle strand. Take the right strand and pass it under the middle, then take the left strand and pass it under the new middle.
- Step 3: As you continue down, gather a small section of loose hair from the right side, combine it with the right strand, and pass it under the middle.
- Step 4: Do the same on the left side, adding loose hair to the left strand and passing it under the middle.
- Step 5: Keep braiding down the head. Once you reach the nape of your neck and all loose hair is integrated, finish with a standard braid, crossing the outer strands under the middle. Secure the ends carefully.
Maintaining Braid Longevity and Hair Health
To keep your braids looking fresh throughout the day without causing stress to your hair, it is important to follow a few simple care tips. Always use soft, fabric-covered hair ties or spiral elastics that do not snag or pull the hair. Avoid tight braiding near the scalp, as excessive tension can lead to discomfort and hair breakage over time.
If you want to protect your braided style overnight, sleeping on a silk or satin pillowcase can reduce friction, preventing your hair from frizzing or unravelling. In the morning, you can gently mist your braids with a light leave-in conditioner spray to restore shine and keep your hair looking beautifully polished.





