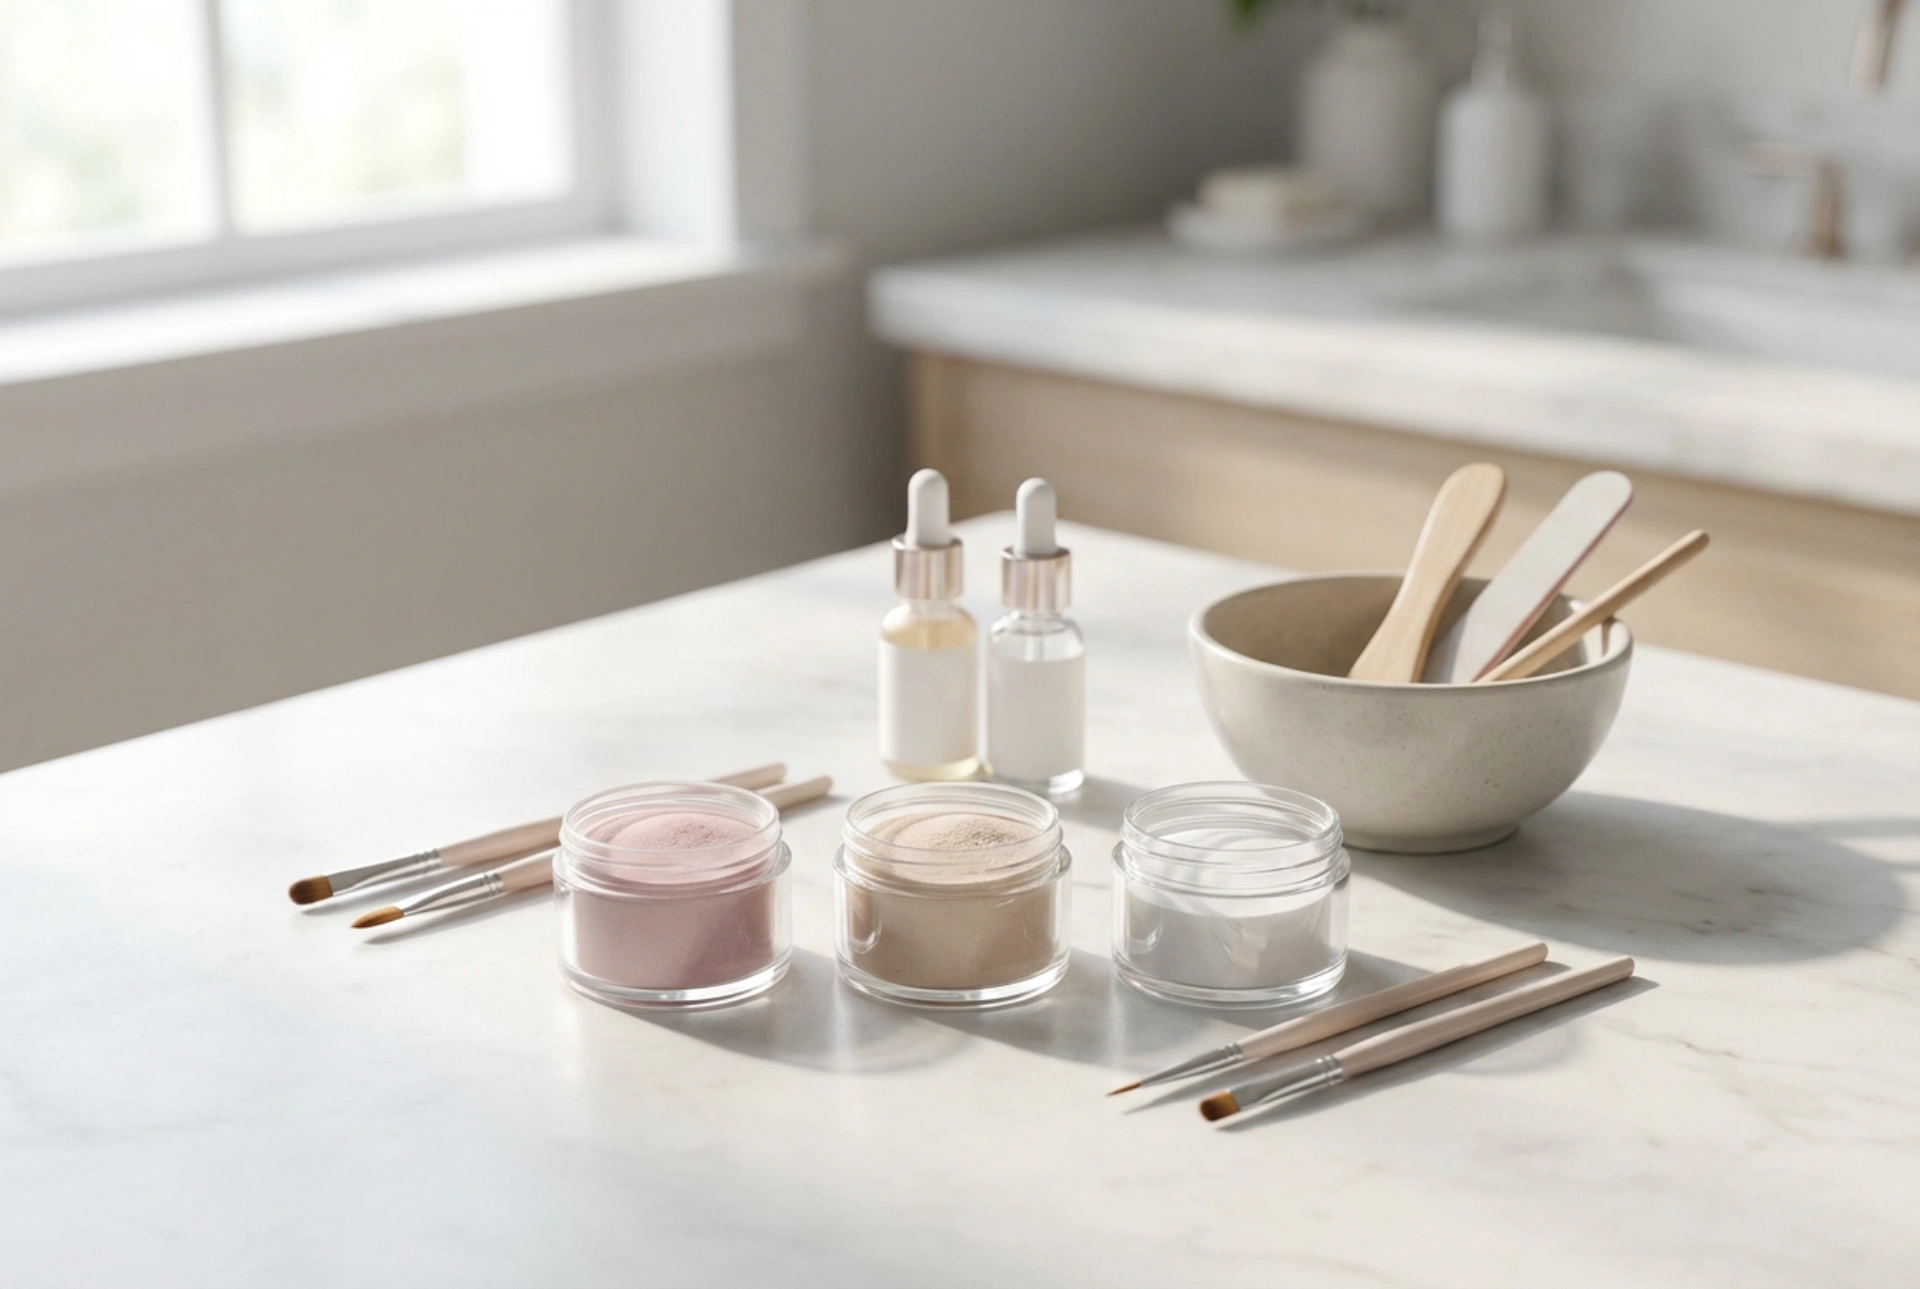


Achieving a salon-quality manicure at home has become increasingly accessible with the rise of innovative nail techniques. Among these, titanium nails—often referred to as dip powder nails—have gained immense popularity due to their exceptional durability and ease of application. When unboxing a fresh DIY kit, one is greeted by an aesthetically pleasing arrangement of fine coloured powders, specialized liquid bottles, and precise application tools. Setting up a clean, well-lit workspace is the first step toward mastering this modern manicure method, which promises beautiful, long-lasting results without the need for UV lamps.
Understanding the Titanium Nail Method
The titanium nail technique, widely known as the dip powder system, combines the strength of acrylics with the flexibility of gel polish. Unlike traditional manicures that require curing under an ultraviolet or LED light, this system relies on a chemical reaction between a liquid base coat and a finely milled polymer powder. The name titanium stems from the incredible strength and resilience the manicure offers once fully set. For beauty enthusiasts looking to transition from standard nail polish to a more robust option at home, a complete starter kit provides all the necessary components to achieve a flawless, chip-resistant finish that can last for several weeks.
What is Inside a Standard Starter Kit?
A comprehensive starter kit contains a curated selection of liquids and powders designed to work in perfect harmony. Understanding the role of each component is crucial for a successful application. Here are the key elements typically found in a setup:
- Nail Prep or Dehydrator: This essential liquid cleanses the natural nail plate, removing excess oils and moisture to ensure optimal adhesion of the subsequent layers.
- Base Gel: A specialized adhesive liquid that acts as the glue for the powder. It is applied carefully to the nail before dipping.
- Colour Powders: Finely ground acrylic powders available in a vast array of shades. These powders contain the pigments that define the final look of your manicure.
- Activator: A quick-drying liquid catalyst that initiates the hardening process of the powder and base coat, bonding them into a solid, durable shell.
- Top Gel: The final sealant that provides a high-gloss or matte finish, protecting the colour from fading, scratching, and daily wear.
- Brush Saver: A cleaning solution used to dissolve hardened product from the application brushes, keeping them soft and reusable.
Step-by-Step Guide to Your First Manicure
Performing a titanium manicure at home requires patience and precision. Following a structured process ensures a professional look and prevents premature lifting.
Step 1: Preparation
Begin by gently shaping your natural nails with a file and pushing back the cuticles. Lightly buff the nail surface to remove the natural shine, which helps the product adhere better. Apply a thin layer of the dehydrator liquid and allow it to air-dry completely.
Step 2: Base Coat and Dipping
Apply a thin, even layer of the base gel to about three-quarters of the nail, avoiding the cuticle line. Immediately dip the finger into the colour powder at a 45-degree angle. Tap off any excess powder. Repeat this process for all fingers, then gently brush away loose particles with a soft cosmetic brush. Apply a second layer of base gel, this time covering the entire nail plate, and dip again to achieve full opacity.
Step 3: Activation and Shaping
Once the desired colour depth is reached, apply a generous coat of the activator liquid over the entire nail. Allow it to cure and harden for two to three minutes. Once fully set, use a nail file and buffer to smooth out any unevenness and refine the shape of the nail edges. Wipe away any dust with a lint-free wipe.
Step 4: Sealing the Manicure
Apply a second, light layer of activator and wait another minute. Finish the process by applying two thin layers of the top gel. The first layer should be applied with quick, light strokes, while the second layer can be applied more precisely to create a smooth, reflective surface. Let the top coat dry completely.
Best Practices for Long-Lasting Results
To get the most out of your home kit, proper maintenance of both your nails and your tools is vital. Always ensure that the liquids do not touch the skin or cuticle area during application, as this can lead to lifting as the nail grows. Clean the necks of your liquid bottles with a lint-free wipe before closing them to prevent the caps from gluing shut. Additionally, if an application brush becomes stiff, swap it with the brush in the brush saver bottle to restore its flexibility. Store your kit in a cool, dry place away from direct sunlight to preserve the quality of the formulas.




