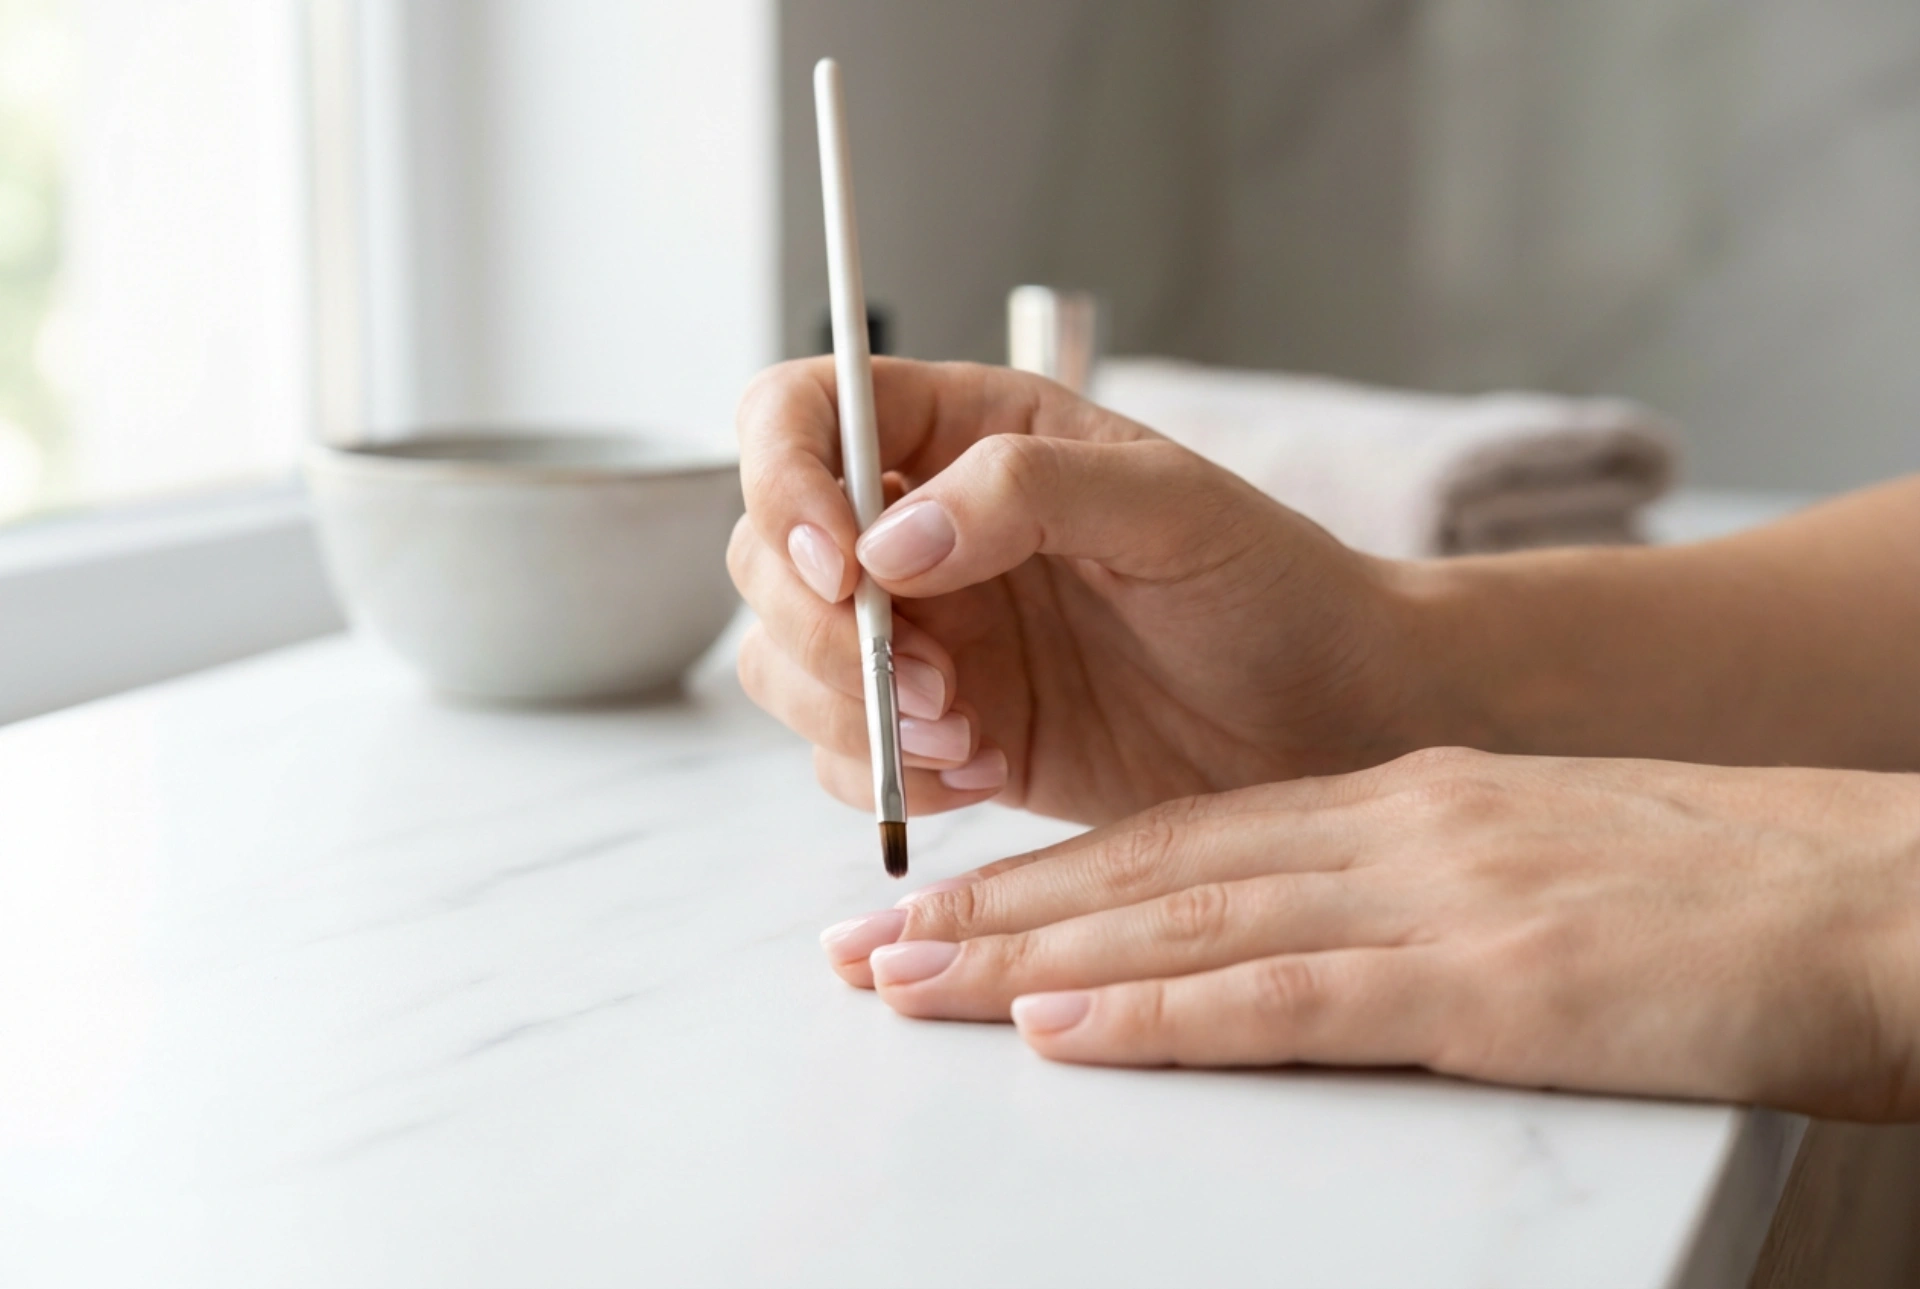


A beautifully styled manicure can instantly elevate your daily look, regardless of your nail length. Short nails are incredibly practical, modern, and elegant when cared for properly. Applying a sheer, light-coloured gel polish with precise brush strokes can visually extend the nail bed, giving the illusion of longer, slender fingers. With the right techniques and a gentle approach, creating a professional-looking gel manicure at home is both simple and highly rewarding.
The Foundation: Preparing Short Nails for Manicure
Before any polish is applied, proper preparation of the nail plate is essential for ensuring longevity and a clean appearance. Because short nails have less surface area, every detail matters. Start by gently filing the edges to create a harmonious shape that complements your natural finger anatomy. Oval or soft square shapes are particularly flattering for shorter nails, as they help to soften the overall look of the hands.
Softening and pushing back the cuticles is the next vital step. Avoid aggressive cutting, which can lead to irritation or uneven regrowth. Instead, use a gentle cuticle softener and a wooden stick to carefully push the cuticles back. This simple step reveals more of the natural nail bed, instantly making the nails look longer even before the application of any color.
Once the shape and cuticles are prepared, lightly buff the surface of each nail with a fine-grit buffer to remove any natural oils. Clean the nails thoroughly to ensure a dust-free and dry surface, which helps the gel base coat adhere flawlessly.
Clever Techniques to Optically Elongate the Nails
The way you apply polish can significantly influence how long your nails appear. Professional stylists often use visual tricks that are easy to replicate at home. One of the most effective methods is the "margin technique." When applying the colored gel polish, leave a very thin, unpainted margin along the sides of the nail plate. This vertical striping effect draws the eye upward, making the nail bed appear narrower and longer.
Additionally, pay close attention to how close you get to the cuticle area. Applying the base and color coats precisely, without touching the surrounding skin, creates a clean boundary that emphasizes the length of the nail. Working under good, natural light allows you to see the brush strokes clearly and ensures a neat, symmetrical application.
- The Narrow Polish Lane: Leave a tiny gap on the left and right sides of the nail.
- Precise Cuticle Alignment: Start the polish application just a fraction of a millimeter away from the cuticle line.
- Vertical Accent Lines: Incorporate subtle, thin vertical nail art to guide the eye vertically.
Selecting the Best Colors and Finishes
Color choice plays a pivotal role in the visual perception of nail length. While dark shades are bold and striking, they can sometimes make short nails appear even shorter by drawing a clear boundary. For an elongating effect, sheer, neutral, and light pastel shades are highly recommended.
Nude tones that closely match your skin tone work wonders. They create a seamless transition from the finger to the nail, blurring the boundary and making the fingers look longer and more slender. Soft pinks, milky whites, and delicate beige shades are excellent choices. A high-gloss top coat is also beneficial, as the reflective surface catches the light and adds a sense of depth and dimension to the manicure.
Step-by-Step Application for Home Manicure
Achieving a durable gel manicure on short nails requires patience and thin layers. Thick coats can pool around the edges, making the nail look bulky and shortening its appearance.
Step 1: The Base Coat
Apply a very thin layer of base coat. Seal the free edge of the nail carefully, even on short lengths, to prevent chipping. Cure under your lamp according to the standard guidelines.
Step 2: Thin Color Layers
Apply your chosen light or nude gel polish in two thin coats. It is always better to build opacity gradually with two thin layers than to apply one thick layer. Cure each layer completely.
Step 3: The Glossy Top Coat
Finish with a generous layer of top coat to protect the design and provide that optical-depth-enhancing shine. Ensure the free edge is sealed once more, then cure and remove any sticky residue if required.
Post-Manicure Care for Elegant Hands
The beauty of a manicure relies heavily on the health of the surrounding skin. Keep your cuticles moisturized by applying a nourishing nail oil daily. Gently massaging the oil into the skin keeps it soft and prevents dry hangnails, which can detract from the neat look of short nails. Regular hand hydration keeps the skin smooth, further emphasizing the elegance of your freshly styled hands.




