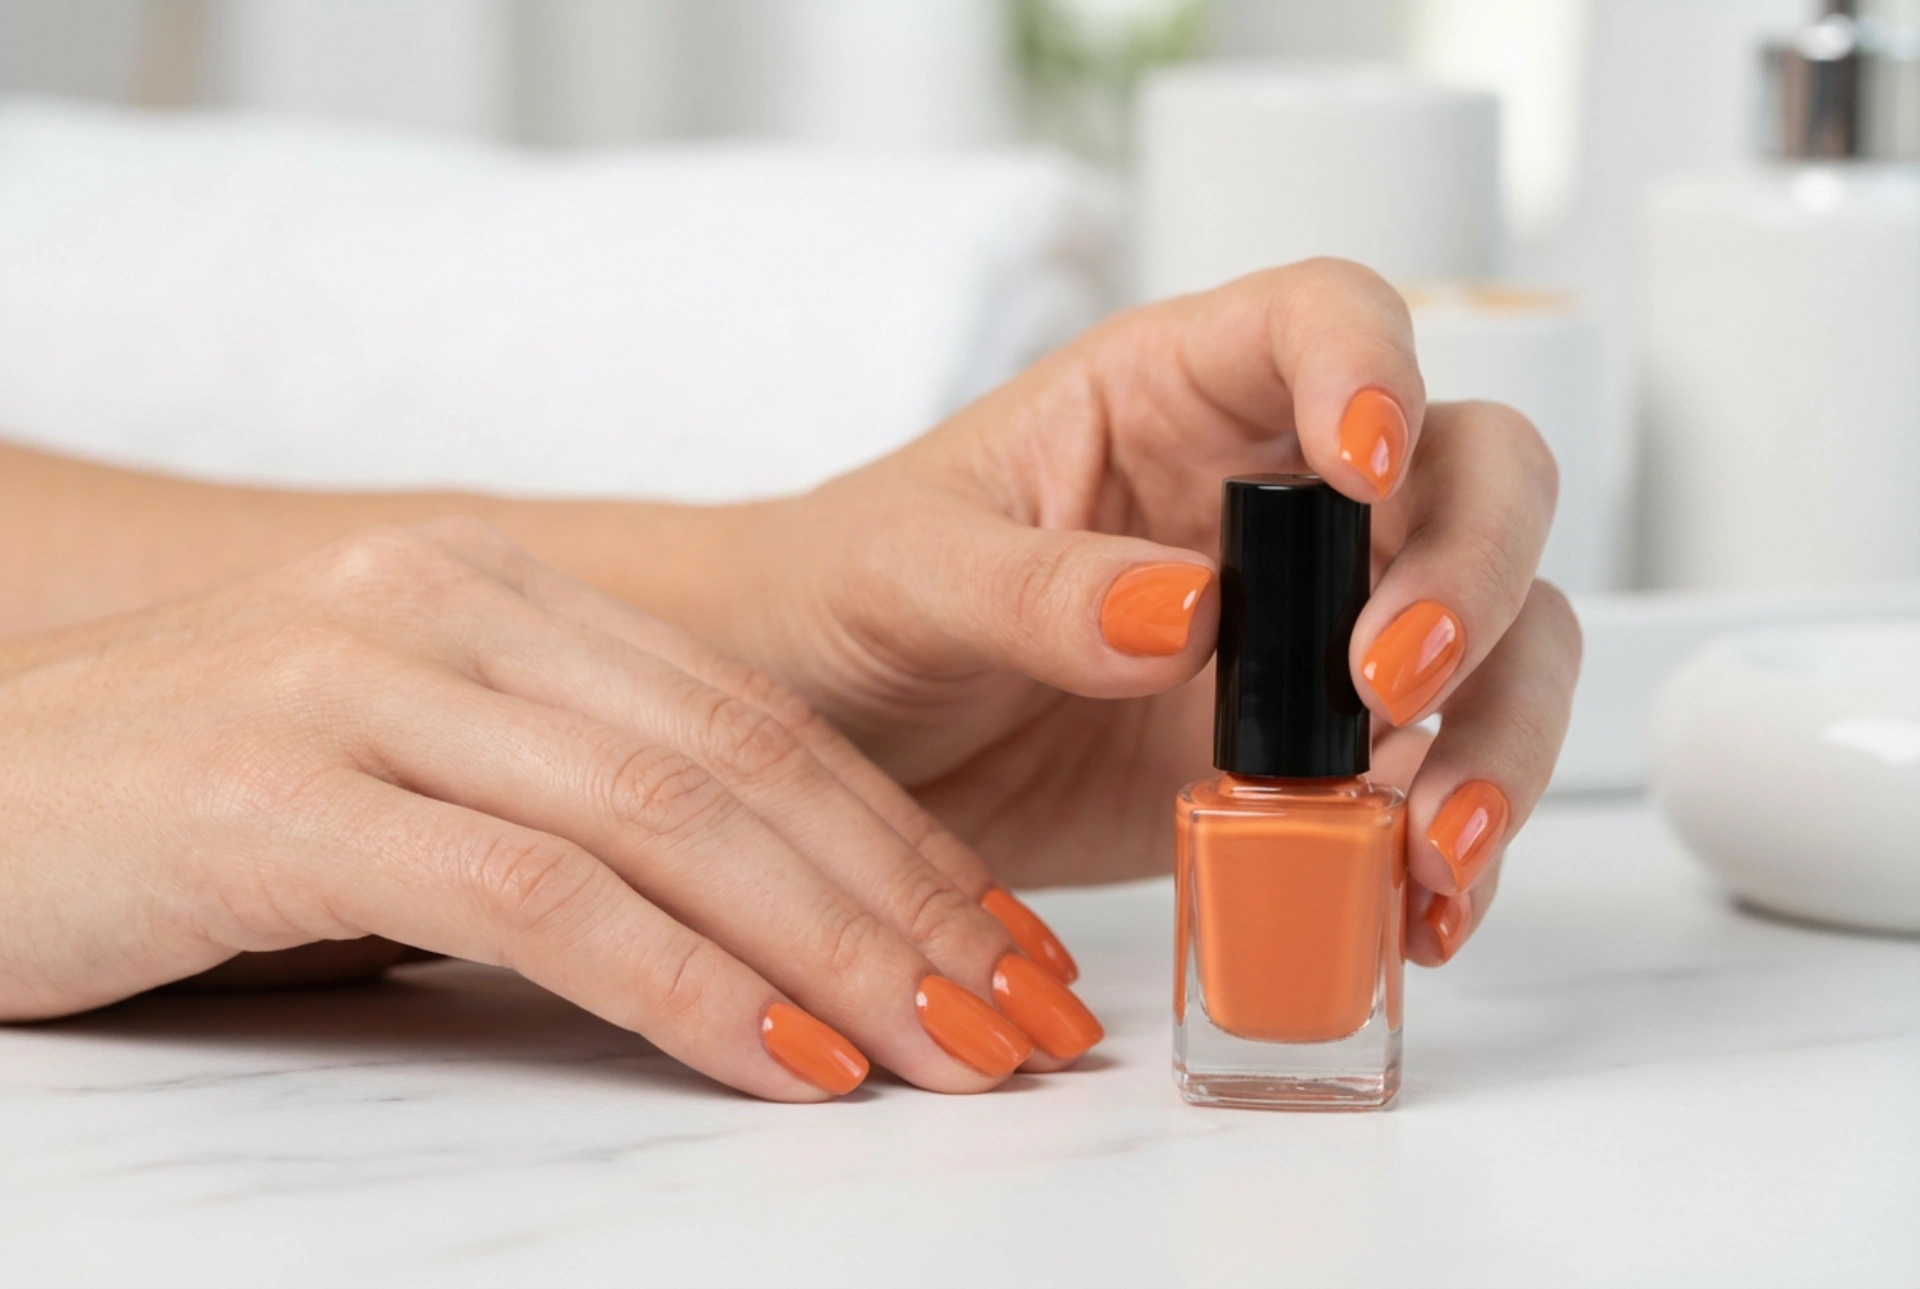


A beautifully executed orange hybrid manicure captures the essence of warmth, energy, and sophisticated style. When captured in soft, natural light, the glossy finish of a perfectly applied orange shade showcases not only personal flair but also the meticulous care put into hand grooming. Orange is a highly versatile colour family, ranging from delicate peach tones to deep, earthy terracottas. Achieving a flawless look at home requires more than just picking a vibrant bottle; it demands an understanding of how different undertones harmonise with your skin, alongside a patient, step-by-step application technique that ensures clean edges and a long-lasting, professional-looking shine.
Selecting the Ideal Orange Shade for Your Skin Tone
Orange is often perceived as a bold and daring choice, but its diverse spectrum means there is a perfect match for everyone. Choosing the right hue depends heavily on your skin's natural undertones. When selected thoughtfully, an orange manicure can beautifully illuminate your hands, making them appear radiant and well-groomed.
Cool Undertones
If your skin has cool, pinkish, or blueish undertones, look for orange shades with cool, red-leaning bases. Coral, peach, and melon shades work exceptionally well. These tones provide a soft contrast without overwhelming your complexion. Avoid extremely yellow-based oranges, which can sometimes make cool skin tones appear slightly washed out.
Warm Undertones
Those with warm, golden, or olive undertones can carry off almost any orange shade with ease. Rich tangerine, vibrant amber, and deep copper look spectacular against warm skin. If you prefer a more understated look, terracotta and burnt orange offer a sophisticated, organic feel that is perfect for any season, adding a touch of understated elegance to daily wear.
Neutral Undertones
Neutral skin tones have the flexibility to experiment across the entire spectrum. From ultra-bright neon orange that stands out in summer light to soft pastel creams, the choice is entirely yours. To keep the look balanced, consider the occasion and the overall aesthetic you wish to project.
Essential Prep Work for a Smooth Canvas
The secret to a pristine hybrid manicure lies in the preparation of the natural nail plate. Without proper prep, even the most beautiful orange shade can look uneven or lift prematurely. Taking your time during this initial stage ensures a smooth, ridge-free surface that allows the polish to self-level beautifully.
- Shaping and Filing: Gently file your nails into your desired shape. Oval and almond shapes are particularly flattering with warm orange tones as they elongate the fingers. Always file in one direction to prevent splitting.
- Softening and Tidying Cuticles: Apply a gentle cuticle remover and use a wooden stick to carefully push back the cuticles. Keeping the nail plate clear of excess skin is crucial for a clean, professional border around the nail bed.
- Dehydrating the Nail Plate: Gently buff the surface of the nail with a fine-grit buffer to remove any natural shine. Wipe the nails thoroughly with a specialised cleanser to remove dust, oils, and residues. This ensures optimal adhesion of the base coat.
The Art of Precise Hybrid Application
Applying hybrid polish requires patience and a steady hand. Because orange pigment can sometimes be semi-translucent or highly saturated, applying it in thin, even layers is the best way to avoid streaking and bubbling.
Applying the Base Coat
Apply a very thin layer of your chosen base coat. Be sure to seal the free edge (the very tip of the nail) to prevent moisture from getting underneath. Cure the base coat under your lamp according to the manufacturer's general guidelines, ensuring it is completely set before moving on to the colour.
Layering the Orange Polish
When applying the orange polish, scrape excess product off the brush onto the neck of the bottle. Begin in the centre of the nail, a fraction of a millimetre away from the cuticle line, and gently push the brush upwards before gliding it down to the free edge. Paint the sides with two swift, light strokes. It is always better to apply three ultra-thin layers of orange polish rather than two thick ones. This prevents the polish from pooling at the sides and ensures even curing under the light.
The Golden Rule of Capping the Edge
Every single layer—base coat, colour, and top coat—must cap the free edge of the nail. This small detail creates a protective seal that shields the manicure from daily wear and tear, reducing the risk of chipping and lifting significantly.
Sealing the Shine and Post-Manicure Care
To protect your vibrant orange manicure and give it that glass-like, professional reflection, a high-quality top coat is indispensable. Whether you prefer a classic high-gloss finish or a modern, velvety matte look, the top coat locks in the colour and prevents fading from sun exposure.
Once your top coat is cured and any sticky residue is wiped away with a gentle cleanser, it is time to restore moisture to your hands and cuticles. Apply a nourishing, vitamin-rich cuticle oil around the nail walls and massage it in gently. This simple step not only hydrates the skin but also gives your freshly manicured hands a healthy, luminous glow. To maintain this fresh-from-the-salon look, remember to wear gloves when performing household chores and apply hand cream regularly to keep the skin beautifully soft.




