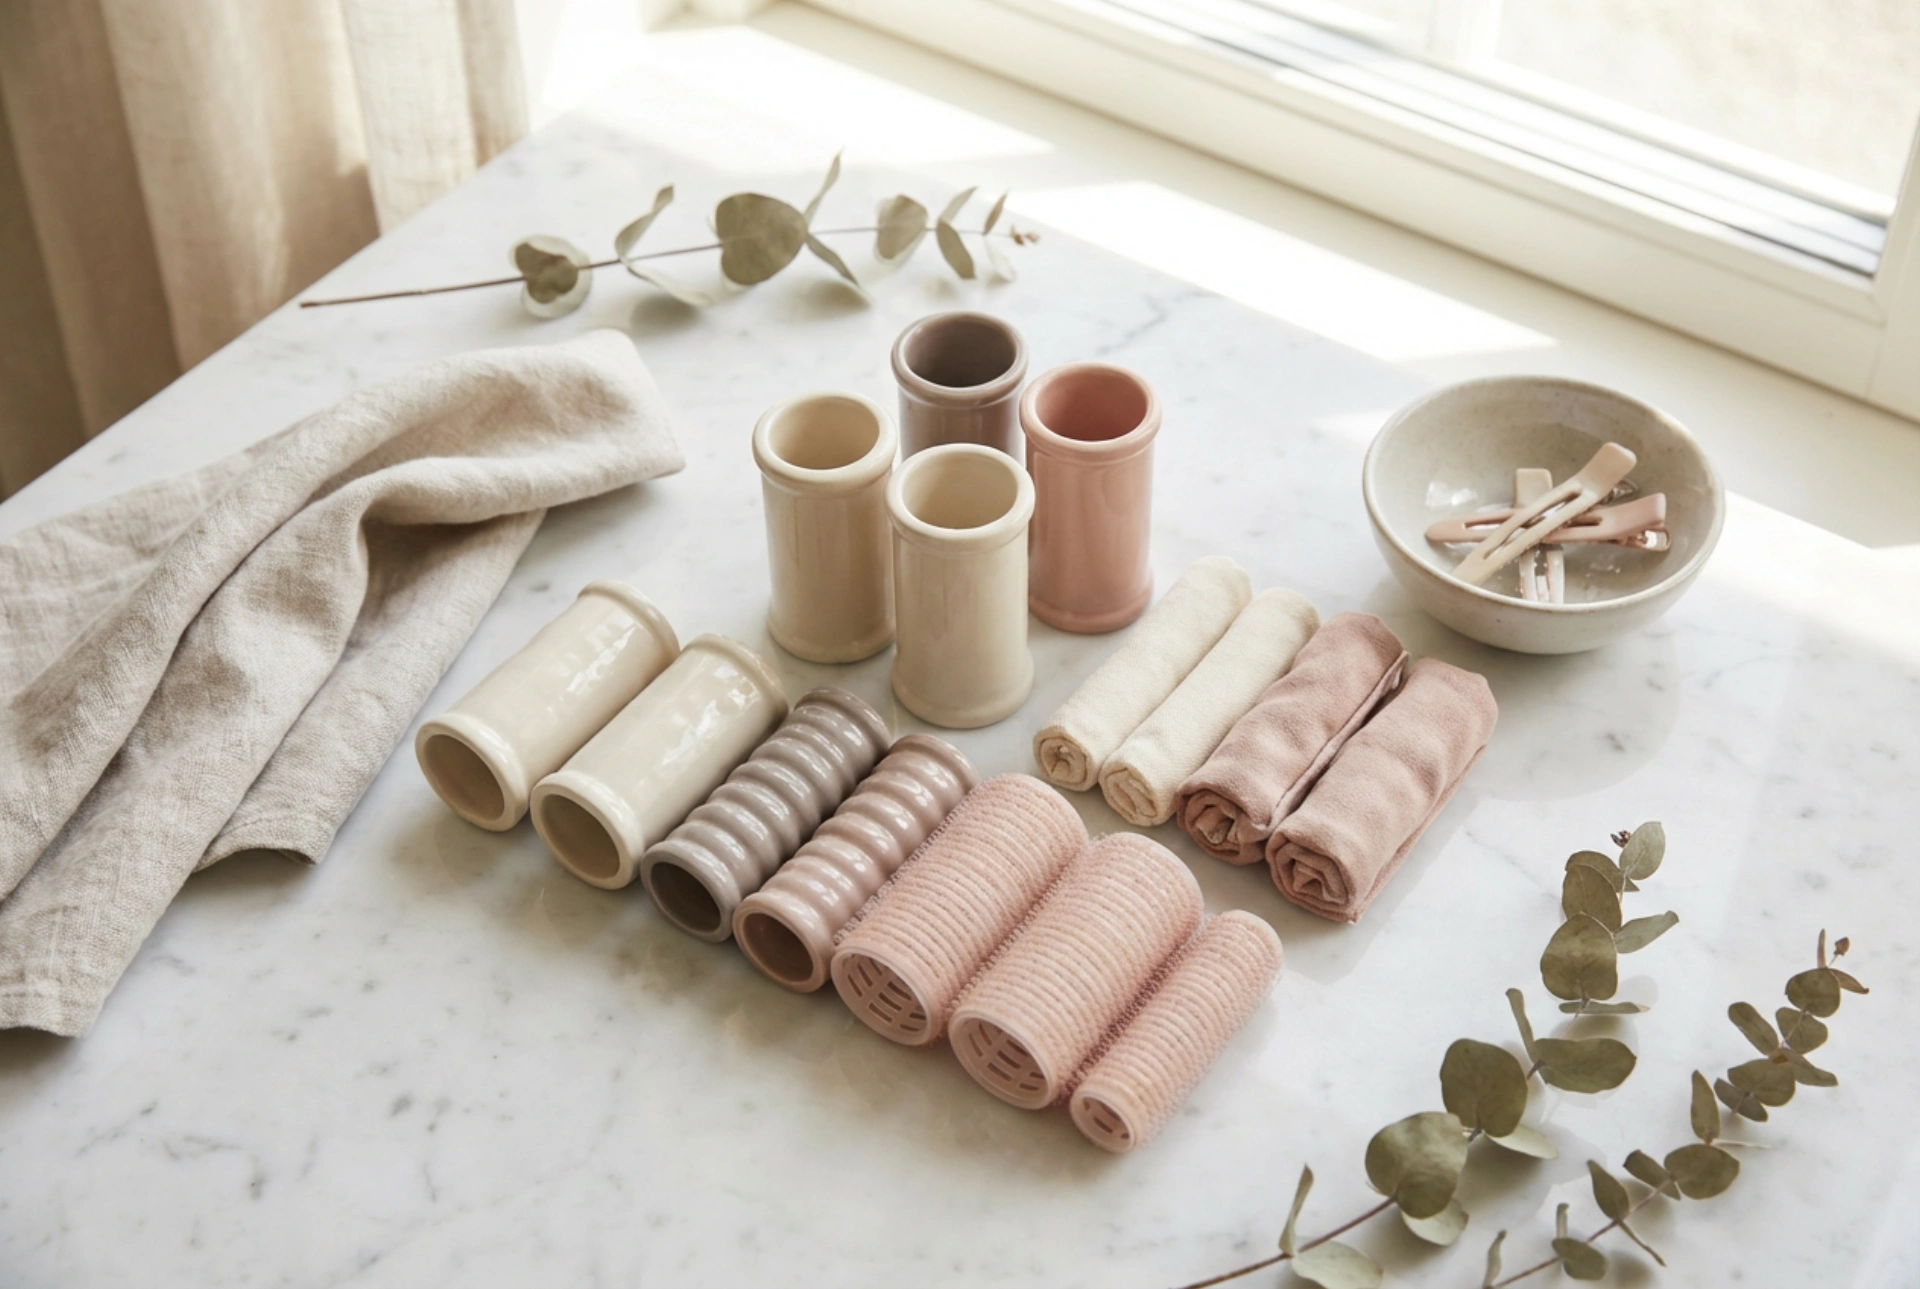


A beautiful, bouncy hairstyle often starts with a classic yet highly effective styling method: hair rollers. Creating natural volume and defined waves at home can feel like an art form, especially when looking at an organised set of rollers in various sizes. Understanding how to select the right diameter for each section of your hair and knowing the precise sequence of application is the key to achieving a polished, sophisticated look that lasts throughout the day. By matching different sizes to specific areas of your head, you can create a balanced silhouette that flatters your features.
Selecting the Right Roller Diameters for Your Hair Goals
The secret to a multi-dimensional, voluminous hairstyle lies in using different roller sizes within the same styling session. Hair rollers are not a one-size-fits-all tool; rather, a complete set allows you to customise the shape, curl pattern, and lift at the roots. By combining various diameters, you can mimic the natural movement of professionally styled hair and avoid a flat, uniform appearance.
Large Diameters for Ultimate Volume
Large rollers are designed primarily to lift the hair from the roots and create smooth, flowing waves rather than tight curls. They are ideal for the crown of the head and the top sections where maximum height and volume are desired. If you have long hair, large rollers help to create a classic, soft blowout effect that looks effortless and elegant. They are also excellent for smoothing out natural frizz and adding a gentle curve to the ends of the hair.
Medium Diameters for Classic Waves
Medium-sized rollers are the versatile workhorses of any styling kit. They are excellent for creating defined, bouncy curls and soft waves on medium-length hair. When used on longer hair, they provide a more structured curl than their larger counterparts. These are typically placed along the mid-sections of the head to bridge the gap between root volume and defined ends, ensuring a harmonious flow throughout the hairstyle.
Small Diameters for Defined Curls and Short Hair
Small rollers create tight, long-lasting curls and are perfect for shorter hair lengths or for styling specific areas like the nape of the neck or around the face. Because they wrap the hair more tightly, they provide a firmer hold and more pronounced texture. Using a few small rollers near the ends of your hair can also add a playful flip to your finished style, giving the look extra bounce and longevity.
The Ideal Sequence and Order of Application
To achieve a balanced and symmetrical look, the order in which you apply the rollers is just as important as the sizes you choose. Working methodically prevents tangles and ensures that each section receives the right amount of tension and hold, resulting in a cohesive overall style.
Step 1: Sectioning the Hair
Before placing a single roller, it is essential to section your clean, lightly prepped hair. Divide your hair into three main zones: the top crown section (running from the forehead to the back of the crown), the left side, and the right side. Secure each section with non-marking clips. This systematic approach ensures that you can work smoothly without loose strands getting caught in active rollers, keeping the process stress-free.
Step 2: Starting with the Crown
Always begin at the front hairline and work your way back along the crown section. Use your largest rollers here to secure maximum lift at the roots. Take a section of hair no wider than the roller itself, comb it straight up, and roll it backwards, away from your face. Securing the roller firmly close to the scalp ensures that the volume starts right at the root.
Step 3: Moving to the Sides and Back
Once the top section is complete, move to the sides. Use medium rollers for the upper side sections to create a seamless transition from the high-volume crown. Work from the temples down towards the ears. For the back of the head and the nape of the neck, transition to smaller rollers. These smaller tools will hold the shorter hairs at the base of your neck securely and add a neat finish to the overall silhouette.
Essential Tips for a Flawless Finish
To ensure your style looks smooth and polished, always wind the hair with consistent, gentle tension. Avoid pulling too hard, as this can cause discomfort and uneven waves. Let the rollers sit until the hair is completely cool and dry. When removing them, do so gently, unrolling each section slowly rather than pulling them straight out, to preserve the curl structure and maintain a frizz-free, elegant shine. Finish with a gentle brush-through using your fingers to blend the sections naturally.





