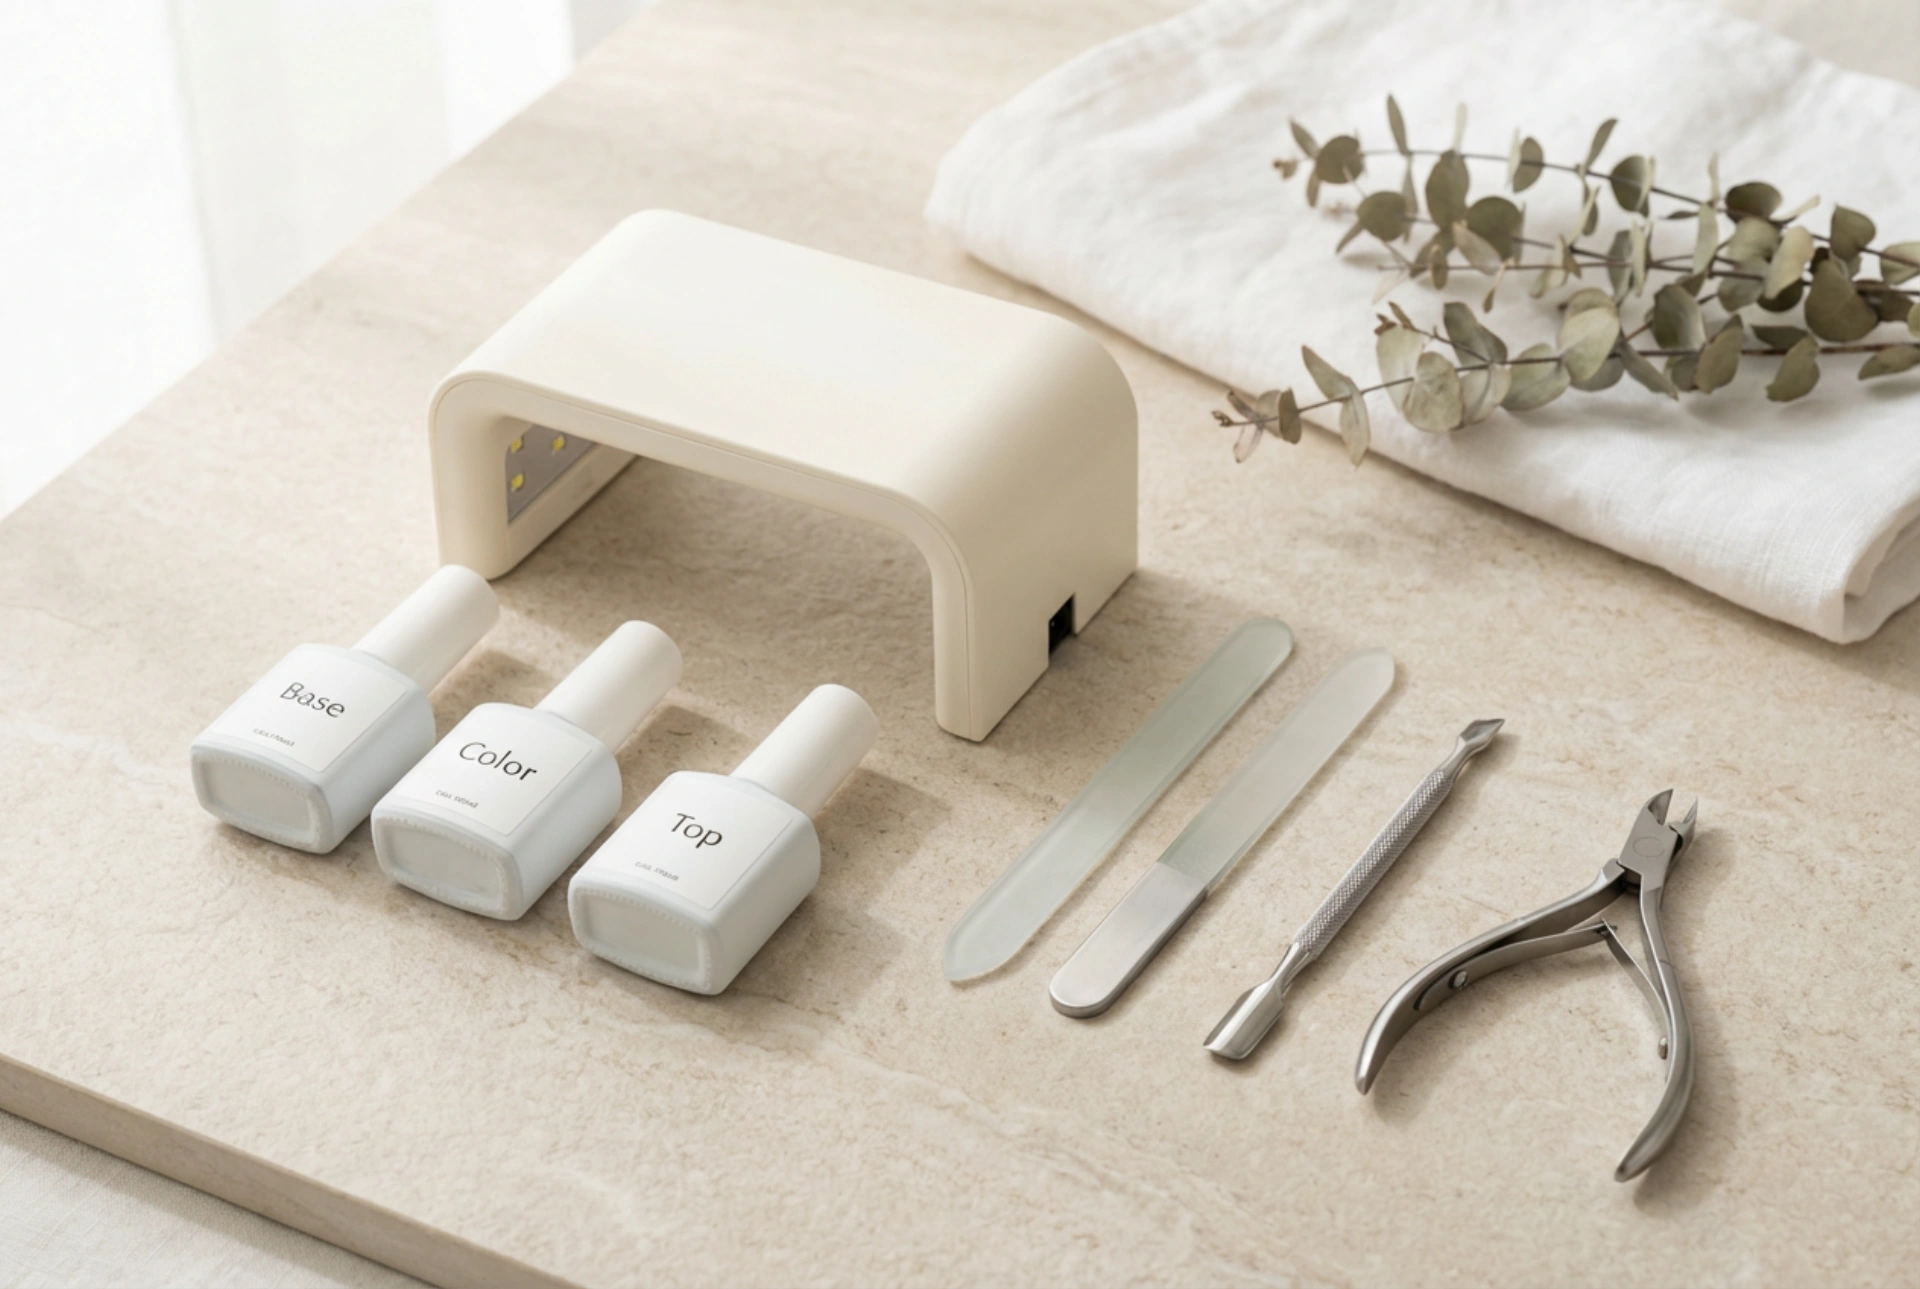


Having a beautifully arranged manicure set at home turns nail care into a soothing, mindful ritual. The sight of sleek, minimalist bottles of base coat, rich colour, and glossy top coat laid out alongside a compact LED curing lamp brings the spa experience directly to your personal space. For those stepping into the world of long-lasting manicures, understanding the components of a starter kit and mastering the fundamental techniques is the key to achieving professional-looking, durable results in the comfort of your own home.
The Core Components of a Gel Nail Starter Kit
When you first unbox a gel manicure starter set, the array of tools and bottles might seem overwhelming. However, each item serves a specific purpose in ensuring your manicure looks pristine and lasts for weeks without chipping. The most prominent element is the LED or UV curing lamp, which uses specific light wavelengths to polymerise and harden the gel layers. Without this lamp, the gel polish will remain wet and uncured.
Alongside the lamp, you will find several essential liquids. The base coat acts as a crucial adhesive layer between the natural nail plate and the coloured gel, protecting your natural nail from staining. The colour gel polishes provide the pigment, while the top coat seals the entire manicure, offering either a high-gloss or modern matte finish while preventing scratches. Additionally, your kit will typically include prep tools: fine-grit nail files, a buffer block to gently remove surface shine, cuticle sticks or pushers, and a specialised cleanser or prep solution to dehydrate the nail plate before application.
The Role of the LED Curing Lamp
Unlike traditional air-drying nail varnishes, gel polish requires light energy to undergo a chemical process called curing. LED lamps are highly popular for home kits because they cure layers quickly, usually within thirty to sixty seconds depending on the formulation. Ensuring your lamp is clean and properly positioned on a flat surface is vital for an even distribution of light across all five fingers.
A Guide to Flawless Application
Achieving a smooth, salon-quality finish requires patience and attention to detail. Preparation is the most critical phase; skipping it often leads to premature lifting of the gel. Follow these essential steps for a beautiful, long-lasting manicure:
- Nail and Cuticle Preparation: Start by shaping your nails with a fine-grit file. Gently push back your cuticles using a wooden or metal pusher. Use a buffer block to lightly remove the natural shine from the nail surface, creating a microscopic texture that helps the gel adhere. Finally, wipe the nails with a lint-free pad soaked in nail cleanser to remove all dust, oils, and moisture.
- Applying the Base Coat: Apply a very thin layer of base coat to all nails. It is vital to avoid touching the cuticles or the skin surrounding the nail plate. If any product gets onto the skin, wipe it away with a clean tool before curing. Cap the free edge of the nail by running the brush along the very tip. Cure under the lamp according to the kit's instructions.
- Applying the Colour Gel: Shake the colour bottle gently. Apply the first layer of colour in thin, even strokes. Do not worry if the first coat looks slightly sheer or streaky; a second layer will build full opacity. Cure this layer under the lamp. Apply a second thin layer of colour, cap the free edge, and cure again.
- Sealing with the Top Coat: Apply a thin, even layer of top coat over the entire coloured area, making sure to seal the free edge once more. This step locks in the colour and prevents chipping. Cure the top coat completely under the lamp.
- The Finishing Touch: If your top coat leaves a sticky residue (often called the inhibition layer), wipe it away gently with a lint-free pad saturated with cleanser. Finish the ritual by massaging a nourishing cuticle oil into the skin surrounding the nails to restore moisture.
Essential Tips for Beginners
One of the most common pitfalls for beginners is applying layers that are too thick. Thick layers of gel polish do not cure properly under the lamp, which can lead to wrinkling, bubbling, and lifting within a few days. It is always better to apply three ultra-thin coats of colour than two thick ones.
Another vital rule is to keep the skin clear of any uncured gel. Uncured product left on the skin not only causes the manicure to lift prematurely as the nail grows, but it can also cause skin irritation over time. Keep a small detail brush dipped in cleanser nearby to quickly correct any slips before placing your hand under the lamp.
How to Safely Remove Gel Polish
Proper removal is just as important as proper application to maintain the health of your natural nails. Never peel, scrape, or pick at lifting gel polish, as this strips away the delicate top layers of your natural nail plate, leaving them thin, weak, and prone to breaking.
To remove the gel safely, start by gently filing the glossy surface of the top coat with a nail file. This breaks the seal and allows the removal solution to penetrate the gel. Soak small pieces of cotton wool in a gentle acetone remover, place them on your nails, and wrap each fingertip tightly in small squares of aluminium foil. Allow them to sit for ten to fifteen minutes. Once the gel has softened and bubbled up, gently glide it off using a wooden cuticle stick. If any stubborn patches remain, re-wrap the nail for a few more minutes rather than forcing the product off. Finish by washing your hands and applying a generous amount of hand cream and cuticle oil to rehydrate the skin and nails.




