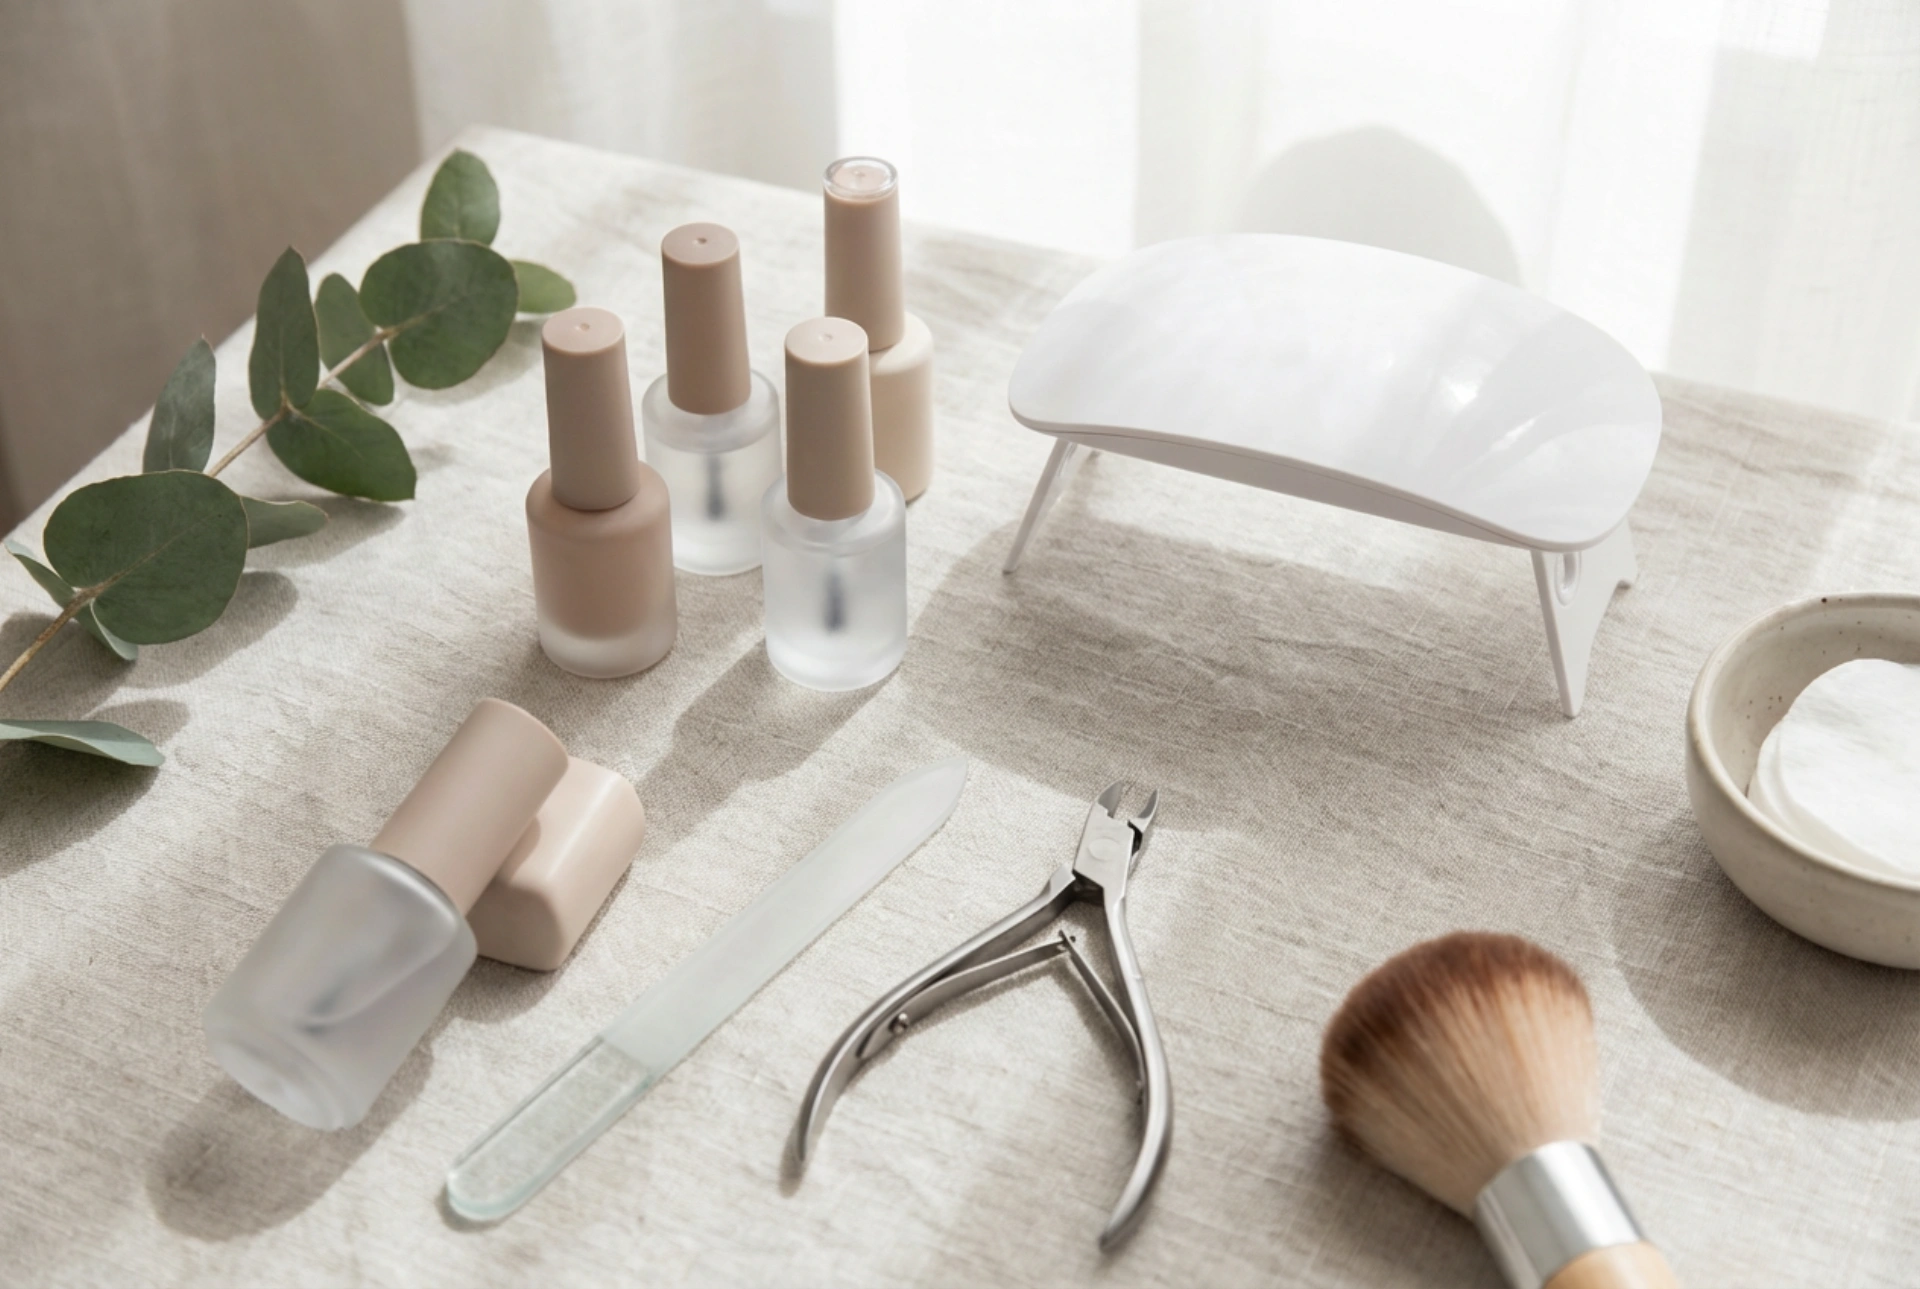


Creating a beautiful, durable manicure at home has never been easier, thanks to modern gel nail kits. A clean, minimalist flatlay of essential manicure tools—featuring subtle, unbranded polish bottles, a compact LED/UV lamp, and neat files arranged on a light surface—perfectly illustrates how accessible chic home nail care has become. Transforming your nails with gel polish provides a long-lasting, glossy finish that withstands daily tasks without chipping, making it a highly rewarding self-care ritual.
Essential Equipment for a Gel Nail Kit
To begin your journey into home gel manicures, having the right tools is paramount. The core of any gel kit is the curing lamp. Gel polishes contain specific polymers that only harden under UV or LED light, meaning a standard air-drying process will not work. A compact, high-quality LED lamp is often preferred for home use because it cures the polish much faster than traditional UV lamps, typically in thirty to sixty seconds per layer.
Alongside the lamp, your kit should feature several preparation tools:
- Nail Files and Buffers: A fine-grit nail file (usually 180/240 grit) is necessary to shape the free edge of your nails. A soft buffer block is essential to gently remove the natural shine from the nail plate, allowing the gel base to adhere securely.
- Cuticle Pusher: Made of wood or metal, this tool helps gently push back the cuticles, ensuring the gel polish does not touch the skin, which could otherwise cause premature lifting.
- Lint-Free Wipes: Standard cotton pads leave tiny fibres behind, which can ruin the smooth finish of your gel. Lint-free wipes are designed specifically to clean the nail without shedding.
The Chemistry of Gel Manicures: Essential Liquids
Achieving a professional-looking result requires a systematic application of different liquid products. Skipping even one of these steps can significantly reduce the lifespan of your manicure.
1. Nail Prep and Dehydrator
Before applying any polish, the nail plate must be completely free of moisture and natural oils. A dehydrator sanitises the area and temporary removes surface oils, creating an optimal surface for the subsequent layers.
2. Base Coat
The base coat acts as a double-sided tape between your natural nail and the coloured gel. It protects your natural plate from staining and provides a smooth, flexible foundation that prevents chipping. It must be cured under the lamp before moving on to the colour.
3. Gel Polish Colours
These are the highly pigmented coats that define the look of your manicure. For the best finish, you should apply thin layers of your chosen colour, curing each layer individually. Applying layers too thickly can prevent the light from penetrating fully, leading to wrinkling or peeling.
4. Top Coat
The top coat seals the colour, providing either a brilliant high-gloss shine or a modern matte finish. It protects the manicure from scratches and external wear. After curing, some top coats require wiping with a specialized cleanser to remove a sticky residue, while others are "no-wipe" formulas.
Step-by-Step Guide to Applying Gel Polish
Once your workstation is tidy and all your tools are within reach, you can begin the application process. Patience and precision are key during each phase to ensure a flawless result.
Start by shaping your nails to your desired length and shape. Gently push back the cuticles, ensuring no dead skin remains on the nail plate. Next, use the buffer block to lightly remove the natural shine from the surface of the nail. Wipe away any dust with a lint-free wipe soaked in a gentle dehydrator or isopropyl alcohol.
Apply a very thin layer of base coat, making sure to "cap" the free edge of the nail by running the brush along the very tip. Cure this layer under your LED lamp according to the manufacturer's guidelines. Once cured, apply your first thin layer of colour. Keep a clean orange wood stick handy to wipe away any excess polish that touches your skin before placing your hand under the lamp.
Cure the first colour layer, then apply a second thin layer to achieve full opacity, and cure once more. Finish with a layer of top coat, ensuring you cap the free edges again to lock in the colour. After curing the top coat, if your product has a sticky layer, gently wipe it away using a lint-free wipe and cleanser.
Safe Removal and Aftercare
Removing gel polish correctly is just as important as the application process. Attempting to peel or scrape the gel off without proper softening can damage the top layers of your natural nails, making them thin and brittle. To remove the gel safely, lightly buff the top coat to break the seal, allowing the remover liquid to penetrate. Soak small pieces of cotton in a gentle acetone remover, place them on the nails, and wrap each finger in aluminium foil for about ten to fifteen minutes. Once the gel has softened and lifted, gently slide it off using a wooden cuticle stick.
After removal, or as a daily routine, nourish your nails and the surrounding skin with cuticle oil. This restores moisture, keeps the skin supple, and maintains the overall health and appearance of your hands.




