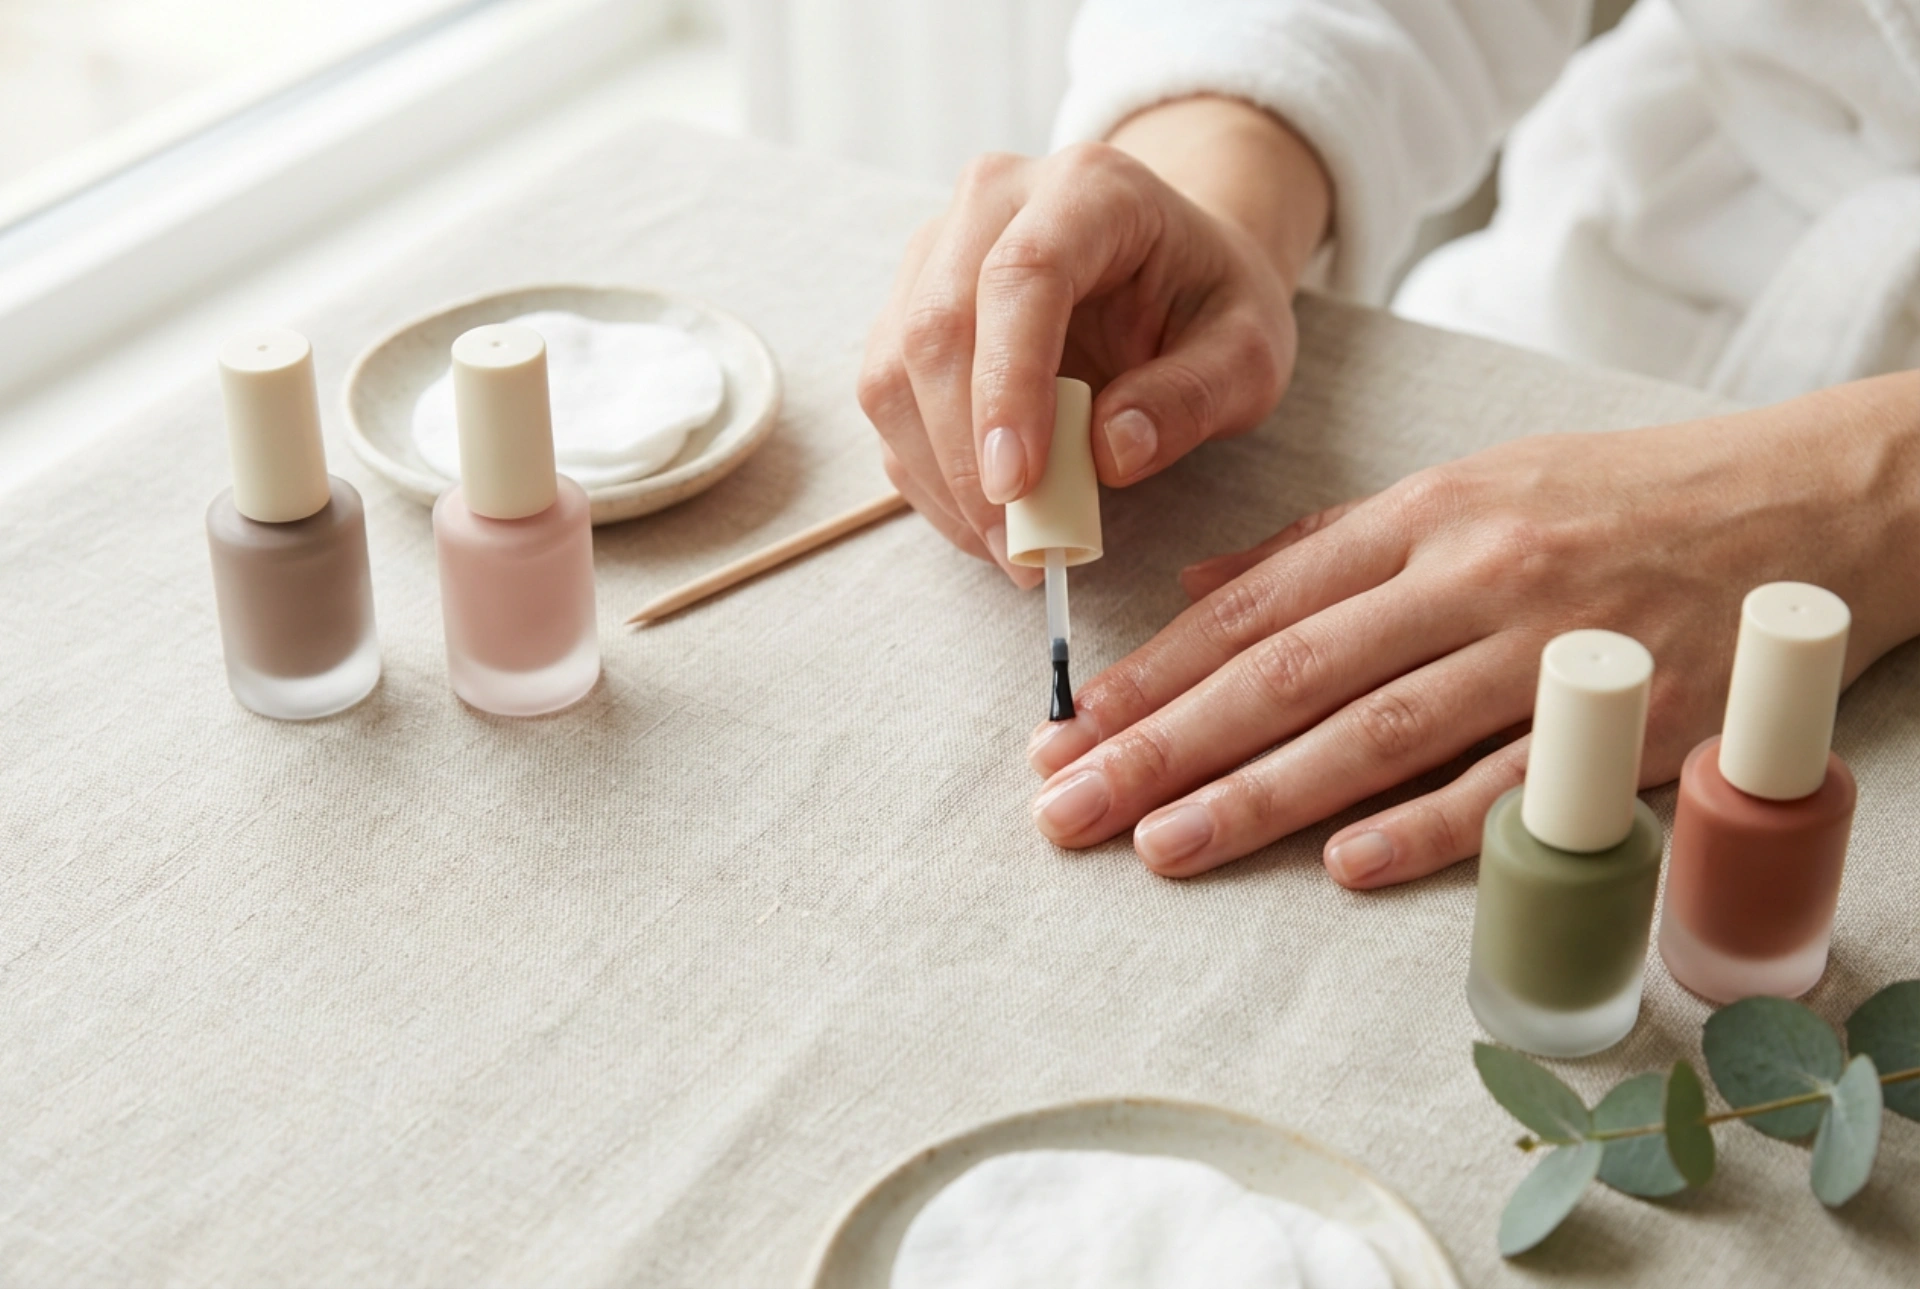


The shift towards mindful beauty has transformed how we approach nail care. Today, a pristine manicure is not just about vibrant colours; it is also about embracing formulas that respect the natural structure of the nail. Elegant, unbranded glass bottles filled with soft, earthy shades have become staples on dressing tables, symbolising a clean and minimalist aesthetic. Achieving a polished finish with natural nail polishes requires an understanding of their unique compositions, coverage capabilities, and the specific application techniques that ensure beautiful, long-lasting results at home.
The Composition of Natural Nail Polishes
Traditional nail polishes historically relied on heavy synthetic solvents and plasticisers to achieve their glossy, quick-drying properties. In contrast, natural and plant-based alternatives utilise innovative chemistry to replace these ingredients with bio-sourced components. Many modern formulas derive their solvents from natural raw materials such as cotton, maize, wheat, and cassava. These ingredients act as the carrier liquids, allowing the pigment to spread smoothly across the nail plate before evaporating gently.
What Does "Free-From" Mean?
When exploring the world of natural nail care, you will frequently encounter terms like five-free, ten-free, or even vegan-friendly formulas. These designations indicate that the product has been formulated without certain common synthetic compounds. Instead, natural polishes use safer, alternative film-formers and plasticisers that maintain flexibility and shine without compromising the health of the surrounding skin or the nail itself. This makes them an excellent choice for individuals seeking a gentler approach to their beauty routine.
Understanding Coverage and Opacity
One of the most common questions regarding natural nail polishes is whether they can match the performance and opacity of conventional options. Because natural pigments and plant-derived bases behave differently, the coverage can vary from sheer, delicate washes of colour to rich, opaque finishes. Soft, earthy tones and pastel hues are particularly popular in natural ranges, offering a sophisticated, understated elegance that enhances the natural beauty of the hands.
Achieving an Even, Streak-Free Finish
Natural formulations often have a slightly different viscosity than traditional polishes. This means they require a patient hand during application to prevent streaking. Sheer shades are designed to be buildable, allowing you to customise the depth of colour. Applying two to three very thin coats, rather than one thick layer, ensures that the light passes through the polish beautifully, creating a luminous, dimensional finish that mimics professional results.
Step-by-Step Application Technique
To get the most out of your natural nail polish, a proper application technique is essential. Because these formulas do not contain harsh synthetic adherence promoters, preparing the nail surface correctly is the key to preventing premature chipping.
1. Preparation of the Nail Plate
Begin by shaping your nails with a gentle file and gently pushing back the cuticles. Ensure the nail plate is completely clean and free from natural oils or moisture. You can wipe the nails with a gentle, alcohol-free cleanser or simply wash your hands with mild soap and dry them thoroughly. A dry, clean surface provides the perfect canvas for the polish to bond with the nail.
2. The Essential Base Coat
Never skip the base coat. A high-quality, natural base coat acts as a protective barrier, preventing pigments from staining the nail plate while creating a smooth, receptive surface for the colour. Apply a single, thin layer and allow it to dry completely before moving on to the colour.
3. Applying the Colour in Thin Layers
When applying the colour, remove excess polish from the brush using the rim of the bottle. Start in the centre of the nail, slightly away from the cuticle, and glide the brush down to the tip. Follow with two side strokes to cover the entire nail. Remember to cap the free edge of the nail by running the brush lightly along the very tip—this seals the polish and prevents lifting. Always allow each layer to dry for a few minutes before applying the next.
4. Sealing with a Protective Top Coat
Finish your manicure with a natural top coat. This step is crucial for adding a brilliant shine and protecting the colour from daily wear and tear. A good top coat locks in the layers underneath and helps the natural solvents cure effectively under ambient light.
Nurturing the Nails for Long-Term Beauty
A beautiful manicure starts with healthy foundations. Incorporating a nourishing cuticle oil into your daily routine is highly recommended. Rich botanical oils, such as sweet almond, jojoba, or apricot kernel oil, help keep the surrounding skin supple and the nail plate hydrated. By maintaining moisture balance, your natural manicure will look fresh and polished for longer, celebrating a clean, balanced, and mindful approach to hand care.




