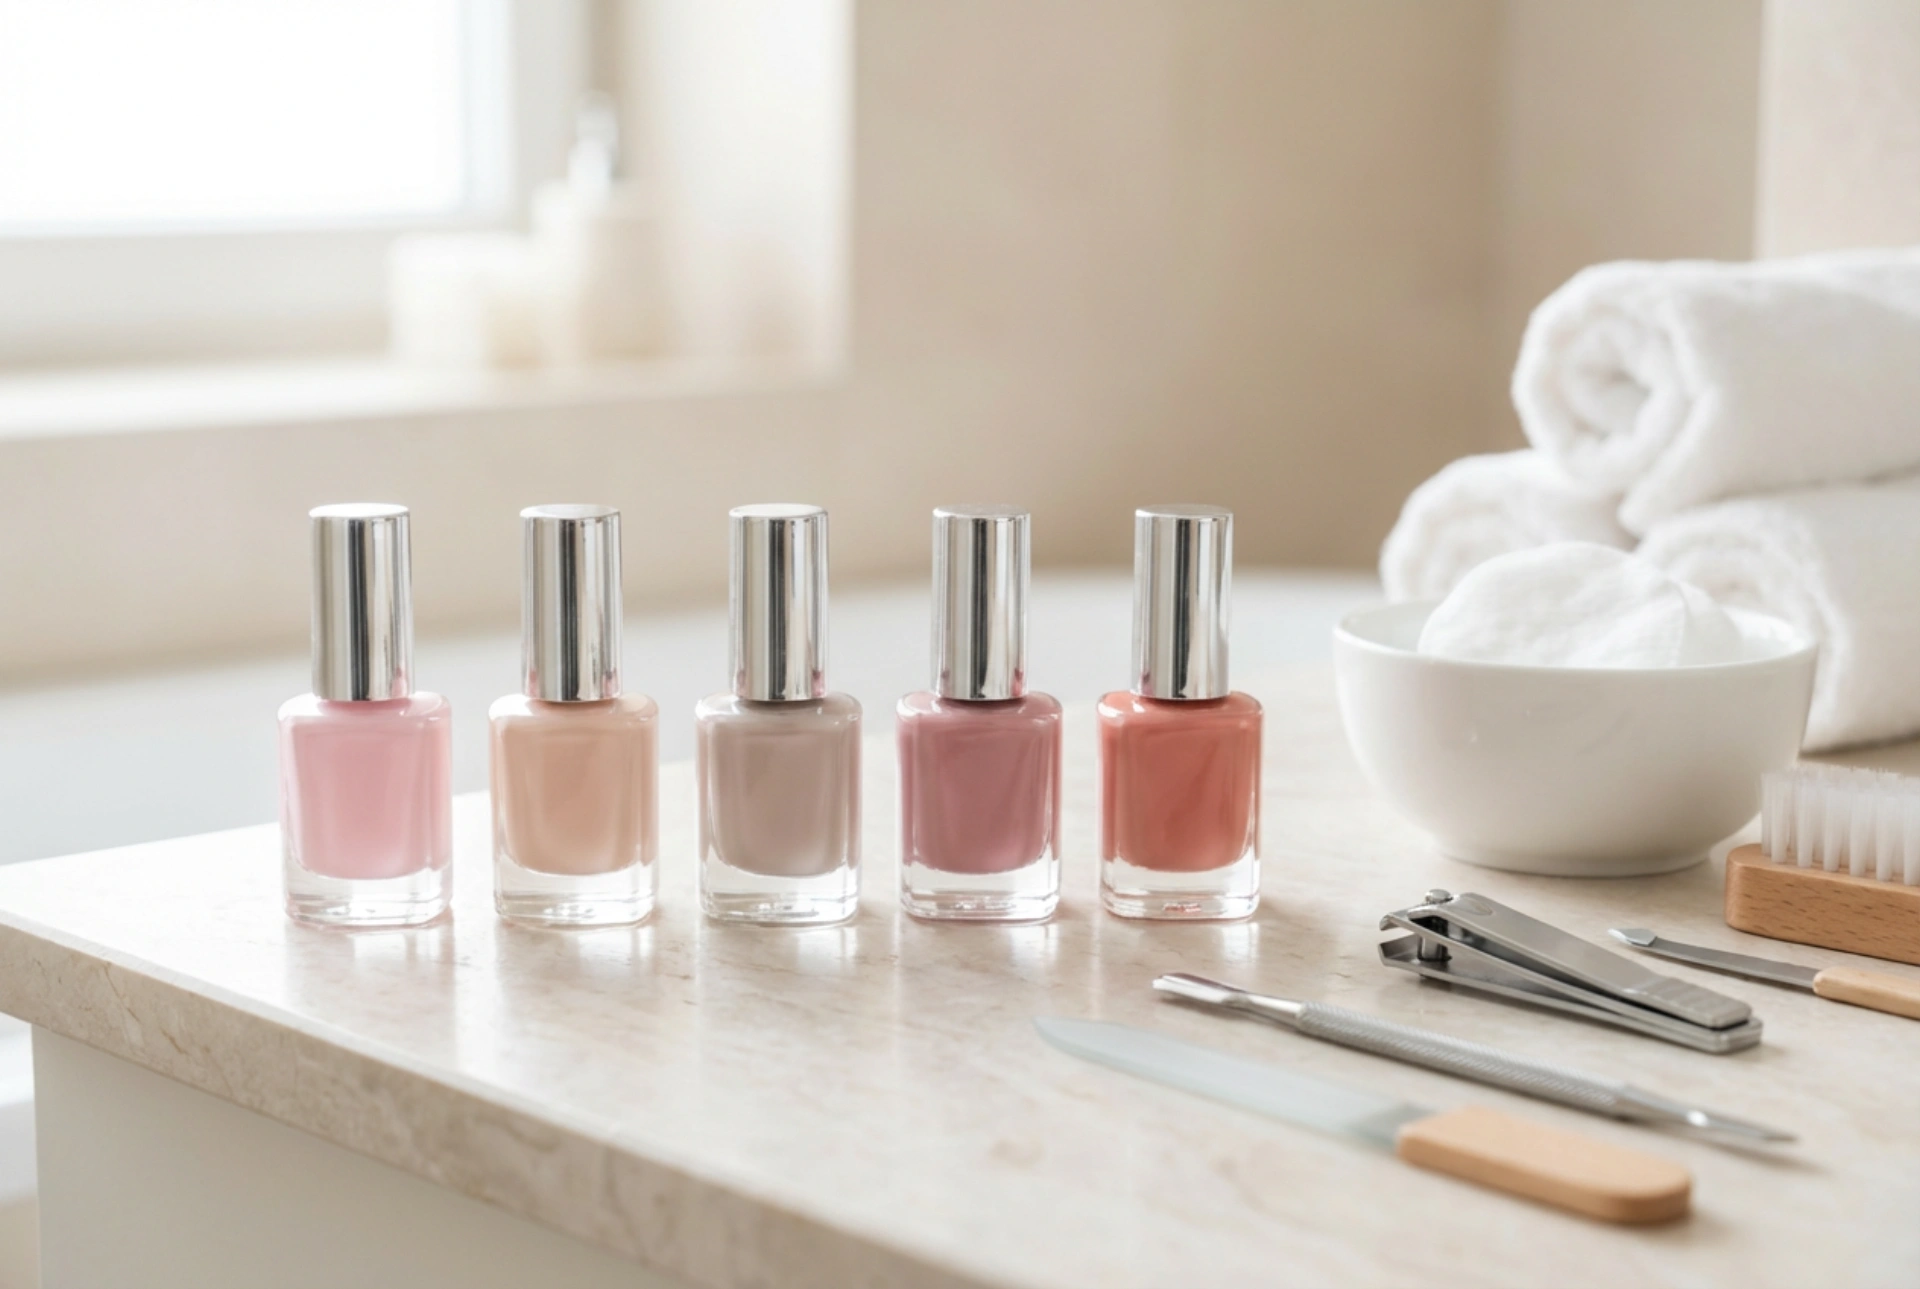


Creating a beautiful, long-lasting hybrid manicure at home has become a cherished self-care ritual for many. Arranging your favourite colours and minimalist manicure tools on a clean, light-toned surface under soft, natural light instantly evokes the serene atmosphere of a professional salon. While the process may seem intimidating at first, mastering the art of hybrid nails is entirely achievable with patience, precision, and the right technique. By understanding each step—from meticulous plate preparation to the final curing process—you can enjoy glossy, durable, and sophisticated nails that enhance your everyday look.
The Importance of Thorough Nail Preparation
The secret to a flawless and long-lasting hybrid manicure lies not in the application of the colour itself, but in the preparation of the natural nail plate. Skipping or rushing this initial phase is the primary reason why hybrid polish might lift or chip prematurely. To begin, ensure your hands are clean, dry, and free of any oils or previous products. Gently push back your cuticles using a wooden stick or a dedicated cuticle pusher, taking care not to damage the delicate surrounding skin.
Once the cuticles are neatly shaped, use a fine-grit nail file to shape your free edge to your desired length and silhouette, whether that be a classic oval, a soft square, or an elegant almond. Next, gently buff the surface of the nail plate with a high-grit buffer block. The goal is not to thin the nail, but to remove the natural shine, creating a microscopic texture that allows the base coat to adhere securely. Finally, wipe the nails thoroughly with a lint-free pad soaked in a dedicated nail dehydrator or prep solution. This step removes all traces of dust, moisture, and natural oils, leaving a perfectly clean slate.
The Foundation: Applying the Base Coat
The base coat acts as a protective shield for your natural nail and the adhesive layer for the subsequent colour coats. When applying the base coat, remember that less is always more. Wipe the brush against the neck of the bottle to remove any excess product before touching it to your nail.
Technique for a Flawless Foundation
- Start a fraction of a millimetre away from the cuticle line to prevent the product from flooding the skin.
- Gently sweep the brush down the centre of the nail, then along each side.
- Ensure you cap the free edge of the nail by running the brush lightly along the very tip to seal the plate completely.
Once applied, cure the base coat under your lamp according to the manufacturer’s instructions. A standard curing time is usually between thirty and sixty seconds, depending on the power of your device. Avoid touching the nails after curing, as they will have a sticky layer—known as the inhibition layer—which is essential for the next step.
Applying the Colour with Precision
Choosing your colour is one of the most enjoyable parts of the process, whether you prefer soft, neutral pastels or deep, classic tones. To achieve an even, professional finish, always apply the hybrid polish in thin, consistent layers. Applying the product too thickly can lead to improper curing, resulting in wrinkling, bubbling, or peeling.
For the first layer of colour, apply the polish using the same technique as the base coat. Focus on maintaining a clean margin around the cuticles and sidewalls. If any product touches the skin, remove it immediately with a wooden stick dipped in a small amount of cleaner before curing. Cure the first layer completely. Apply a second thin layer of colour to achieve full opacity and depth, ensuring you cap the free edge once again, and cure as before. Most colours require two coats, but some sheer shades may benefit from a third very thin layer.
Sealing and Protecting with the Top Coat
The final application step is the top coat, which seals your manicure, provides a brilliant glossy or elegant matte finish, and protects your colour from scratches and daily wear. Just like the previous steps, the top coat should be applied thinly and evenly, paying extra attention to sealing the free edge to lock all the previous layers in place.
After curing the top coat, you may notice that the surface of your nails still feels sticky. This is the residual dispersion layer. Simply soak a clean, lint-free wipe with a mild cleanser and gently wipe over each nail to reveal a smooth, high-shine, and dry finish. If you are using a non-wipe top coat, this step is unnecessary, and your manicure is complete as soon as it emerges from the lamp.
Post-Manicure Nourishment and Care
To keep your hands and nails looking their absolute best, completing your routine with dedicated nourishment is highly recommended. The curing process and the use of dehydrating agents can leave the skin around your nails feeling slightly dry. Applying a drop of rich cuticle oil to the base of each nail and massaging it in gently will restore essential moisture and flexibility to the skin.
Follow this with a hydrating, non-greasy hand cream to lock in moisture and protect your hands from environmental elements. Regular hydration not only keeps your cuticles looking neat and tidy but also supports the overall health and resilience of your natural nails, ensuring your beautiful home manicure remains pristine for weeks to come.




