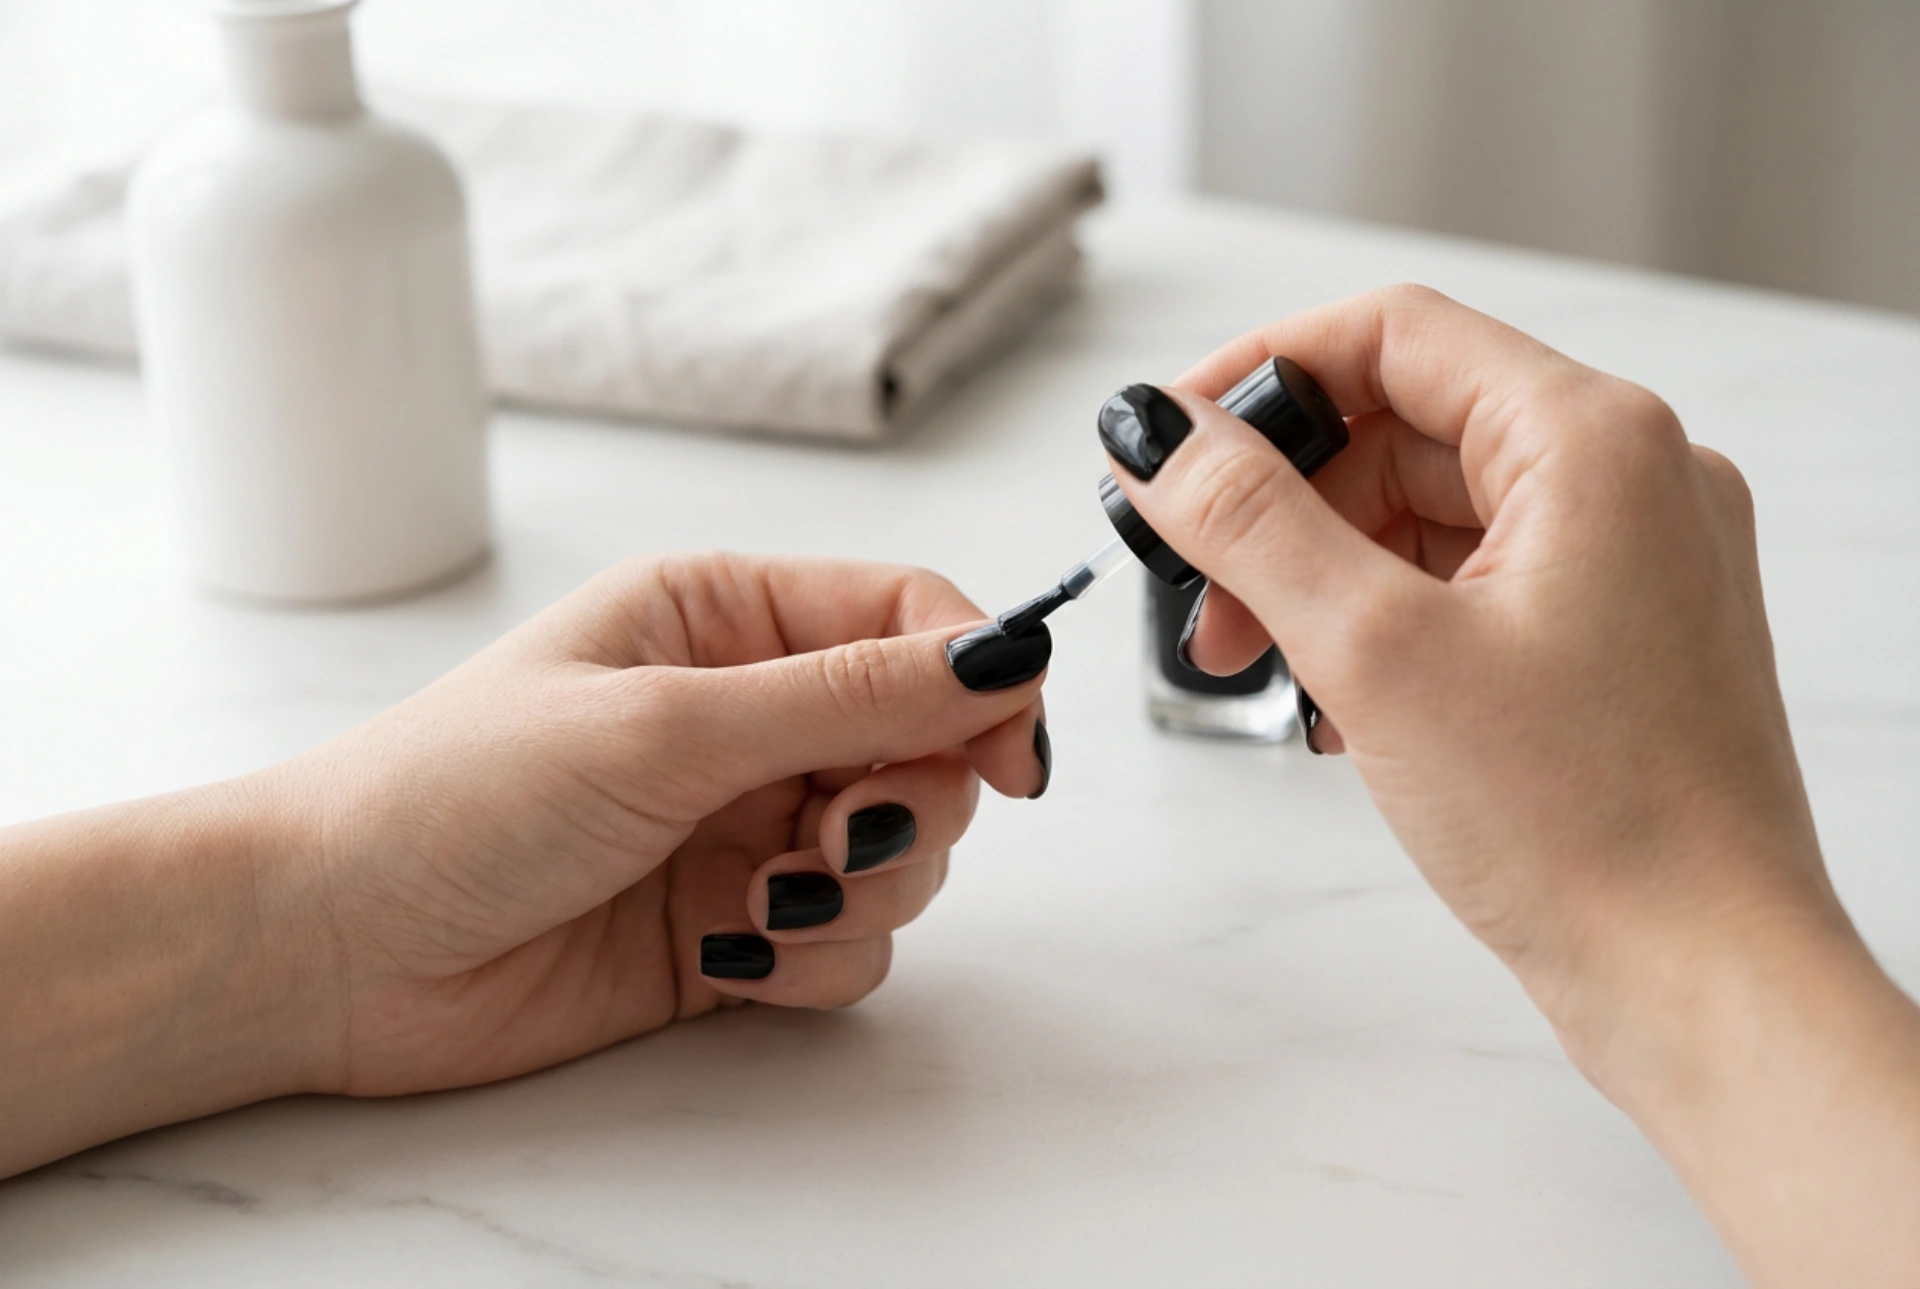


Achieving a perfect black manicure is often considered the ultimate test of nail care skills. While deep, dark shades offer an unparalleled sense of modern elegance and sophistication, they are also notorious for highlighting every minor imperfection, from uneven textures to streaks and smudges. A pristine, streak-free application requires more than just a steady hand; it demands a systematic approach that begins long before the colour bottle is opened. By understanding the science of nail preparation and mastering the mechanics of polish application, you can achieve a professional-standard, high-lustre finish at home that mirrors the precision of a high-end beauty setting.
The Canvas: Essential Nail Preparation
The foundation of any successful manicure lies in the meticulous preparation of the natural nail plate. Because black polish acts like a mirror, reflecting light across its dark surface, any ridges, bumps, or dry cuticles will be instantly magnified. To begin, ensure the hands are thoroughly cleansed and dried. Gently push back the cuticles using a wooden manicure stick or a dedicated cuticle pusher. It is vital to avoid aggressive trimming, as the cuticle serves as a natural barrier; instead, focus on removing dead skin cells adhering to the nail plate.
Next, shaping the nails is crucial. A classic square, oval, or squoval shape complements dark tones beautifully. Use a fine-grit glass or emery board, filing in one direction to prevent micro-tears in the nail layers. Once the desired shape is achieved, a light buffing of the nail plate is recommended. A soft buffing block should be used with minimal pressure to smooth out prominent ridges. This creates an even, receptive surface for the base coat. Finally, wipe the nails with a lint-free pad soaked in a dehydrating cleanser or rubbing alcohol to remove residual oils, dust, and moisture, which can otherwise prevent the polish from adhering correctly.
Choosing the Right Base and Products
To achieve a flawless, streak-free finish with black lacquer, selecting the appropriate base is non-negotiable. A base coat performs multiple essential functions:
- It protects the natural nail from staining
- It fills in micro-ridges
- It provides a slightly tacky surface for the colour to grip
For dark polishes, a ridge-filling base coat is often the ideal choice, as it creates an ultra-smooth foundation that minimises the risk of the subsequent colour layer pooling or streaking. When it is time to select the polish itself, the formula and brush design are equally important. A high-quality, opaque black polish should have a fluid yet self-levelling consistency. Brushes with a slightly rounded or fan shape are particularly beneficial, as they spread evenly across the nail bed in a single stroke, reducing the need for multiple corrective passes which often lead to streaking.
The Art of Flawless Application
Applying black polish requires a deliberate, light-handed technique. The golden rule of dark lacquers is to apply thin, even coats rather than a single thick layer. Thick layers trap moisture, take exceptionally long to dry, and are highly prone to bubbling and wrinkling. Before starting, ensure you have the correct amount of product on the brush. Wipe one side of the brush against the neck of the bottle so that only a small teardrop of polish remains on the opposite side.
Begin the application by placing the brush a fraction of a millimetre away from the cuticle line, right in the centre of the nail. Push the brush gently towards the cuticle without touching the skin, then sweep it down to the free edge in one smooth, continuous motion. Repeat this action on the left side of the nail, and then on the right. This three-stroke method ensures complete coverage while maintaining a clean boundary around the skin. Allow the first coat to dry completely for at least two to three minutes. Do not worry if the first layer looks slightly sheer or uneven; the second coat will build full opacity and correct any minor inconsistencies. Apply the second coat using the same precise technique, ensuring you also cap the free edge of the nail by running the brush lightly along the very tip.
Sealing the Look for Longevity
A premium top coat is the final step in securing a streak-free, professional-grade finish. It not only seals the colour but also adds a brilliant, glass-like shine that enhances the depth of the black pigment. Apply a generous layer of top coat, ensuring the brush glides smoothly over the dried black polish without dragging. Much like the colour coats, cap the free edge to lock in the manicure. A fast-drying formula can be highly advantageous here, as it reduces the window of time during which wet polish can attract dust or suffer accidental smudges. After application, allow the nails to dry undisturbed. While the surface may feel dry to the touch within a few minutes, the lower layers require several hours to cure completely, so avoid high-impact activities immediately after your routine.
Post-Manicure Care and Maintenance
To maintain the impeccable lustre and finish of your black manicure, ongoing care is highly recommended. Dark shades show wear and tear more easily than neutral tones, meaning daily maintenance is key. Incorporate a nourishing cuticle oil into your daily routine. Gently massage a drop of oil into the surrounding skin and nail walls every evening to keep the area hydrated, preventing dry skin from detracting from your neat manicure. Wearing protective gloves during household tasks, such as washing dishes or cleaning, will also shield the polish from harsh household detergents and physical abrasion. By adopting these simple habits, your precise, streak-free black manicure will remain striking and elegant for days to come.




