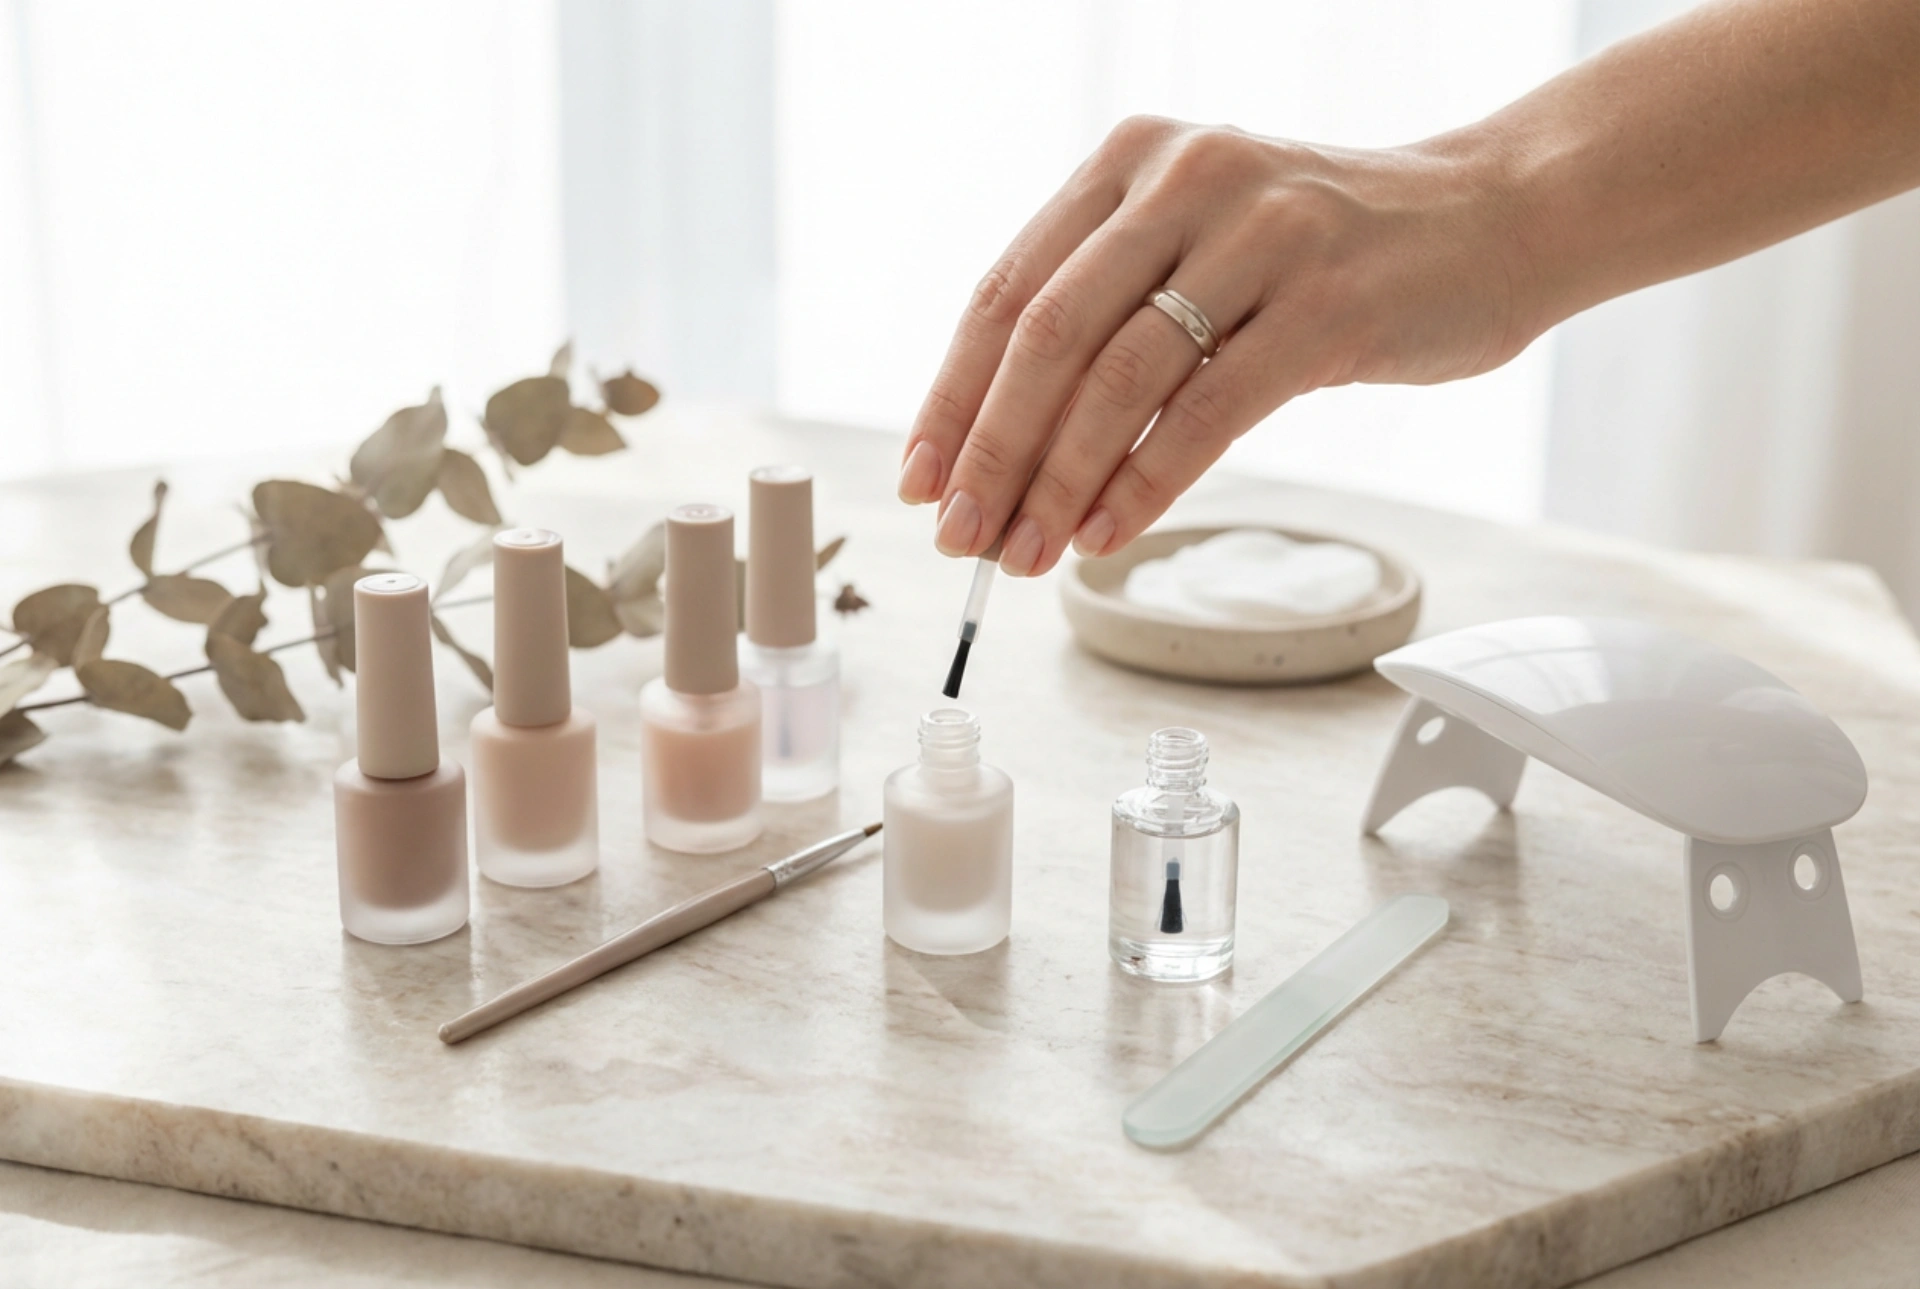


Achieving a flawless, streak-free finish with gel nail polish requires more than just a steady hand; it is a systematic process of meticulous preparation, precise application, and the correct finishing techniques. When we look at professional flat lays showcasing generic gel polish bottles, clear top coats, and essential application tools arranged on a pristine surface, we see the physical components of what makes a perfect manicure. However, the real secret lies in understanding how these elements interact with the natural nail plate. A streak-free result not only looks sophisticated but also ensures the longevity of your manicure, preventing premature lifting and chipping. By mastering a few fundamental home-care steps, anyone can elevate their nail game to a professional standard.
Thorough Nail Plate Preparation as the Foundation
The journey to a perfect, streak-free gel manicure always begins with preparation. Gel polish requires a completely clean, oil-free surface to adhere correctly. If there are any natural oils, dust particles, or moisture left on the nail plate, the polish will pool, shrink, or create unsightly streaks during application.
To begin, gently push back the cuticles using a wooden stick or a dedicated cuticle pusher. It is vital to remove any invisible dead skin cells adhering to the nail plate, as these can cause the gel polish to lift. Once the cuticles are tidy, use a high-grit buffer to lightly remove the natural shine from the nail surface. This step should be done with extreme gentleness; the goal is not to thin the nail plate, but rather to create a slightly textured surface that allows the base coat to grip effectively.
After buffing, dusting away the residue is crucial. Use a lint-free wipe soaked in a professional dehydrator or high-purity isopropyl alcohol to thoroughly cleanse each nail. Avoid using standard cotton wool pads, as they leave behind tiny fibres that will inevitably get trapped under the gel, resulting in bumps and streaks in your final colour coat.
The Art of Applying Gel Polish Without Streaks
Once the nails are prepped and a thin, even layer of base coat has been applied and cured, it is time for the colour application. The most common cause of streaks in gel polish is applying coats that are too thick. Thick layers do not cure properly in the lamp, which can lead to wrinkling, bubbling, and uneven colour distribution.
To avoid this, always wipe one side of the brush against the neck of the bottle, leaving only a small bead of product on the tip. Place the brush in the centre of the nail, slightly away from the cuticle line, and gently push it upwards towards the cuticle without touching the skin. Then, draw the brush down to the free edge of the nail in a smooth, continuous stroke. Repeat this motion on the left and right sides of the nail. This three-stroke method ensures even coverage and minimises the risk of pooling.
Another crucial step is sealing the free edge. Swiping the brush lightly along the very tip of the nail seals the gel layers together, preventing shrinkage and chipping. Always allow the gel polish a few seconds to self-level on the nail before placing your hand under the lamp. Most modern gel formulations have self-levelling properties, meaning they will smooth themselves out if given a brief moment prior to curing.
The Role of the Base and Top Coat in achieving a Smooth Finish
While the colour coats provide the visual appeal, it is the base and top coats that do the heavy lifting when it comes to durability and texture. A high-quality base coat acts as a double-sided tape, anchoring the colour to the nail plate while filling in minor ridges or imperfections in the natural nail.
The top coat, on the other hand, is the ultimate seal that locks in the colour and provides that signature glass-like shine. When choosing a top coat, look for a formula that offers excellent self-levelling capabilities. A good top coat can actually correct minor imperfections or slight streakiness left over from the colour application. When applying the top coat, use a slightly floating motion with the brush, ensuring you do not press too hard, which can drag the colour underneath or create new streaks. Cure the top coat thoroughly according to the manufacturer's instructions, and if it leaves a sticky inhibition layer, wipe it away gently with a clean lint-free wipe.
Essential Tips for a Flawless DIY Gel Manicure
- Work in thin layers: It is always better to apply three paper-thin coats of colour rather than two thick ones. Thin layers cure more evenly and are far less likely to streak.
- Control your brush angle: Keep the brush almost parallel to the nail plate when applying the polish. Holding the brush at a steep angle scrapes the product off, creating streaks.
- Ensure clean tools: Keep your application area free of dust and lint. Clean your brushes and tools regularly to prevent any contamination of your gel bottles.
- Avoid heat and direct light: Store your gel polishes in a cool, dark place away from natural sunlight or the active UV/LED lamp, as exposure can cause the product to cure inside the bottle.
By taking your time and focusing on the precision of each step, you can easily achieve a beautiful, streak-free gel manicure that lasts for weeks, showcasing a sophisticated and clean aesthetic.




