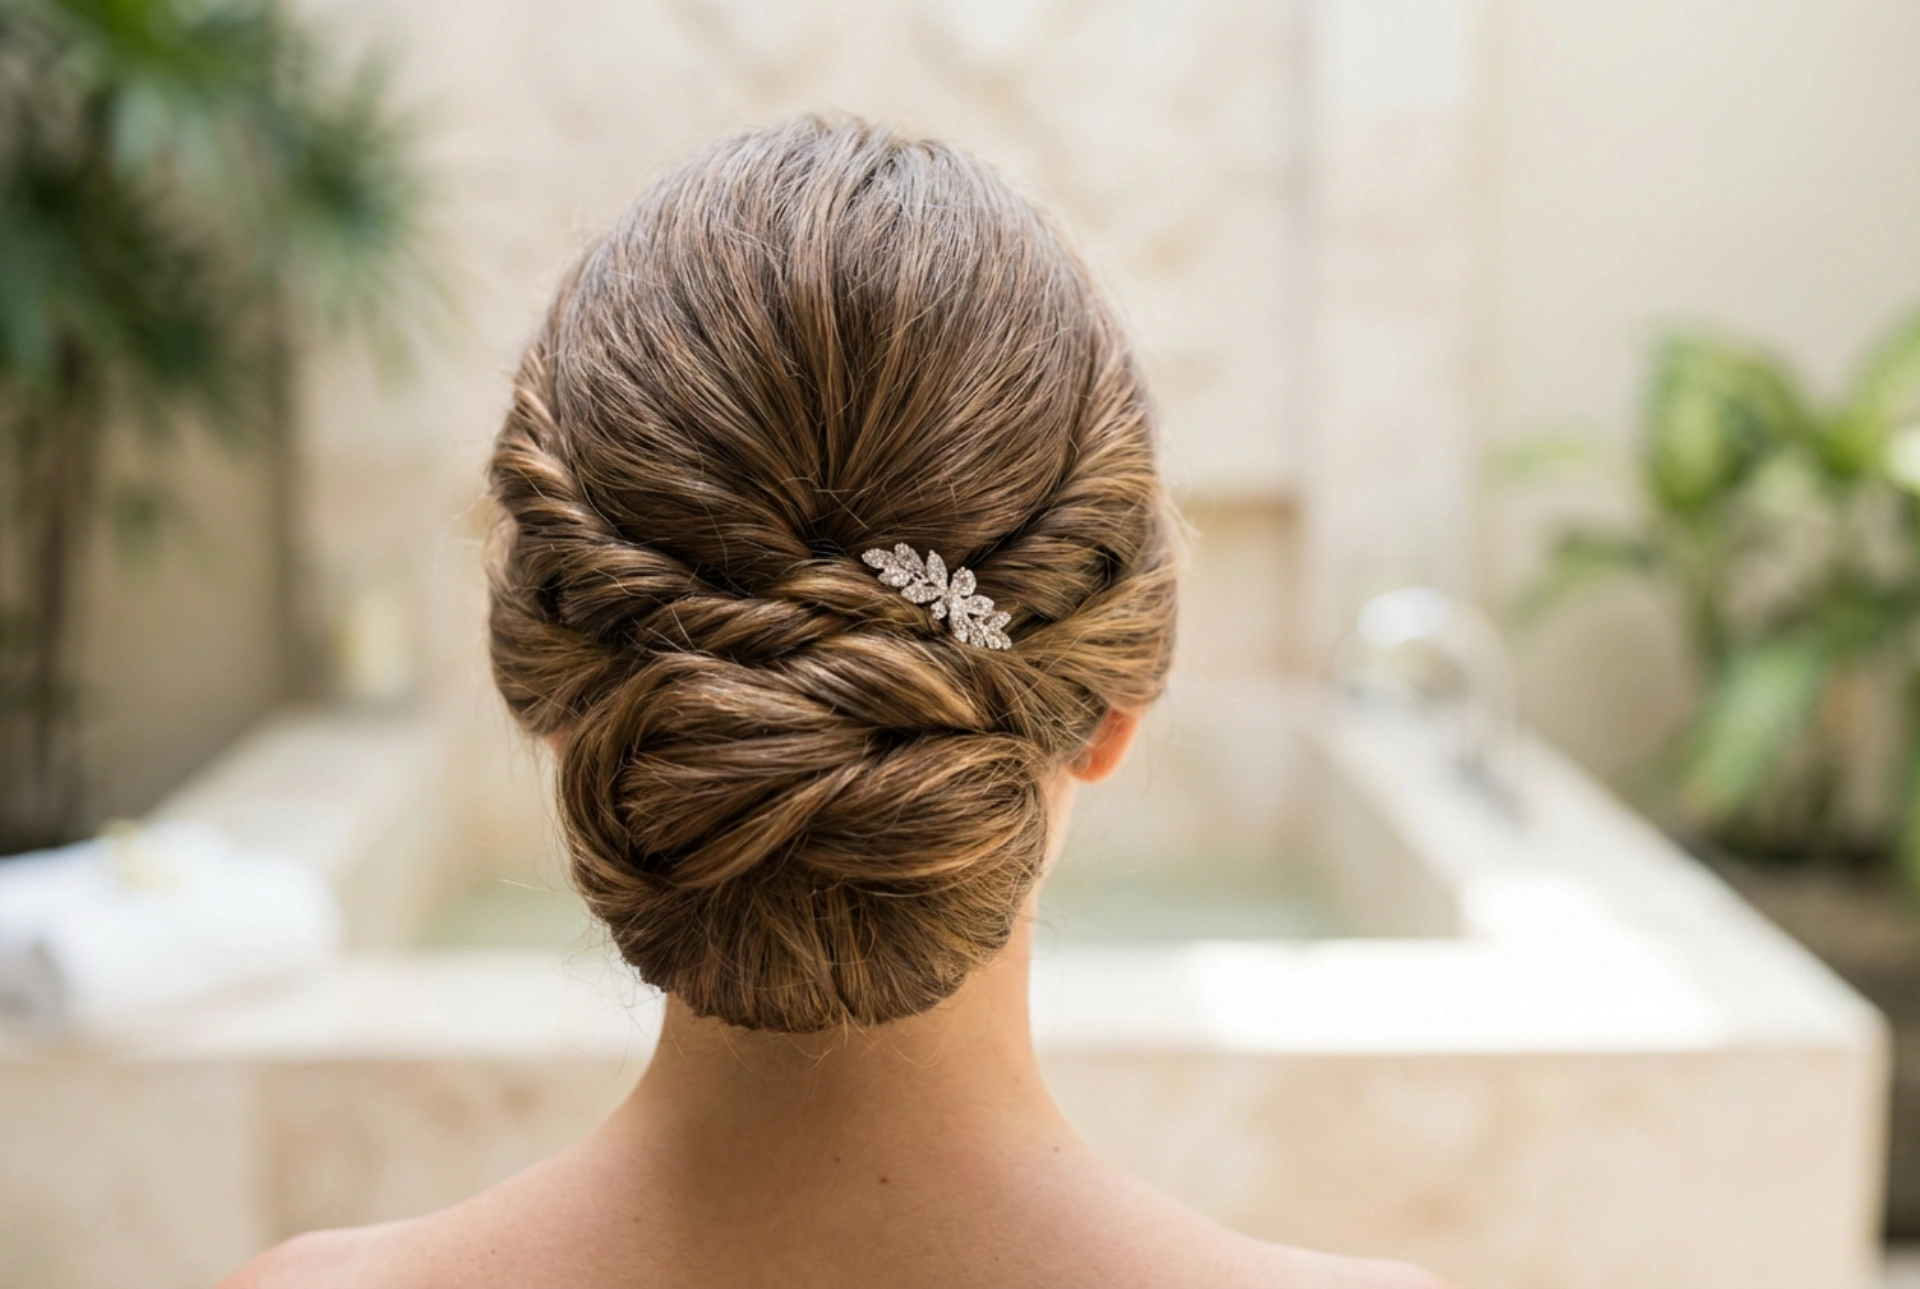


An elegant, intricately styled bridal bun remains one of the most timeless choices for a wedding day. Viewed from behind, a sophisticated updo featuring delicate twists and a subtle sparkling accessory can instantly elevate a bridal look, reflecting refined beauty under soft, natural light. Creating a polished, smooth texture that lasts throughout the celebration requires a combination of proper hair preparation, precise styling techniques, and the right finishing touches. This guide will take you through the essential steps to achieve a stunning, professional-looking wedding bun at home or with the help of a friend.
Preparing the Hair for a Perfect Updo
The foundation of any successful wedding hairstyle lies in how the hair is prepared. Clean, freshly washed hair can often be too slippery to hold a structured updo, which is why styling is usually easier on hair that was washed the previous day. If you prefer to style freshly washed hair, it is essential to build texture and grip during the drying process.
Begin by applying a lightweight volumising mousse to damp hair, focusing on the roots to provide lift. Blow-dry the hair thoroughly using a round brush to smooth out any frizz and create a polished canvas. For those with naturally fine or straight hair, adding a gentle wave with a curling wand can introduce the necessary volume and texture. This step ensures that the delicate twists of your elegant bridal bun will have the support they need to stay in place without sliding.
Before styling begins, ensure the hair is completely free of tangles. Brushing through the hair with a soft bristle brush helps distribute natural oils along the hair shaft, adding natural shine and preparing the cuticle for styling. If your hair is prone to static or flyaways, a tiny amount of lightweight hair cream smoothed over the mid-lengths and ends can help keep the strands cohesive as you work them into twists and rolls.
The Classic Low Bridal Bun Step-by-Step
A classic low bun offers a sophisticated look that complements almost any wedding gown neckline. This style works beautifully with polished finishes and can be easily customised with subtle accessories. Follow these steps to create a secure and elegant low bun:
- Step 1: Sectioning the Hair. Divide the hair into three main sections. Create a large horseshoe-shaped section at the crown and two smaller sections on either side of the head, leaving the remaining hair at the back to form the base of your bun.
- Step 2: Creating the Base. Gather the back section of the hair at the nape of the neck and secure it into a neat ponytail using a strong, snag-free hair elastic. Smooth down any flyaways using a fine-tooth comb.
- Step 3: Building the Volume. Gently backcomb the ponytail in small sections to create internal volume. This step is crucial for achieving a full, rounded shape, especially if you have finer hair. Smooth the outer surface of the backcombed ponytail to keep the look clean.
- Step 4: Rolling and Securing. Roll the ponytail upwards towards the base of the elastic, forming a classic chignon shape. Secure the roll firmly against the head using sturdy hairpins. Place the pins vertically and then push them horizontally into the base of the ponytail for maximum security.
- Step 5: Adding the Twists. Take the side sections that were left loose earlier. Gently twist each section backwards, wrapping them over the top of the completed bun. Secure the ends underneath the bun with bobby pins, hiding them from view. This adds an intricate, multi-dimensional finish to the hairstyle.
The Modern Textured Twisted Bun
For brides seeking a softer, more romantic aesthetic, a textured twisted bun is an excellent alternative to the classic smooth chignon. This style embraces natural movement and soft, face-framing tendrils to create an effortlessly elegant look.
To achieve this texture, begin by curling the entire head of hair in alternating directions. Instead of pulling the hair tight when creating the initial ponytail, leave the crown area slightly loose, gently pinching and lifting small sections of hair to create height and dimension. When forming the bun, twist the hair loosely and pin it in sections rather than rolling it as a single piece. This technique allows individual twists and loops to stand out, highlighting the natural highlights and lowlights of your hair. Finish by gently pulling out a few delicate strands around the ears and jawline to soften the overall appearance.
This approach works exceptionally well for highlighting different tones in the hair. For example, balayage or highlighted hair looks beautiful when twisted, as the different shades weave together to create depth. The textured bun is also highly versatile, allowing you to position it either at the nape of the neck or slightly higher up on the back of the head, depending on your veil placement and personal preference.
Tips for Hair Styling Longevity and Shine
A bridal hairstyle needs to withstand hours of celebration, movement, and changing temperatures. To ensure your elegant bun remains flawless from the ceremony to the end of the evening, consider these practical styling tips:
- Use the lock-in pinning technique: When inserting bobby pins, catch a small amount of hair from the bun, turn the pin in the opposite direction, and push it firmly into the base. This locks the pin in place and prevents the hair from slipping.
- Opt for high-quality hairpins: Choose hairpins that match your hair colour (blonde, brunette, or black) to keep them completely invisible within the updo.
- Prioritise natural shine: A light mist of a shine-enhancing finishing spray will catch the light beautifully, giving your hair a healthy, radiant glow in photographs. Avoid heavy oils that can weigh the style down.
Choosing the Right Minimalist Hair Accessories
The perfect finishing touch to an elegant bridal bun is a subtle hair accessory that adds a touch of sophistication without overpowering the intricate styling. A delicate, sparkling hair comb placed gently above the bun can catch the natural light beautifully. Alternatively, twisting small, pearl-tipped pins directly into the folds of the bun can create a delicate, scattered effect. When choosing your accessory, consider the overall balance of your bridal look, ensuring it complements the texture and shape of your elegant updo.





