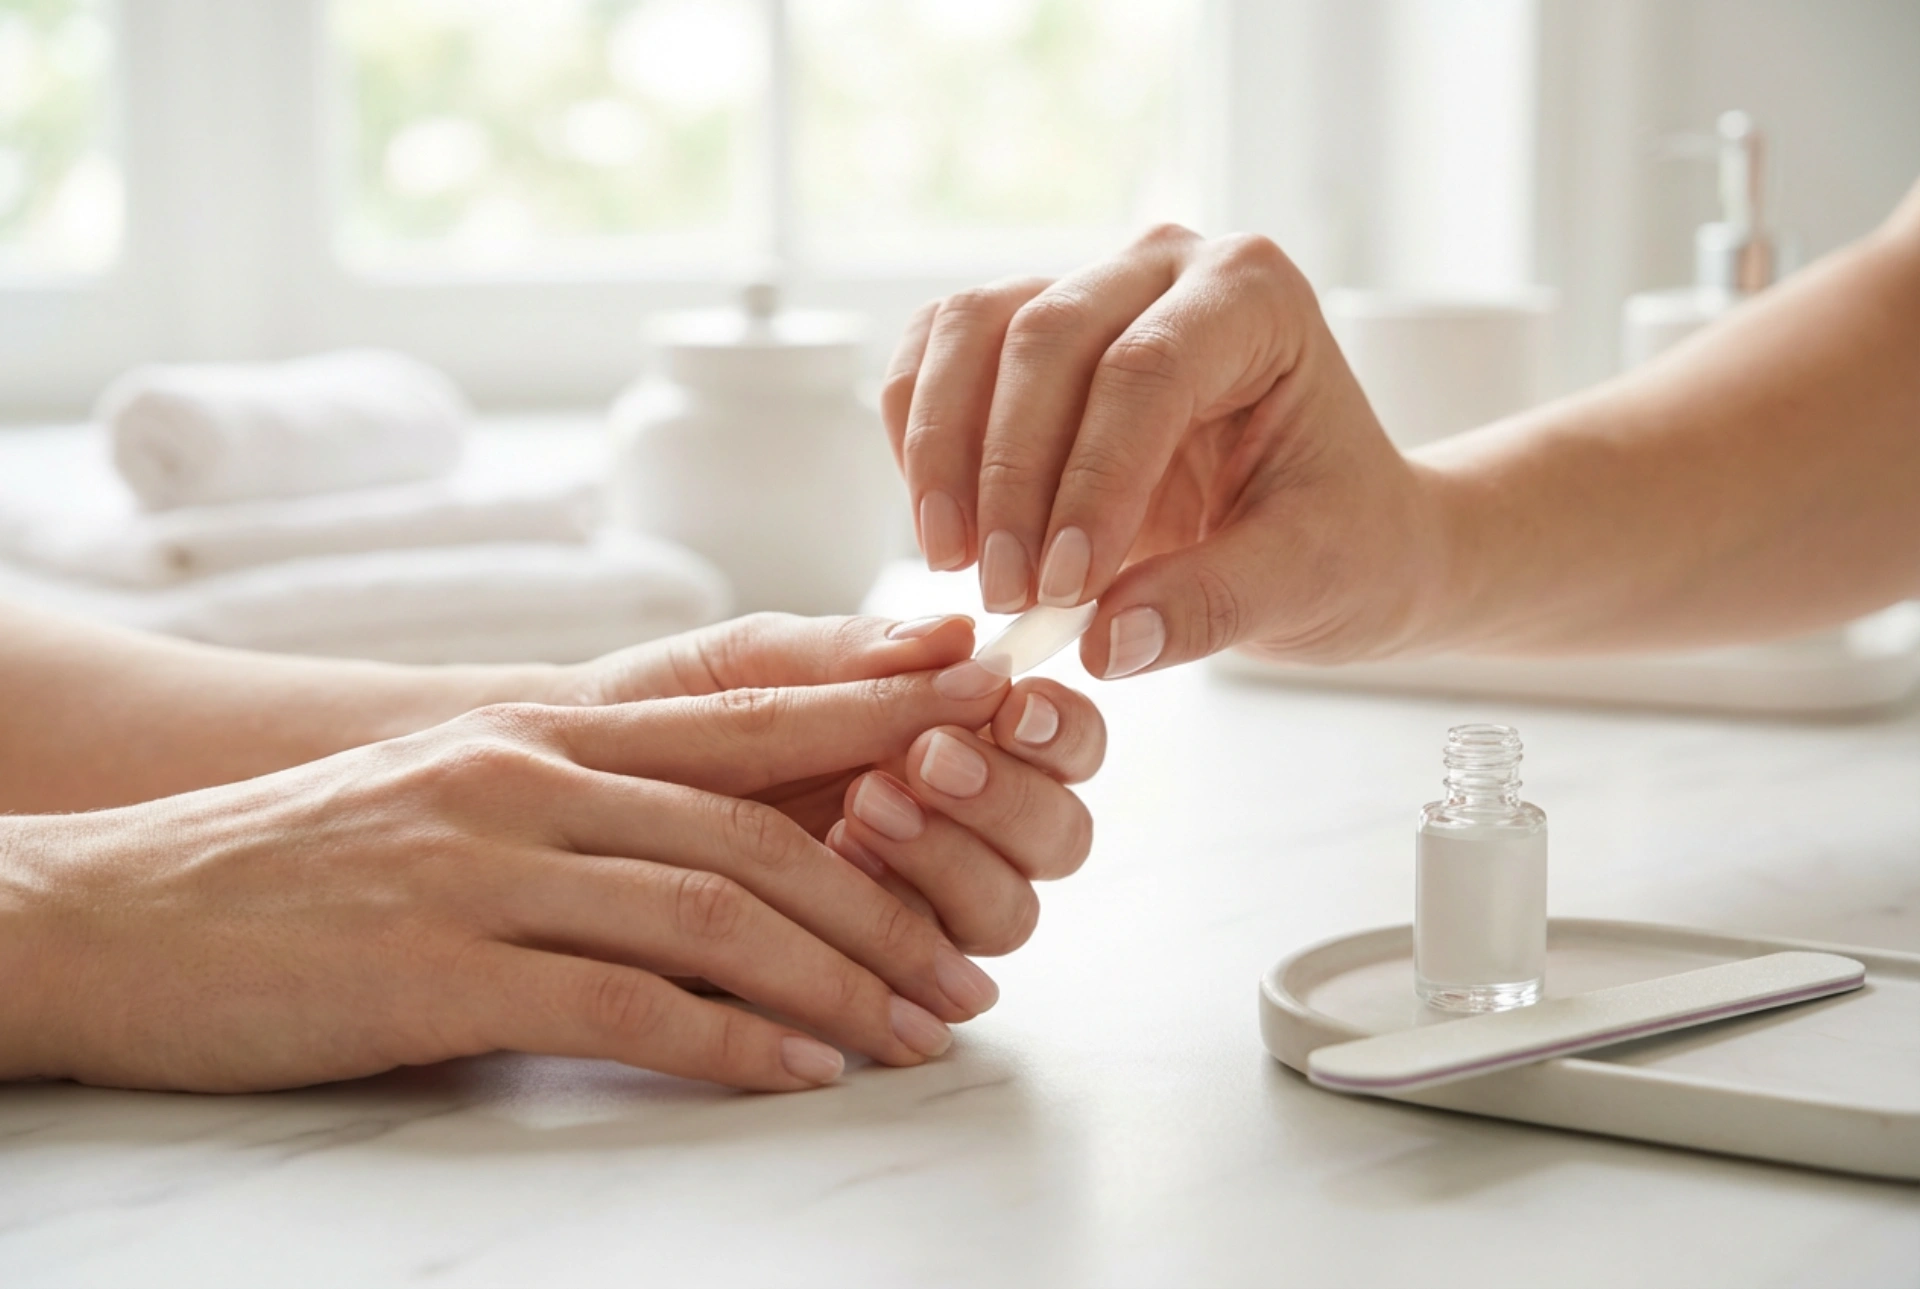


Elegant, well-groomed hands are a beautiful showcase of personal style and care. Achieving the perfect length and shape with nail tips is a classic method that remains incredibly popular for those looking to enhance their natural nails. When applying these translucent extensions, precision and care are key to ensuring a natural look and long-lasting wear. Using simple tools such as generic nail glue and a fine-grit buffer, you can create a seamless finish right at home, mimicking the expertise of a professional application without the need for complex salon equipment. This comprehensive guide covers how to prepare, apply, blend, and safely remove extensions without compromising the health of your natural nail plate.
Preparing the Natural Nail for Application
Before any nail enhancement is applied, the foundation must be thoroughly prepared. This ensures that the adhesive bonds properly and the extensions remain secure without lifting. Start by washing and thoroughly drying your hands to remove any natural oils or moisture. Gently push back the cuticles using a wooden manicure stick. This step is crucial as placing nail tips over the cuticle area will lead to premature lifting and a bulky appearance.
Next, use a fine-grit nail file to lightly shape the free edge of your natural nails. You do not need to shorten them completely, but they should be rounded and tidy. Gently buff the surface of the nail plate with a soft buffer to remove the natural shine. This creates a slightly textured surface that helps the glue adhere better. Finally, wipe the nails with a lint-free wipe soaked in a dehydrating solution or isopropyl alcohol to remove any dust and residual oils. Cleanliness is the secret to a durable manicure.
Sizing and Selecting the Right Tips
Selecting the correct size of the translucent nail tip is essential for a natural and comfortable result. If a tip is too wide, it will overlap onto the skin, causing irritation and lifting. If it is too narrow, it will pinch the nail bed and look unnatural. Take your time to measure each nail individually, as your left and right hands may require slightly different sizes.
- Side-to-side fit: The tip should fit perfectly from one sidewall of the nail to the other, covering the entire width of the nail bed.
- Adjusting the size: If you find a tip that is slightly too large, use a fine-grit file to gently trim the sides until it fits your nail perfectly. It is always better to resize a larger tip than to use one that is too small.
- Pre-shaping: Lay out all ten tips in order before you start applying the adhesive, ensuring a smooth and uninterrupted application process.
The Art of Applying and Gluing
Applying the tips requires a steady hand and a methodical approach to avoid air bubbles, which can weaken the bond and trap moisture. Hold the nail tip at a 45-degree angle to the free edge of your natural nail. Apply a small drop of generic nail glue to the well area of the tip, which is the thin, recessed part designed to sit on your natural nail.
Slowly lower the tip onto the natural nail, starting from the free edge and rocking it back towards the cuticle. This rocking motion helps to push out any air bubbles as the glue spreads evenly. Press and hold the tip firmly for about ten to fifteen seconds to allow the adhesive to set. Be careful not to let the tip slide while holding it. Once secured, use a tip cutter or a sturdy nail clipper to shorten the extensions to your desired length.
Blending and Shaping for a Seamless Finish
One of the most important steps in creating natural-looking enhancements is blending the seam where the extension meets the natural nail. A distinct line or step will ruin the illusion of natural nails, so patience during this phase is highly rewarded. Using a fine-grit buffer, carefully file the seam down until it is flush with your natural nail plate. Be extremely careful to only file the plastic tip and not your natural nail surface to prevent thinning or damage.
Once the seam is blended, use a nail file to shape the free edge of the extension into your preferred style, whether it is square, oval, or almond. Dust away any debris with a soft brush. At this stage, your nails are perfectly prepped for your favourite protective base coat, colourful nail polishes, or simple top coat to seal the beautiful, seamless look.
Safe and Gentle Removal
When it is time to say goodbye to your extensions, safe removal is paramount to maintaining the health of your natural nail plate. Never rip, peel, or pry the tips off, as this can tear away layers of your natural nail, leaving them thin, weak, and damaged. Safe removal requires patience and the right soaking method.
Shorten the extensions as much as possible using a nail clipper. Next, pour a small amount of gentle, acetone-based nail remover into a small glass bowl. To protect the skin around your nails, you can apply a thin layer of petroleum jelly or a rich hand cream to your cuticles. Submerge your fingertips in the remover for about fifteen to twenty minutes. The plastic tips will gradually soften and dissolve. Use a wooden cuticle stick to gently scrape away the softened plastic without forcing it. If any stubborn adhesive remains, soak for a few more minutes. Finish by washing your hands and applying a generous amount of nourishing cuticle oil and hand cream to restore moisture.




