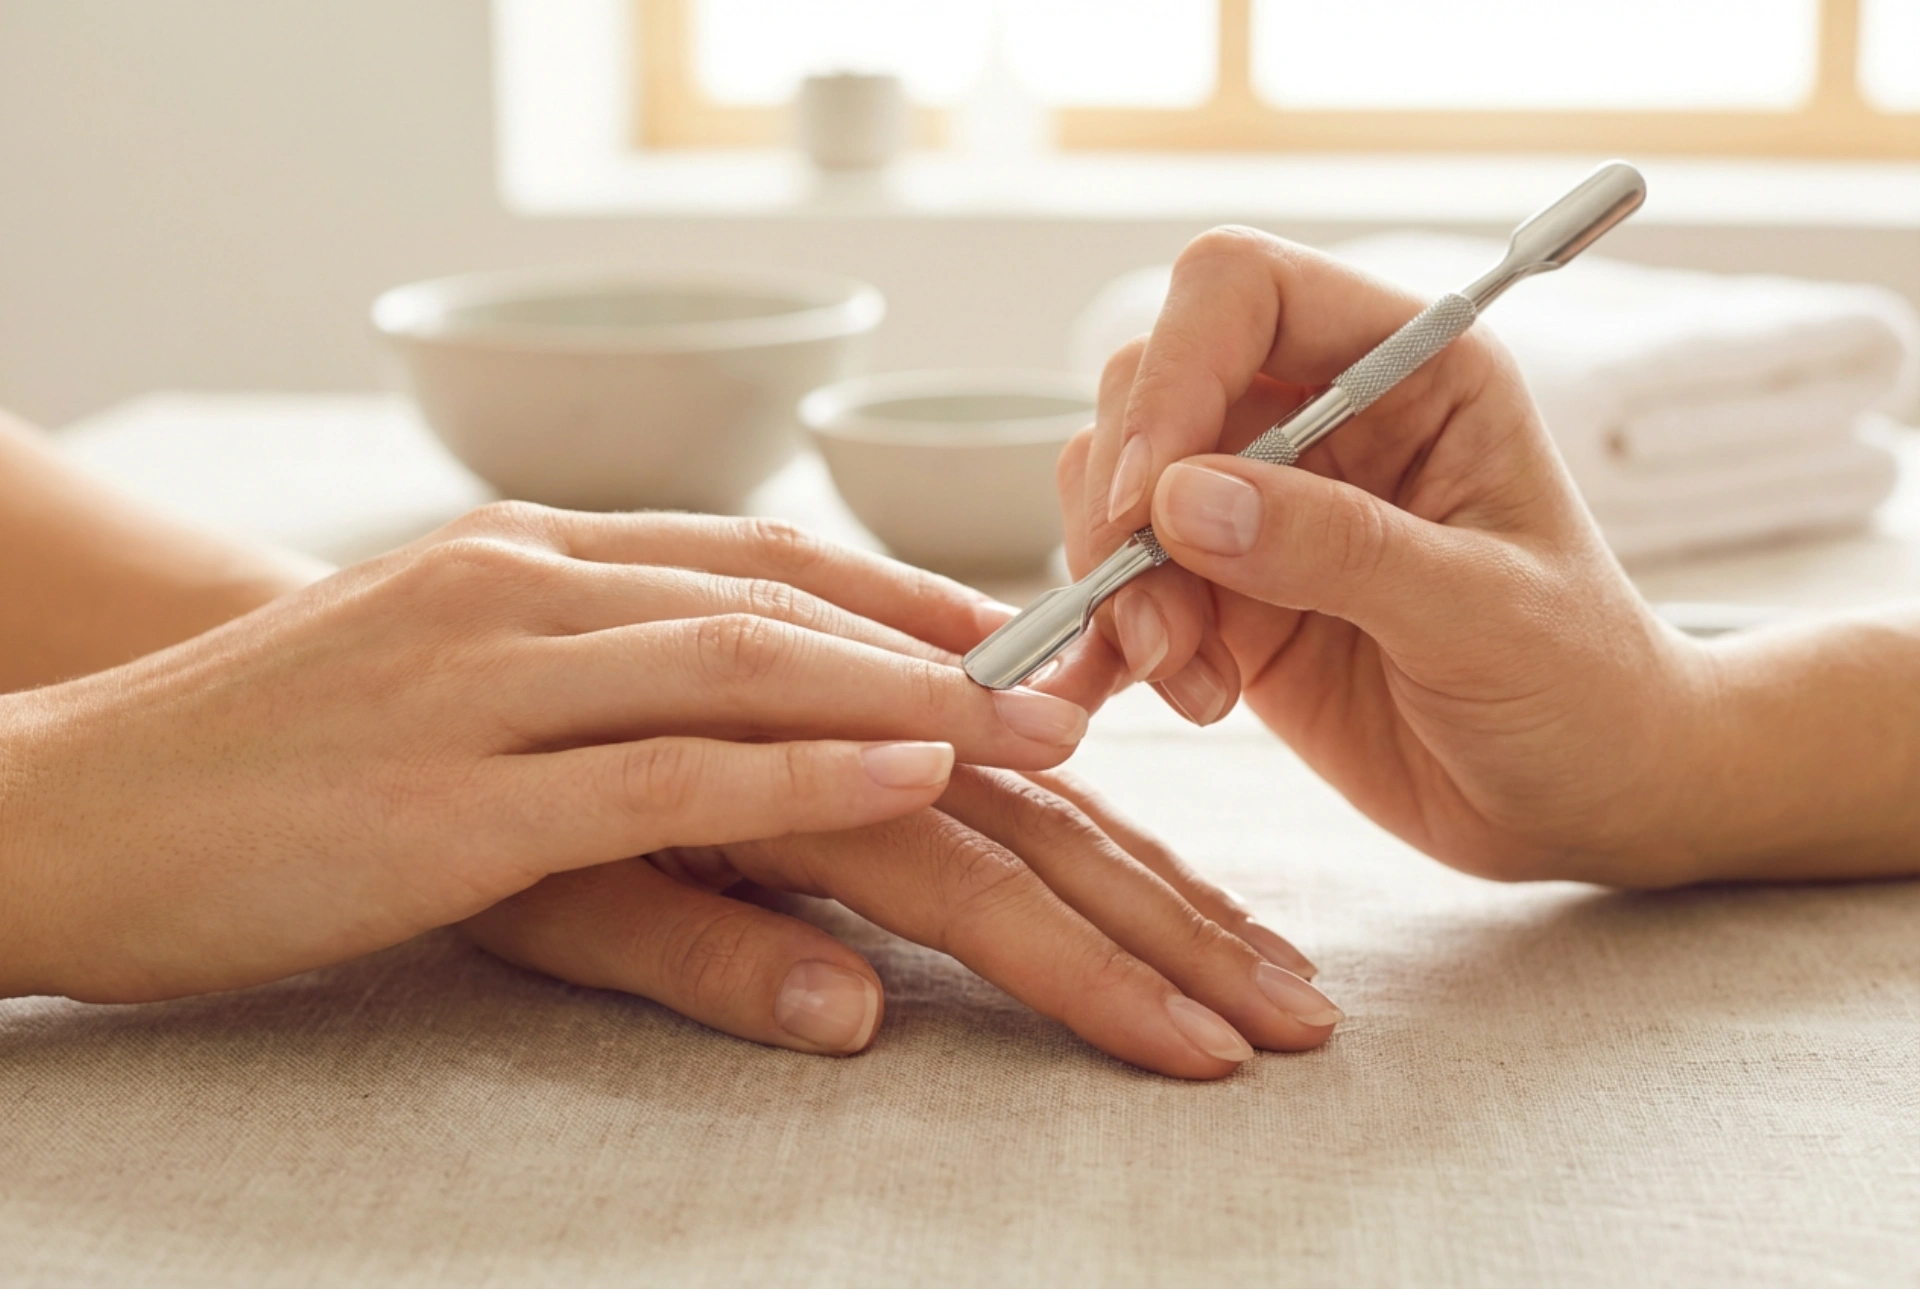


Beautifully groomed hands with impeccably neat cuticles are the foundation of any elegant manicure. Achieving a professional look at home has become significantly easier with the accessibility of modern nail drills. However, working around the delicate nail folds requires precision, patience, and the right technique. When performed incorrectly, mechanical cuticle removal can lead to discomfort, redness, or even long-term damage to the nail plate. To enjoy healthy and tidy nail surrounds, it is essential to understand how to handle these tools gently and safely.
Understanding the Anatomy of Nail Folds
The skin surrounding our nails, often referred to collectively as the cuticle area, consists of several parts including the eponychium and the lateral nail folds. This tissue serves as a natural protective barrier, preventing dust, water, and impurities from reaching the sensitive nail matrix where new nail growth occurs. When using a nail drill, the goal is not to aggressively strip away this protective skin, but rather to gently clear away dead cells and smooth out rough edges. Approaching this area with care ensures that you maintain the integrity of the natural barrier while achieving a flawless, clean appearance.
Selecting the Right Drill Bits for Delicate Skin
The secret to safe and irritation-free cuticle preparation lies in selecting the appropriate drill bits. For working on the delicate nail folds, diamond-coated bits are generally the safest and most effective choice. They come in various shapes and grit sizes, each serving a specific purpose:
- Flame-shaped bit: Ideal for gently lifting the eponychium and cleaning the lateral folds without touching the nail plate directly.
- Ball-shaped bit: Perfect for safely exfoliating dry, dead skin around the nail folds and smoothing out any hangnails.
- Cylinder or drop-shaped bit: Helpful for cleaning the surface of the nail plate near the cuticle line and removing leftover debris.
When choosing diamond bits, look for a fine or extra-fine grit, usually marked with a red or yellow band. Coarse grits should be avoided, as they can easily cause micro-tears in the delicate skin.
Step-by-Step Guide to Safe Cuticle Prep
To achieve a clean, irritation-free result, it is crucial to follow a methodical and gentle process. Ensure your hands are clean and completely dry before you begin, as moisture can make the skin more prone to tearing.
1. Push Back the Cuticles
Firstly, gently push back the cuticles using a wooden stick or a rounded metal pusher. This lifts the skin slightly and creates a clear path for the nail drill, preventing the bit from getting caught or slipping.
2. Clear the Lateral Folds
Secondly, select a flame-shaped diamond bit and set your nail drill to a low speed, typically between 5,000 and 10,000 RPM. Always work in the opposite direction of the bit’s rotation to maintain control. Keep the bit parallel to the nail plate; never point the tip directly down into the nail matrix. Use light, sweeping motions without applying pressure.
3. Smooth the Surrounding Skin
Lastly, switch to a small ball-shaped bit to gently buff away the lifted, dry skin along the nail fold. Let the tool do the work without pressing hard against the skin.
Common Mistakes to Avoid to Prevent Irritation
The most common error when using a nail drill is applying too much pressure. The diamond coating is highly effective on its own, and pressing down will only generate excess heat and friction, leading to painful burns or thin nail plates. Another frequent mistake is keeping the rotating bit in one spot for too long. To prevent heat build-up, always keep the drill bit moving in continuous, gentle sweeps. Additionally, never use damaged or worn-out bits, as they can cause uneven friction and pull at the skin instead of smoothing it.
Nourishing Care After Nail Preparation
Once the dry skin around the nail folds has been gently cleared, it is vital to restore moisture and soothe the area. Wash your hands with lukewarm water to remove any fine dust, and then apply a rich, nourishing cuticle oil. Oils infused with natural ingredients like sweet almond, jojoba, or avocado oil are excellent for deeply hydrating the skin and promoting flexibility. Regularly massaging oil into the nail surrounds not only prevents the skin from drying out and cracking but also keeps your manicure looking fresh and professional for much longer.




