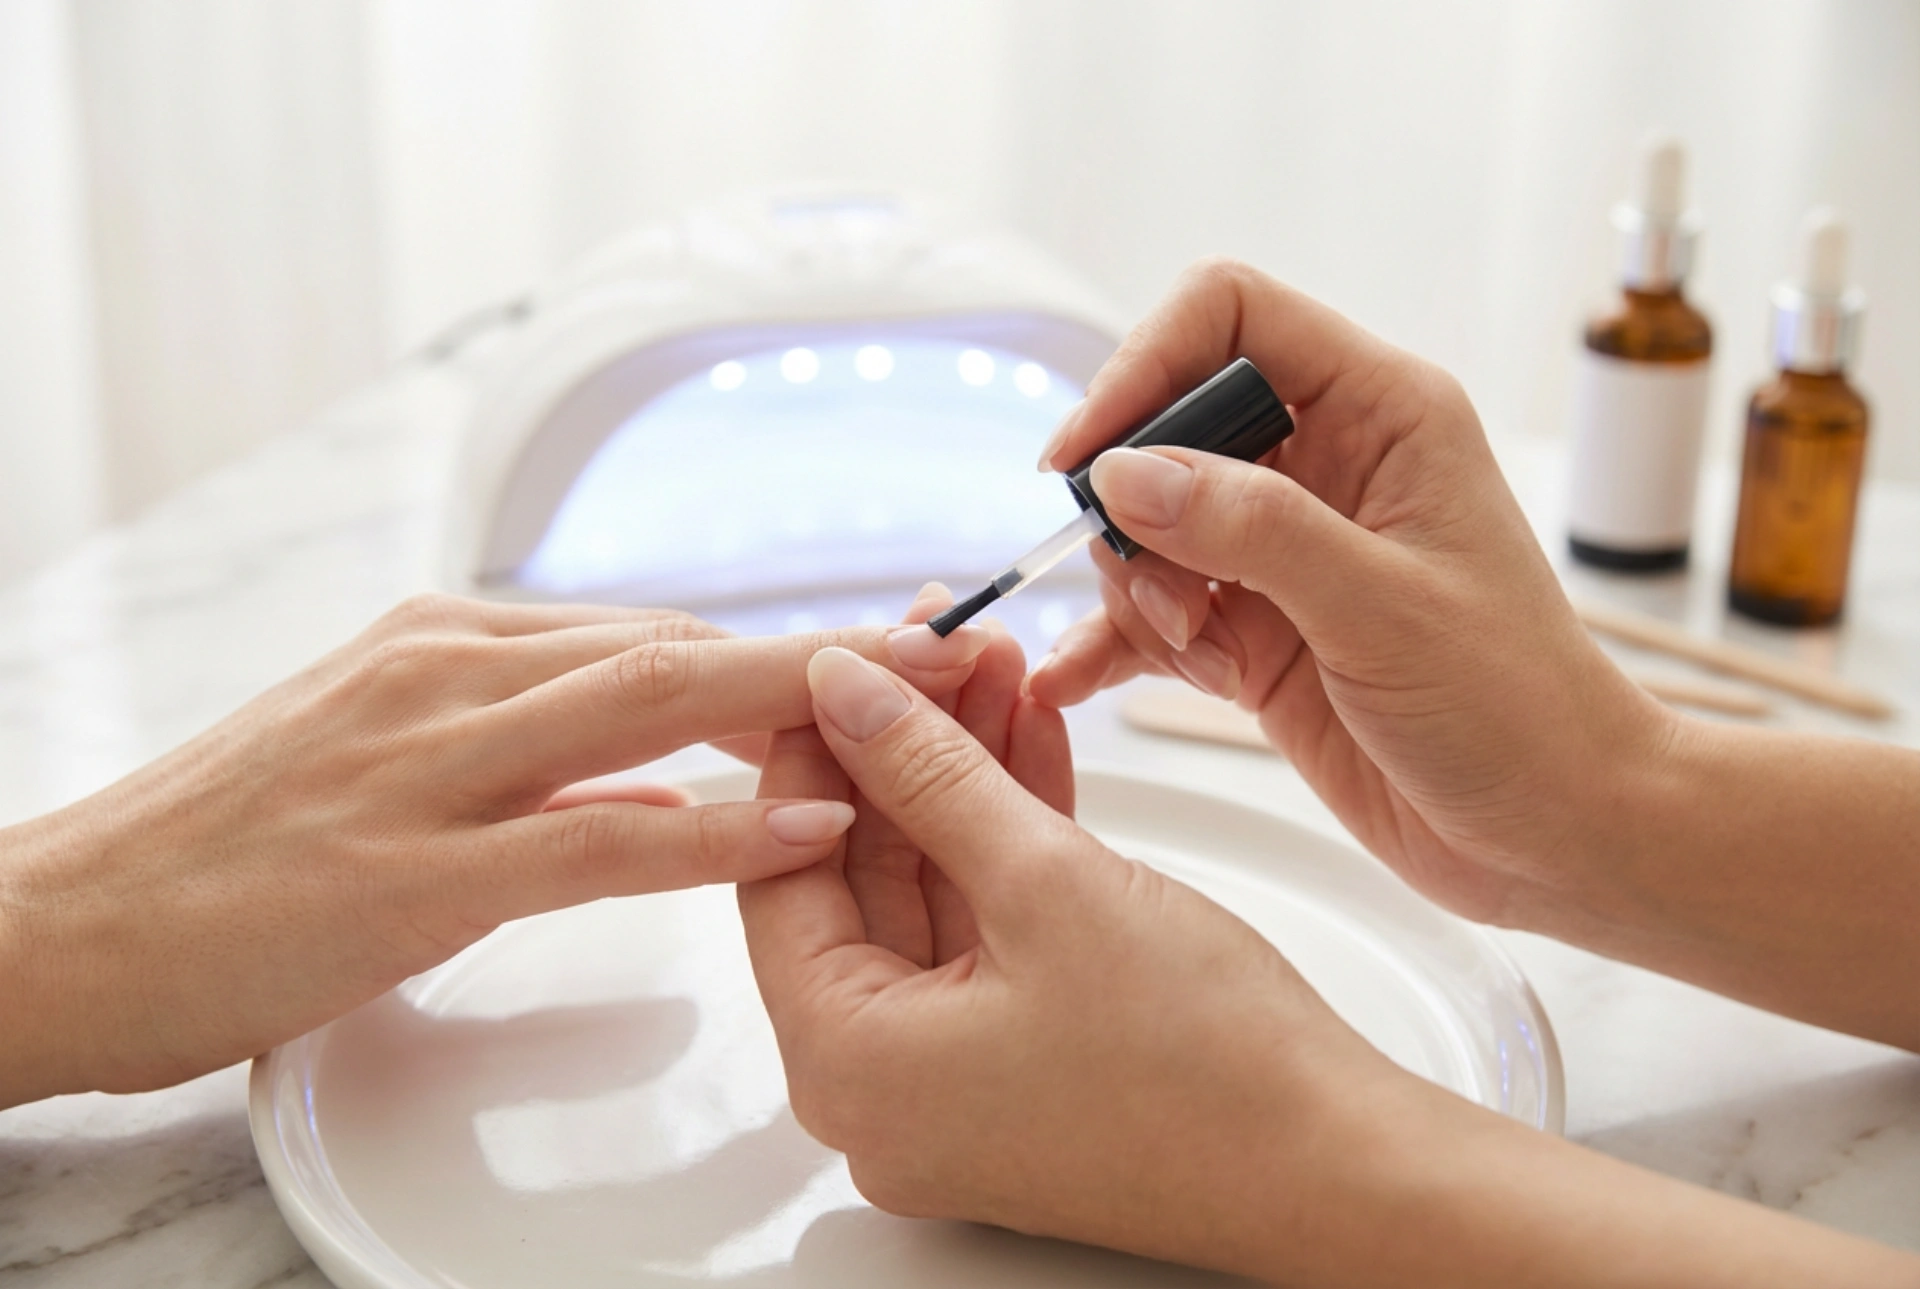


A flawless, long-lasting manicure begins long before the first brushstroke of vibrant colour is applied. As seen in professional nail care, the key to an immaculate finish lies in the careful preparation of the nail plate and the precise application of a clear hybrid base coat. Under soft, natural light, a clean and smooth nail surface acts as the perfect canvas, ensuring that the gel polish adheres beautifully and remains chip-free for weeks. Understanding the science and technique behind this foundational step is essential for anyone wishing to achieve a salon-quality aesthetic at home.
The Essential Role of a Gel Base Coat
The hybrid base coat serves multiple vital functions in a manicure. Primarily, it acts as a double-sided adhesive agent, bonding securely to the natural nail keratin on one side and to the colour coat on the other. Without this intermediate layer, gel polish would struggle to cling to the smooth surface of the nail, leading to premature peeling and lifting.
Furthermore, a high-quality base coat protects the natural nail plate from pigment staining, which can occur with darker polish shades. It also helps to smooth out minor ridges and imperfections on the nail surface, creating an even, uniform base that enhances the final glossy reflection of the top coat.
Preparing the Nail Plate Step-by-Step
Proper preparation is the most critical phase of the entire manicure process. Even the best base coat will fail to adhere if the nail surface contains traces of moisture, natural oils, or leftover dust. Follow these steps to prepare your nails thoroughly:
- Shaping and Filing: Use a fine-grit nail file to shape the free edge of your nails. Always file in one direction to prevent splitting the delicate layers of the nail plate.
- Cuticle Care: Gently push back the cuticles using a wooden stick or a dedicated pusher. Keeping the cuticle area clear ensures that the gel products do not touch the surrounding skin, which is a major cause of lifting.
- Buffing: Lightly buff the surface of the nail plate with a high-grit buffer block. The goal is not to thin the nail, but to gently remove the natural shine and create a microscopic texture that the base coat can grip.
- Dehydrating and Cleansing: Wipe each nail thoroughly with a lint-free pad soaked in a professional nail prep solution or dehydrator. This step removes dust, surface oils, and moisture, leaving the nail completely matte and clean.
How to Apply the Base Coat Correctly
Once the nails are prepped and dry, it is time to apply the clear base coat. The key to success is moderation; applying too much product is one of the most common mistakes in nail care.
Begin by wiping excess product from the brush against the neck of the bottle. Place a small drop of the base coat in the centre of the nail, a few millimetres away from the cuticle line. Gently push the brush towards the cuticle without touching the skin, then sweep it down to the free edge. Use light, even strokes to distribute the gel across the entire nail surface.
Crucially, you must "cap" the free edge. This involves running the brush lightly along the very tip of the nail to seal the edge, preventing water and air from getting underneath the manicure later on. Ensure the layer is thin and uniform before proceeding to the curing stage.
Curing: Timing and Device Guidelines
Curing is the chemical process where liquid gel polymers harden under ultraviolet light. This transition requires a dedicated LED or UV lamp. To ensure a perfect cure, follow these guidelines:
Place your hand flat inside the lamp, ensuring all nails, including the thumb, are evenly exposed to the light source. The curing time depends entirely on the type of lamp used. Typically, modern LED lamps require 30 to 60 seconds, whereas traditional UV lamps may take up to 2 minutes. Always refer to the parameters recommended for your specific base coat category.
After curing, you will notice a sticky, tacky residue on the nail surface. This is known as the inhibition layer. It is a completely normal result of oxygen preventing the topmost layer of gel from fully polymerising. Do not wipe this sticky layer off, as it is necessary for the next layer of colour polish to adhere properly.
Common Mistakes to Avoid
To achieve professional and durable results, avoid these frequent pitfalls during the application process:
- Flooding the Cuticles: If the base coat touches the cuticle or the side walls of the skin, it will create an entry point for air and moisture once cured, causing the entire gel overlay to peel off within days.
- Applying Layers Too Thickly: Thick layers of gel do not cure properly in the middle, leaving a soft pocket of unpolymerised product. This can lead to wrinkling of the surface and reduced durability.
- Skipping the Dehydrator: Omitting the cleansing step leaves invisible natural oils on the nail plate, which significantly weakens the bond between the keratin and the base coat.




