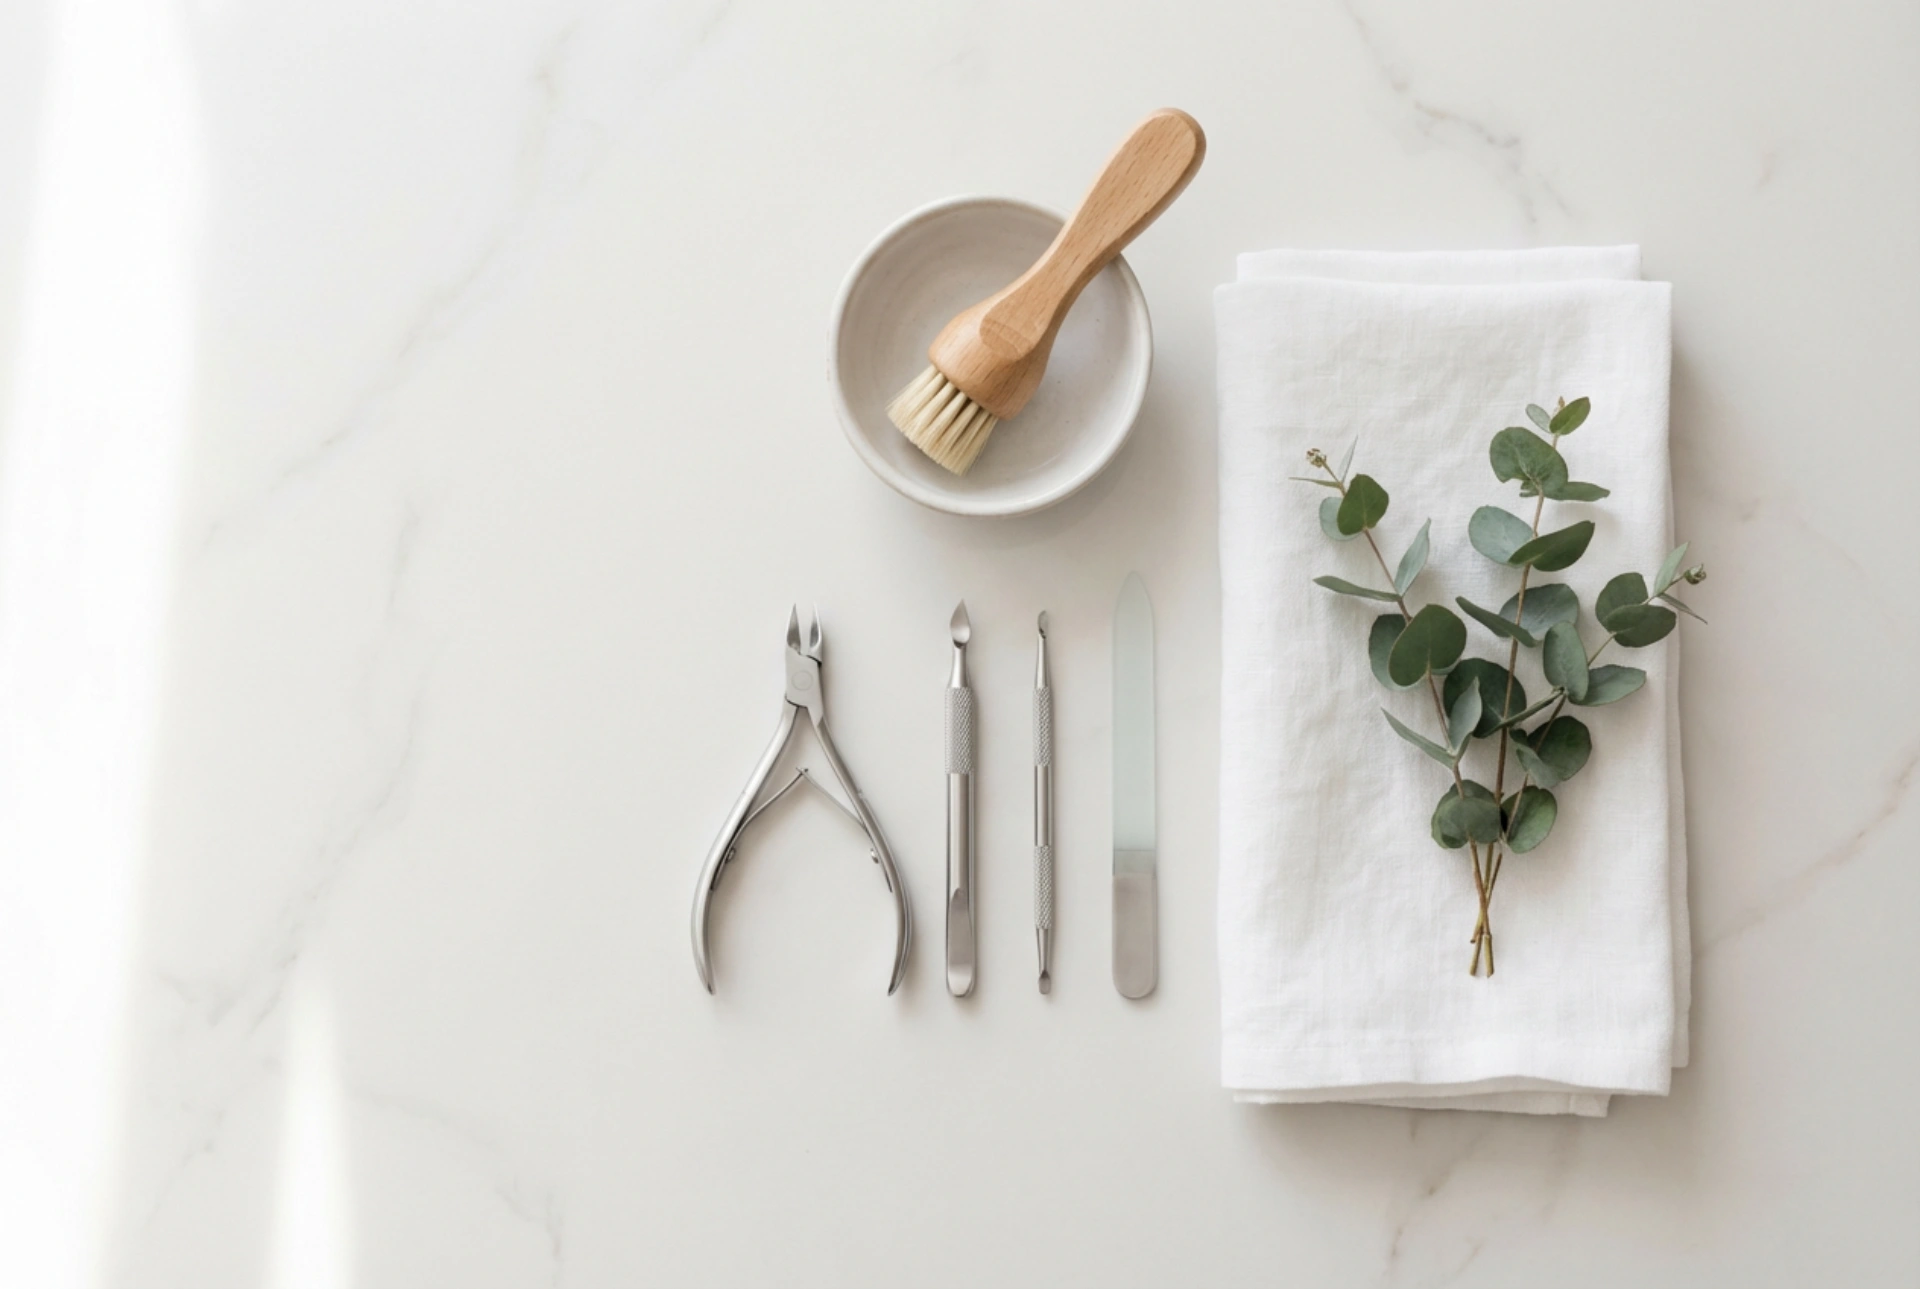


Creating a dedicated space for personal grooming can turn a simple beauty routine into a relaxing, spa-like experience. A beautifully organised flat lay of high-quality tools resting on a clean, soft white towel reminds us that effective nail care starts with preparation and the right equipment. Caring for your hands and feet at home is not only a matter of aesthetics but also a wonderful way to practice self-care. To achieve professional-looking results, it is essential to understand the purpose of each tool in your manicure and pedicure set, how to maintain proper hygiene, and how to perform the basic steps safely and gently.
Essential Components of a Nail Care Set
A standard home manicure and pedicure kit contains several specialized tools designed for specific tasks. Understanding what each instrument does prevents misuse and ensures that you do not damage your nails or the surrounding skin. High-quality kits typically feature tools made from stainless steel, which is durable, easy to clean, and resistant to rust. Purchasing a set with a sturdy protective case is also highly recommended, as it keeps the delicate edges of your scissors and clippers from becoming dull, damaged, or contaminated.
- Nail Clippers and Scissors: These are used for shortening the nails. Clippers are ideal for tougher toenails, while delicate scissors allow for precise trimming of fingernails. Always trim in small steps rather than making one single, forceful cut, as this prevents the nail from cracking or splitting.
- Nail Files: Files are used to shape the edges of the nails and smooth out any rough spots. Glass or emery boards are generally gentler on natural nails than metal files, which can cause peeling at the tips. Glass files are particularly hygienic as they can be easily washed and sterilised.
- Cuticle Pusher: Often dual-ended, this tool helps gently push back the softened skin around the base of the nail. One end is usually rounded to fit the contour of the nail, while the other might be a small spatula to clean underneath the nail edges. It should always be used with a light touch.
- Nail Nipper: This tool is designed to trim loose hangnails or dry, dead skin around the nail bed. It should never be used to cut live cuticle tissue, as this can lead to soreness, irritation, and uneven regrowth.
- Buffing Block: A multi-sided buffer helps to smooth the surface of the nail plate, removing ridges and adding a natural, healthy shine. Frequent buffing should be avoided to prevent thinning the nail plate, but a gentle touch once or twice a month works wonders.
The Golden Rules of Hygiene and Tool Maintenance
Keeping your manicure and pedicure tools pristine is the most critical aspect of home nail care. Even though these instruments are used only by you, they can still accumulate skin cells, natural oils, and moisture, creating an environment where bacteria can thrive. Proper hygiene ensures that every session remains safe and beneficial for your skin and nails.
Immediately after each use, wash your metal tools with warm water and a mild soap to remove any visible debris. Once washed, they must be thoroughly disinfected. You can use a dedicated cosmetic disinfectant spray or rubbing alcohol to sanitise all surfaces. Allow the tools to air dry completely on a clean towel before storing them away. Putting wet tools back into a dark, closed case is a recipe for rust and bacterial growth.
Store your set in a dry, ventilated case to prevent moisture build-up. Never share your personal grooming tools with others, as this is the easiest way to transfer unwanted microorganisms. If your set includes non-washable items, such as classic wooden emery boards, remember to replace them regularly to keep your routine completely hygienic.
Preparing for Your Home Ritual
Before picking up any tools, proper preparation of your skin and nails is essential. Attempting to work on dry, hard nails can lead to splitting, and dry cuticles are much harder to manage safely. Start by removing any old polish with a gentle, acetone-free formula that will not strip the nails of their natural moisture.
Next, prepare a warm bath for your hands or feet. Adding a few drops of mild cosmetic oil or bath salts to the water can help soften the skin and nails, making them much easier to work with. Soak your hands for about five minutes, and your feet for ten to fifteen minutes. Once the soaking is complete, gently pat the skin dry with a clean, soft towel, leaving the nails slightly pliable but not completely wet. This ensures they are soft enough to trim without cracking, yet dry enough to file effectively.
Step-by-Step Guide to Perfect Shaping and Care
With your hands or feet prepped and your tools sanitised, you can begin the actual grooming process. Following a logical order ensures the best results and keeps your nails strong and healthy.
Trimming and Filing
Begin by shortening your nails to the desired length. When using clippers or scissors, follow the natural curve of your fingernails. For toenails, always cut straight across to prevent the edges from growing into the surrounding skin. Once trimmed, use your file to shape the edges. File in one direction only, from the outer edge towards the centre, rather than sawing back and forth. Sawing motions weaken the nail layers and cause peeling.
Managing the Cuticles
Apply a small amount of cuticle softener or oil to the base of each nail. Using the rounded end of your cuticle pusher, gently push the softened skin back. Avoid pushing too hard or digging under the nail fold. If there are loose, dead hangnails, carefully trim them with the nippers, ensuring you only cut the loose pieces and never the healthy skin. Keep your movements slow and deliberate.
Buffing and Smoothing
Use the buffing block gently across the surface of the nails. This step removes minor imperfections and prepares the surface. If you do not plan to apply polish, buffing can give the nails a beautiful, natural sheen that looks polished and clean on its own. Use the finest side of the buffer for the final shine.
Nourishment and Post-Routine Care
The final step of any successful manicure or pedicure is hydration. The processes of soaking, shaping, and filing can temporarily deplete the skin and nails of moisture. Rehydrating the area immediately after your routine helps seal in moisture and keeps the skin around the nails looking soft and healthy.
Massage a rich hand cream or foot lotion into the skin, paying special attention to the heels, knuckles, and palms. Follow this with a drop of nourishing cuticle oil at the base of each nail, massaging it in thoroughly. This simple step keeps the cuticles supple, prevents painful hangnails, and supports strong, resilient nail growth. Regularly applying moisturiser between your full grooming sessions will maintain these results and keep your hands and feet looking pristine and cared for.




