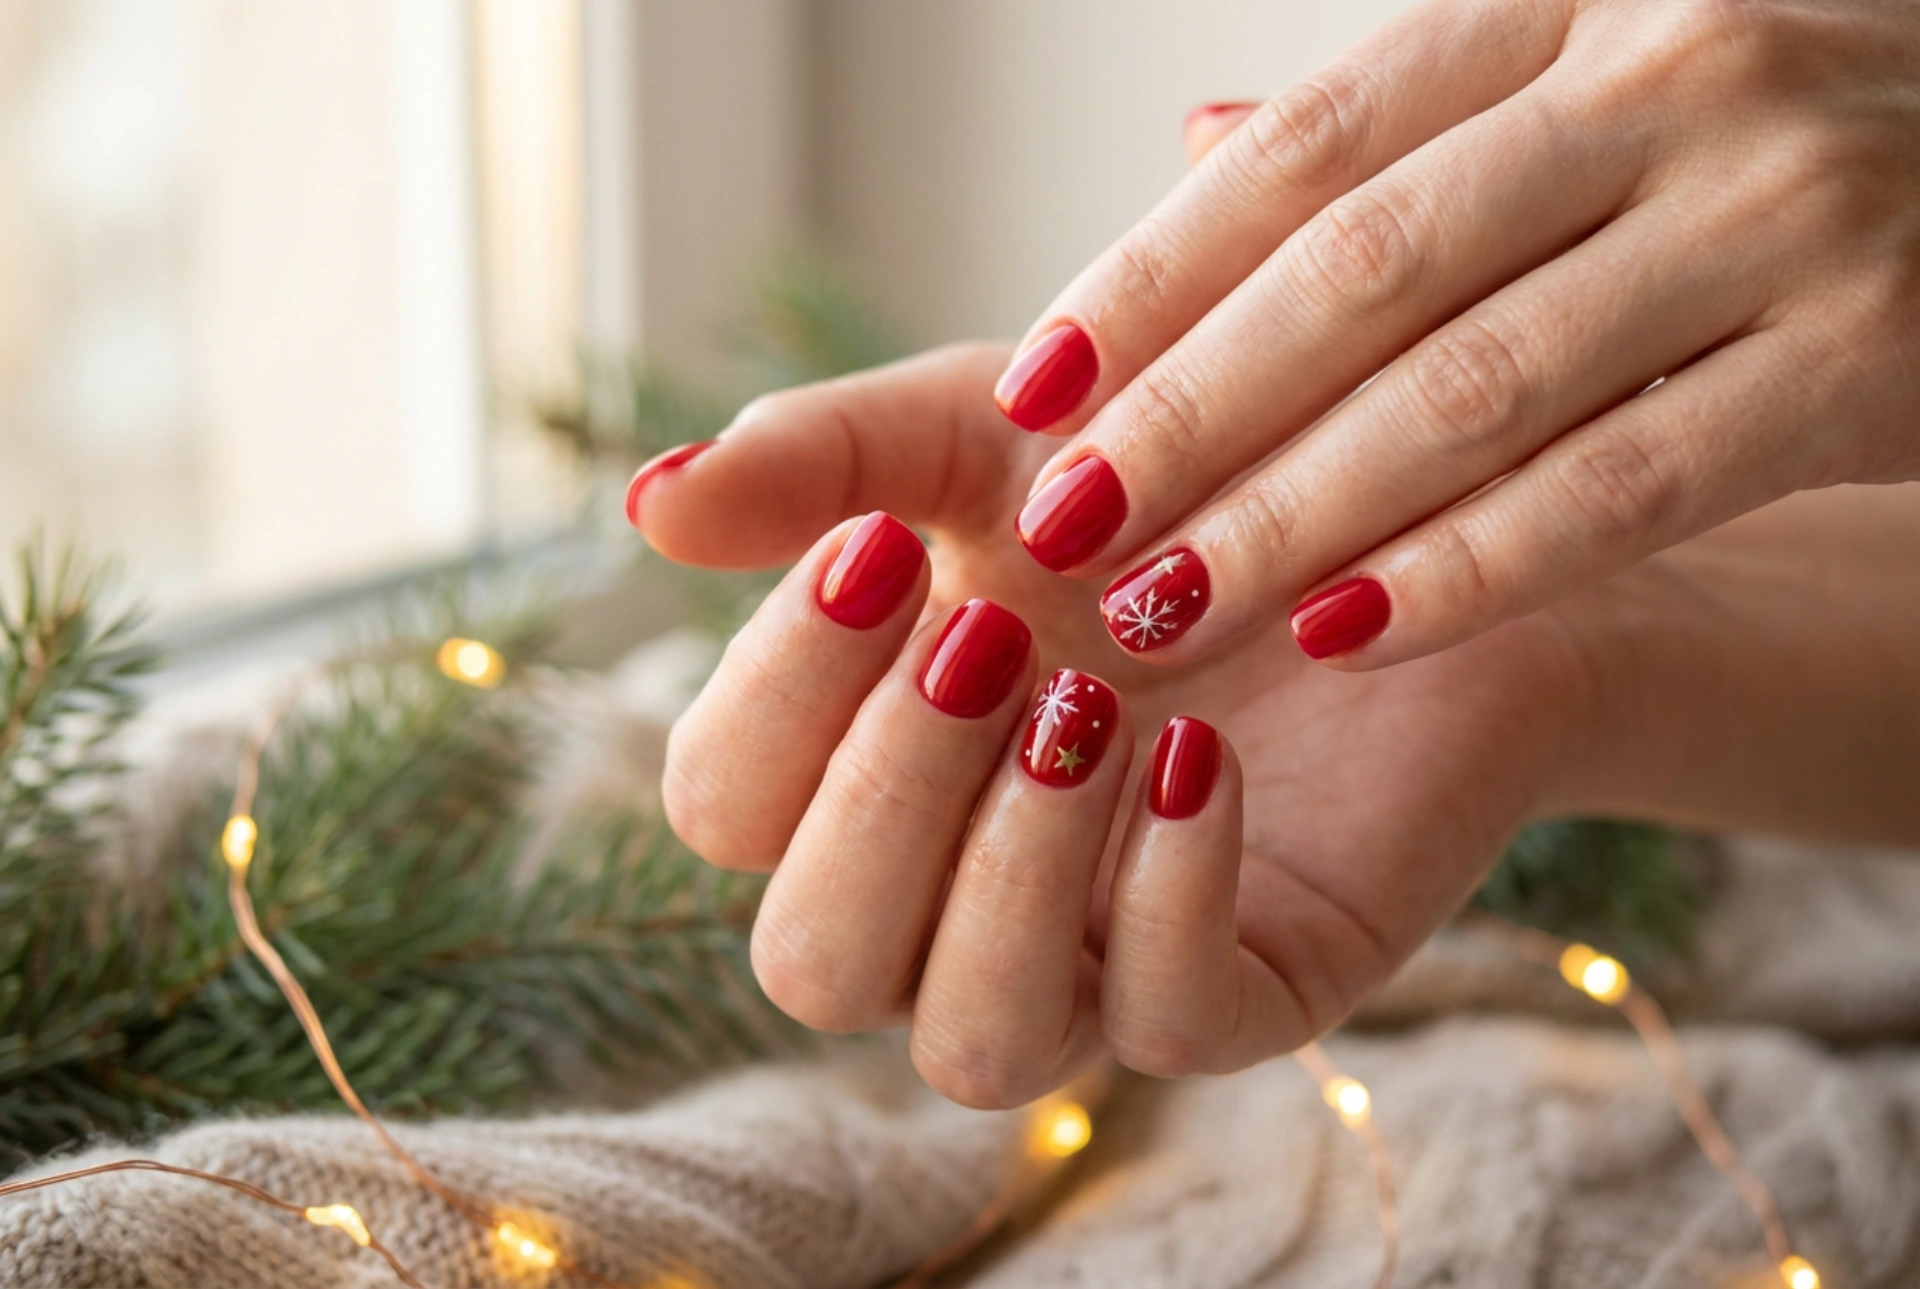


A classic red manicure is the epitome of festive elegance, evoking warmth, celebration, and timeless style. Beautifully groomed hands adorned with rich red hues perfectly complement the cozy atmosphere of winter gatherings and holiday preparations. Recreating salon-quality, festive designs at home is much simpler than it seems, requiring only a few basic tools and a touch of patience. By focusing on neatness and preparation, you can achieve a polished, professional look that lasts throughout the holiday season.
Preparing Your Nails for a Flawless Application
Before diving into creative nail art, the foundation of any stunning manicure lies in meticulous preparation. Properly prepped nails not only ensure a smoother application but also significantly extend the life of your nail polish. Start by gently shaping your nails with a fine-grit file, aiming for a classic round, oval, or elegant squoval shape that enhances the natural form of your hands.
Softening and gently pushing back the cuticles using a wooden stick will create a clean canvas and make the nail bed appear longer. It is essential to cleanse the nail plates thoroughly with a gentle, oil-free cleanser to remove any residue, natural oils, or dust. Applying a high-quality base coat is a step that should never be skipped; it protects your natural nails from staining, especially when working with highly pigmented red polishes, and provides a smooth surface for the colour to adhere to.
5 Simple Festive Red Nail Designs to Try at Home
With your nails beautifully prepped and a rich red base coat applied, you are ready to add a touch of seasonal magic. Here are five easy, elegant designs that you can easily recreate at home with minimal effort.
1. The Classic Gold Accent
Nothing says holiday cheer quite like the combination of deep red and shimmering gold. For this minimalist yet sophisticated design, apply two coats of your favourite red polish and let them dry completely. Using a fine detail brush or a toothpick, gently apply a thin stroke of metallic gold polish along the tips of your nails, or place a single delicate gold dot near the base of each nail. This subtle touch adds an instant festive flair without overpowering the classic red look.
2. Delicate Snowflakes
Snowflake patterns are incredibly popular during the winter months and are surprisingly easy to paint. After your red base has dried, dip a fine detailing brush or a wooden toothpick into a crisp white polish. Draw a simple cross, then add diagonal lines through the centre to form an eight-point star. Carefully paint tiny, outward-facing V-shapes on the ends of the lines to complete the delicate snowflake structure. If you prefer a simpler version, a few tiny white dots scattered across the nail can beautifully mimic falling snow.
3. The Elegant French Twist
An elegant modern take on the traditional French manicure is perfect for the festive season. Instead of the classic white tip, use a rich, glossy red as the primary colour for your nails. Once dry, use a contrasting shade such as a soft silver, champagne gold, or even a deep burgundy to paint a very thin, precise line along the free edge of the nail. This subtle variation is chic, sophisticated, and suitable for any formal holiday event.
4. Festive Polka Dots
For a playful yet neat design, polka dots are an excellent choice. Using a dotting tool or the rounded end of a hairpin, dip the tip into gold, white, or silver polish. Gently press the tool onto your red nail to create clean, uniform dots. You can arrange them in a neat vertical line down the centre of the nail, create a subtle gradient fading from the base, or frame the cuticle area for a modern, stylish frame effect.
5. Minimalist Sparkle
If you prefer a quick design with maximum impact, a minimalist sparkle effect is ideal. Once your red polish is dry, apply a sheer glitter top coat only to the base of the nail, gently fading it upwards towards the middle to create an ombre effect. Alternatively, you can apply the glitter solely to a single accent nail, such as the ring finger, keeping the rest of the manicure sleek and solid red. This technique catches the warm light beautifully and adds a cozy, reflective glow.
How to Maintain a Long-Lasting Festive Manicure
To keep your festive manicure looking fresh and chip-free, the final steps are crucial. Always seal your creative designs with a generous layer of high-shine top coat. This not only protects the delicate nail art from wear and tear but also gives the red polish a professional, glossy finish that catches the light beautifully.
- Reapply a thin layer of top coat every two to three days to maintain the protective barrier.
- Wear gloves when washing dishes or doing household chores to protect your nails from moisture and harsh cleaning agents.
- Apply a nourishing cuticle oil daily to keep the skin around your nails hydrated and prevent unsightly peeling.
By taking a few extra minutes to care for your hands and nails, your festive manicure will remain pristine, elegant, and ready for every holiday celebration.




