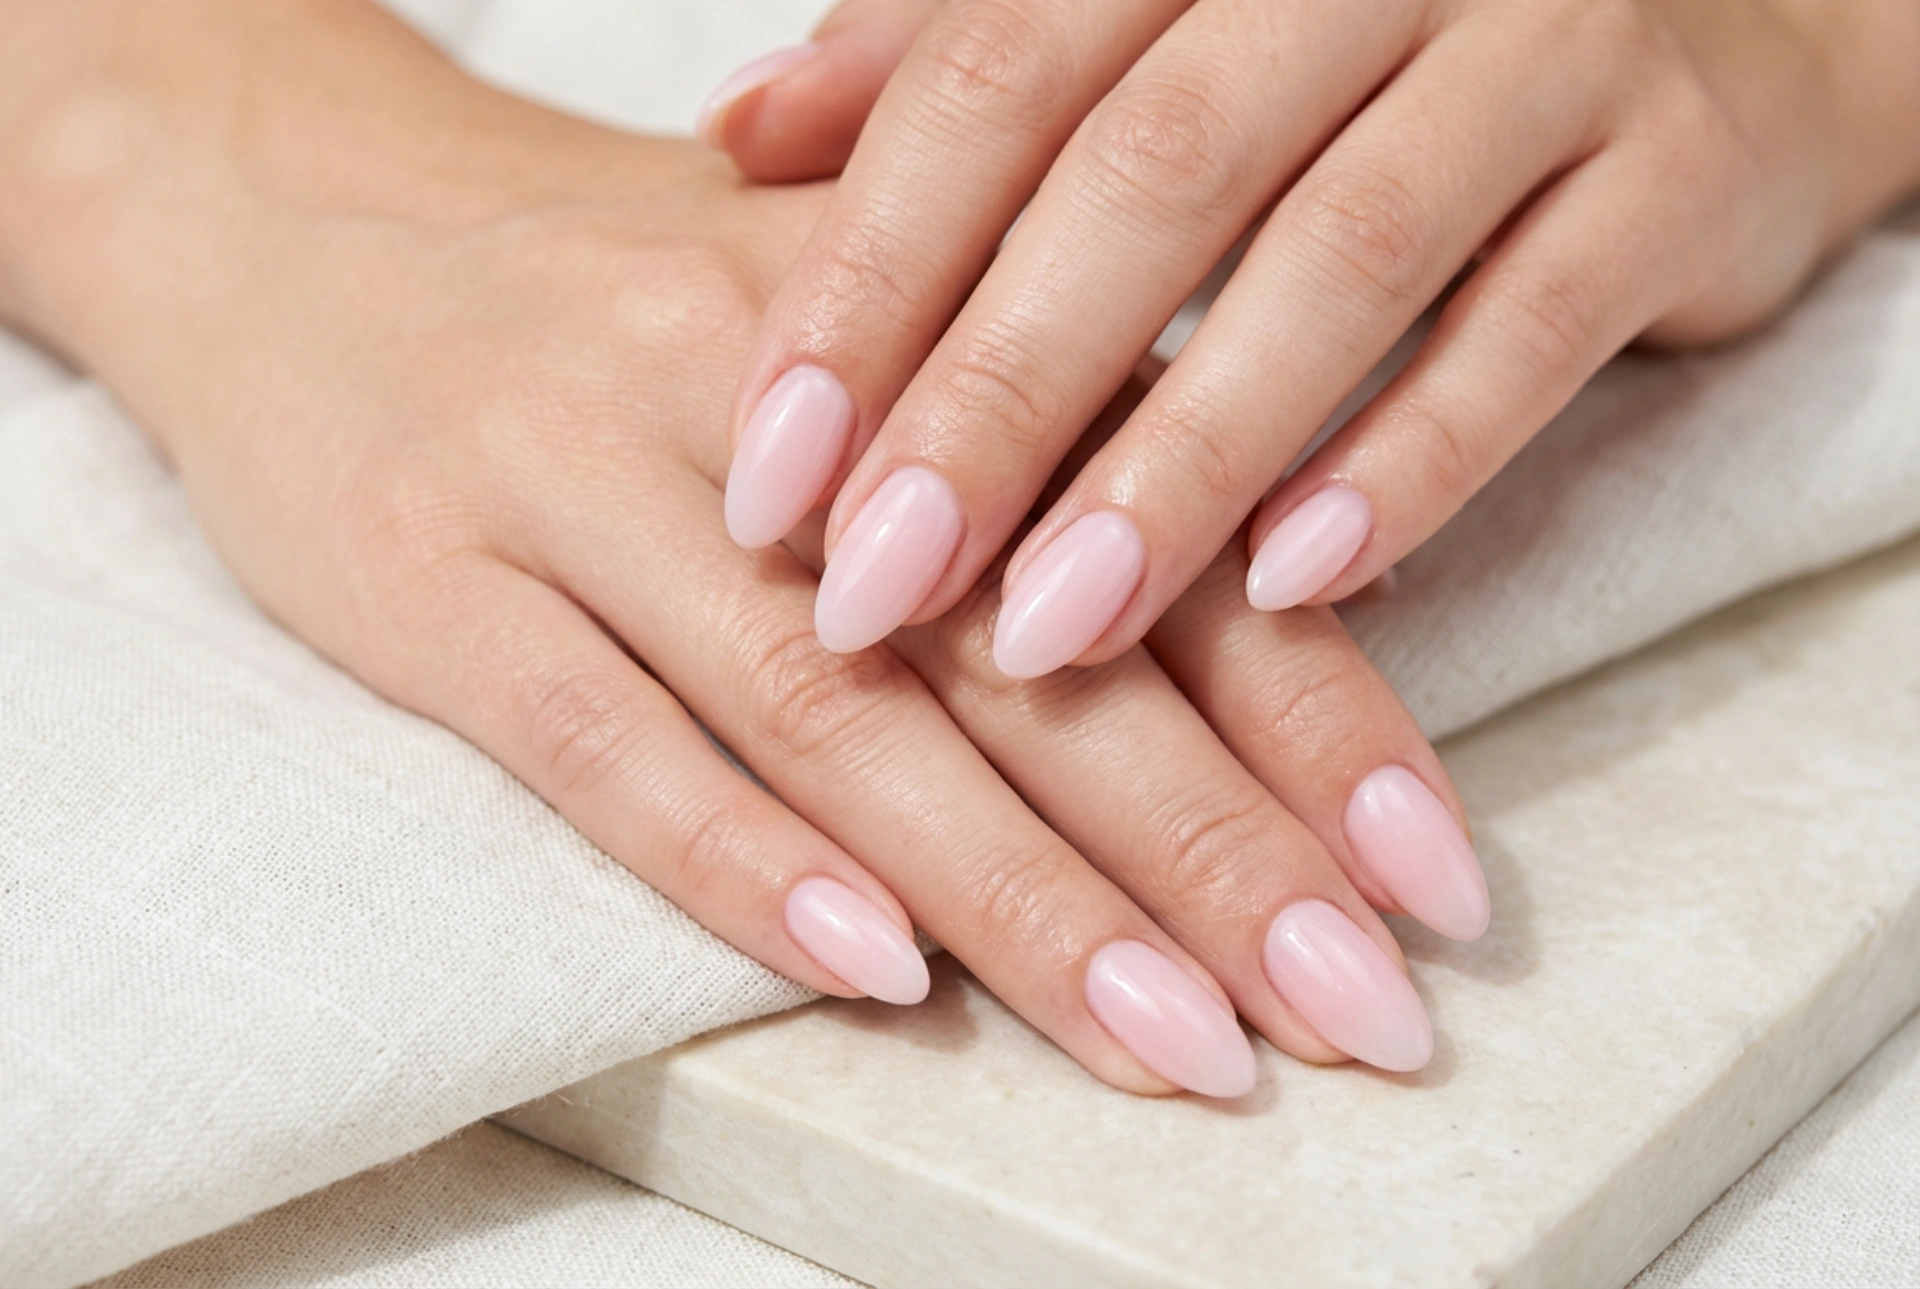


A beautifully manicured hand with soft, pastel pink nails always projects an image of effortless elegance and clean sophistication. The subtle, semi-translucent milky effect combined with a healthy, brilliant sheen creates a dreamy aesthetic that looks both modern and timeless. Achieving this delicate balance between pigment and transparency requires a few careful techniques, but it is entirely possible to recreate this polished look at home with the right preparation and application.
The Appeal of the Pastel Milky Aesthetic
In the world of nail styling, the shift towards minimalist, clean aesthetics has made pastel pink and milky finishes incredibly popular. Unlike solid, opaque pastel shades which can sometimes look flat or chalky, a milky pastel pink offers a soft, diffused appearance. This semi-translucent quality allows the natural beauty of the nail underneath to shine through slightly, mimicking the look of healthy, well-nourished nails. The result is an incredibly flattering look that suits all skin tones and hand shapes, making it a versatile option for everyday wear and special occasions alike.
Moreover, the subtle gloss and soft colour make any minor imperfections or nail regrowth much less noticeable than with vibrant, solid hues. It provides a clean, well-groomed frame for the hands, reflecting diffused light beautifully and drawing subtle attention to your natural movements.
Preparing the Nail Plate for an Even Base
The key to any successful manicure, particularly one involving sheer or semi-translucent shades, lies in the preparation of the nail plate. Because milky polishes are designed to be translucent, any ridges, discolouration, or rough patches on the natural nail can show through the final layers. Therefore, creating a smooth, clean surface is essential before applying any colour.
- Gentle Shaping: Begin by filing your nails into a shape that complements your fingers, such as a soft oval or almond. Avoid harsh, fast sawing motions, which can split the nail layers. Instead, file in one direction.
- Buffing the Surface: Use a very fine-grit buffer to gently smooth away any ridges or uneven texture on the nail plate. This should be done carefully to avoid thinning the nail, focusing on creating a clean, matte surface for the polish to adhere to.
- Cuticle Care: Soften the cuticles using a gentle, nourishing cuticle oil or cream, then gently push them back with a wooden stick. Avoiding cutting the cuticles helps prevent irritation and keeps the nail frame looking neat.
- Dehydrating and Cleaning: Wipe the nail surface with a lint-free pad soaked in a mild nail cleanser or rubbing alcohol. This removes any residual oil, dust, or moisture, ensuring the base coat adheres perfectly.
Step-by-Step Technique for the Milky Pink Effect
Achieving that perfect, cloud-like milky pink look requires building up thin, delicate layers rather than applying one thick coat. A thick application can lead to bubbling, uneven drying, and streaks, which completely ruins the soft, diffused aesthetic.
1. The Essential Protective Base Coat
Always start with a high-quality base coat. For a milky effect, a ridge-filling base or a slightly tinted milky-white base coat works wonders. This provides a neutral, smooth foundation that instantly evens out the natural nail tone, preventing any yellowing and making the subsequent pink layers appear more uniform.
2. Layering the Colour
If you do not have a dedicated milky pink polish, you can create the effect by layering different shades. Apply one thin, even layer of a sheer, milky-white polish first. Let it dry completely. Follow this with a layer of very sheer pastel pink. The combination of the white undertone with the soft pink top layer produces that sought-after dreamy, translucent depth. If you prefer a slightly deeper pink, add a second thin layer of the sheer pink, keeping the brush strokes light and steady.
3. Feather-Light Brush Strokes
When applying sheer polishes, brush marks can sometimes be visible. To avoid this, hold the brush parallel to the nail and apply the polish using light, floating strokes. Do not press too hard on the nail plate, and try to cover the nail in three swift strokes: one down the centre, and one on each side. Allow each layer to settle for a moment before moving on, as many modern formulations have self-levelling properties.
Enhancing and Maintaining the Brilliant Shine
A milky pink manicure is only complete when it features a glassy, brilliant sheen. The high gloss not only enhances the soft pink tones but also protects the delicate layers from premature chipping or fading.
To achieve this, apply a generous layer of a high-shine, protective top coat. Ensure you seal the free edge of the nail by running the brush lightly along the very tip. This prevents moisture from seeping under the polish and lifting the edges. For an extra dimension of shine, you can opt for a gel-effect top coat that dries to a plump, glassy finish without requiring a UV lamp.
Once the polish is fully dry, nourish the surrounding skin. Apply a drop of natural cuticle oil containing sweet almond or jojoba oil to the base of each nail and massage it in gently. This instantly hydrates the skin, making the entire manicure look professional, healthy, and pristine under any light.
Daily Habits for Long-Lasting Elegance
Maintaining the pristine appearance of pastel milky nails requires some mindful daily habits. Because lighter shades can show dirt and wear more easily, protective measures are highly recommended.
- Wear Gloves: When washing dishes, gardening, or using household cleaning agents, always wear protective gloves. Harsh chemicals can quickly strip away the high-shine finish and cause the polish to yellow or chip.
- Frequent Hydration: Keep a moisturising hand cream nearby and apply it throughout the day, particularly after washing your hands. Healthy, hydrated skin naturally frames your nails beautifully, complementing the clean, modern aesthetic.
- Reapply Top Coat: To extend the life of your manicure and restore any lost lustre, apply a fresh, thin layer of top coat every three to four days. This seals any micro-scratches and maintains that fresh, watery gloss.




