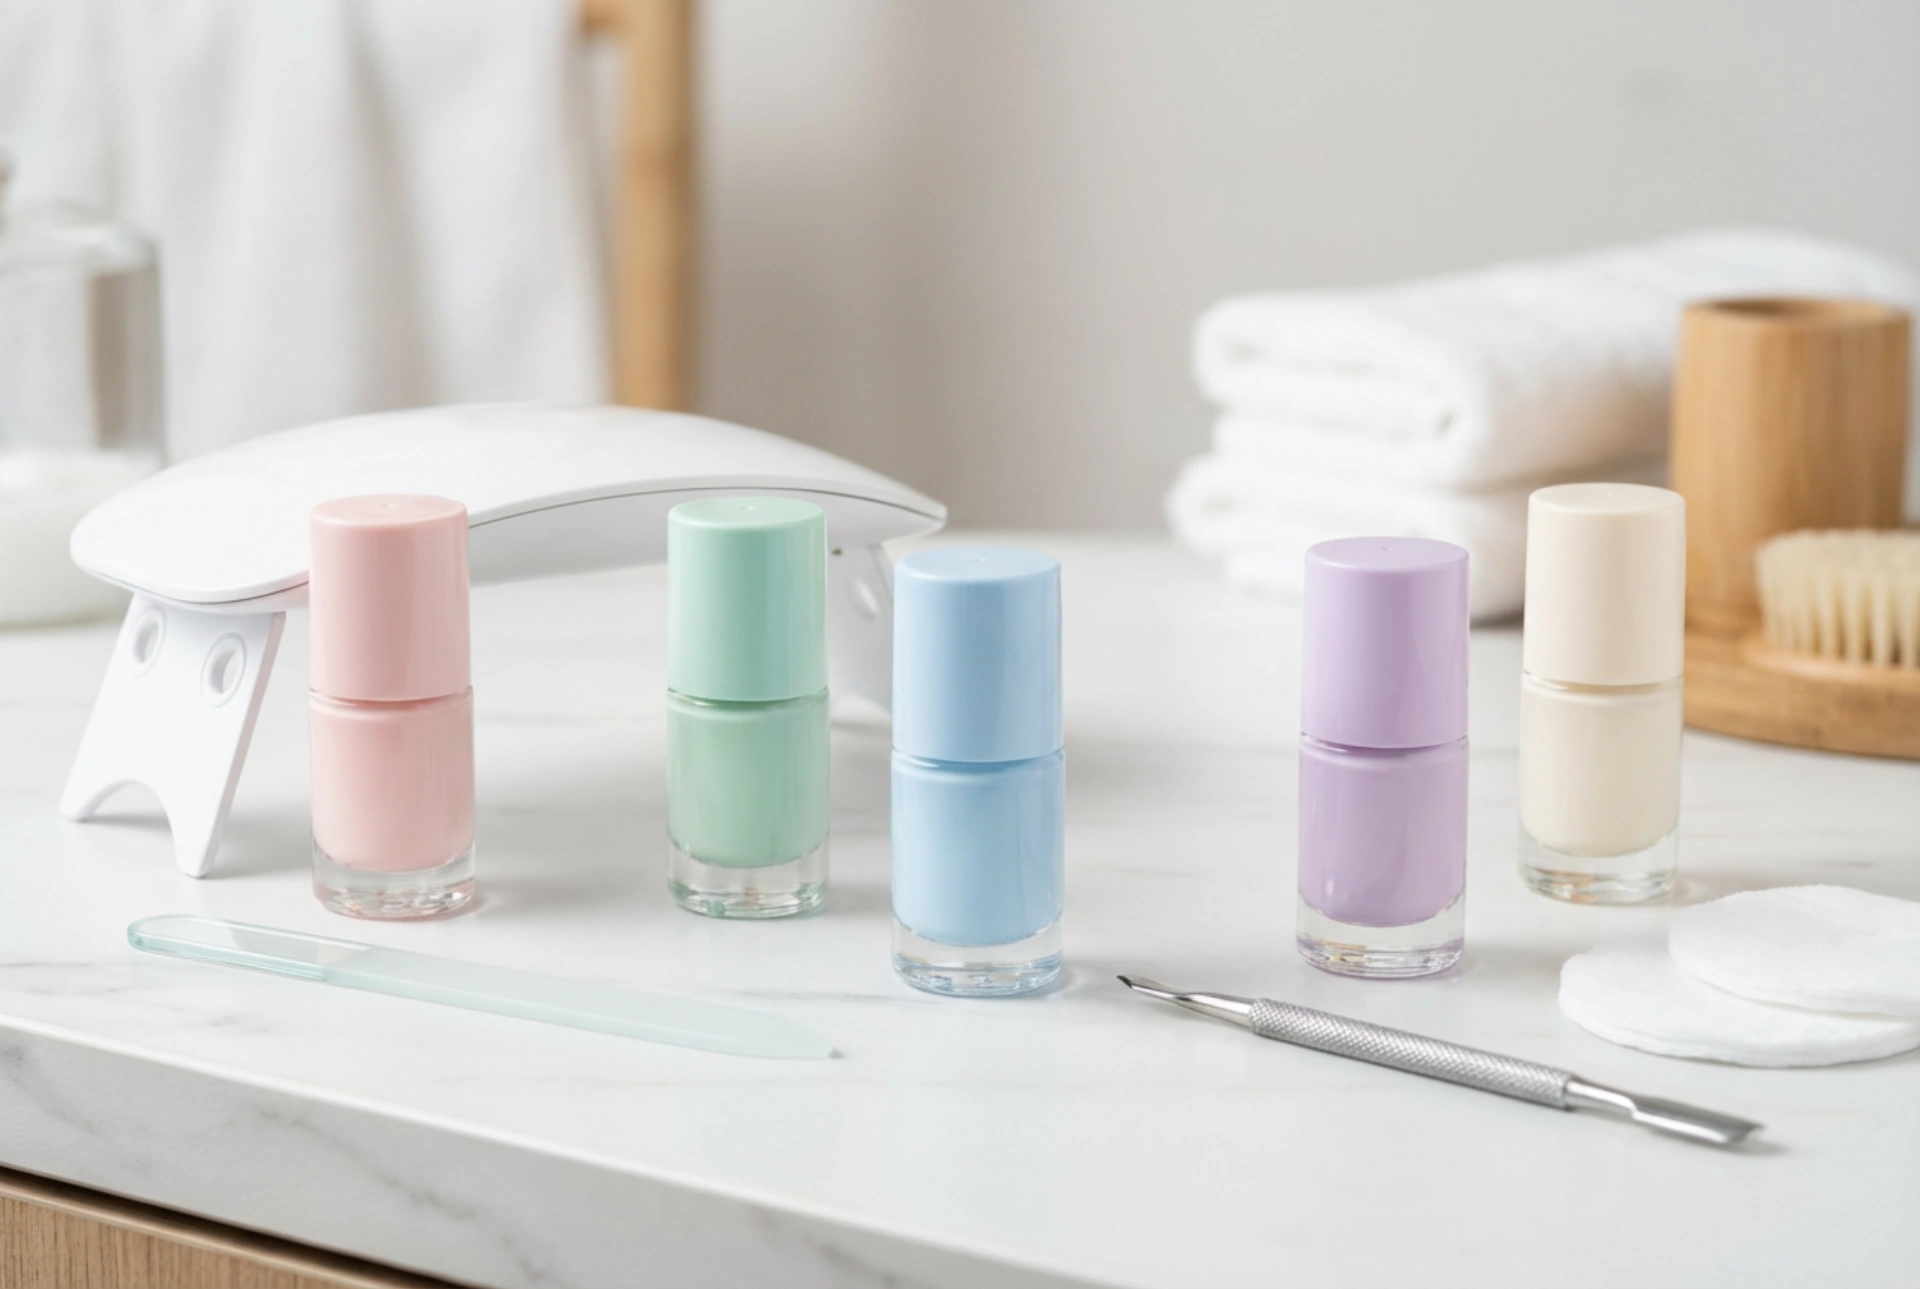


Creating a beautiful, salon-quality manicure in the comfort of your own home has become one of the most popular self-care rituals. Setting up a dedicated space with a pristine white surface, neatly arranged pastel-coloured hybrid polishes, essential prep tools, and a sleek UV/LED lamp can instantly transform a simple routine into a therapeutic experience. To achieve professional, long-lasting results, it is essential to understand both the tools required for a starter kit and the precise procedure that ensures the manicure remains flawless for weeks without compromising the health of the natural nail plate.
Essential Components of a Hybrid Manicure Starter Kit
When transitioning to doing your own hybrid manicures, choosing the right equipment is key to a smooth application. While shelves are filled with diverse options, a beginner-friendly kit should focus on high-quality, fundamental items that guarantee safety and ease of use.
The UV/LED Curing Lamp
The curing lamp is the heart of any hybrid manicure setup. Modern LED lamps are highly recommended as they cure products much faster than traditional UV lamps, usually within 30 to 60 seconds per layer. For home use, a compact, minimalist lamp with a power rating of at least 36 to 48 watts is ideal. This ensures even and complete curing of the gel, which is crucial for preventing lifting and ensuring the product hardens safely.
The Trio of Liquids: Base, Colour, and Top Coat
The hybrid system relies on a chemical bond between three specific layers. The base coat acts as a protective shield for the natural nail and creates a strong bond for the colour. The hybrid colour coat, often chosen in soft pastels, classic nudes, or rich tones, provides the aesthetic pigment. Finally, the top coat seals the manicure, protecting it from chips and scratches while offering either a high-gloss shine or a modern matte finish.
Nail Preparation Tools and Accessories
Before any polish is applied, the nail must be meticulously prepped. A complete starter kit should include:
- Nail files and buffers: A 180/240 grit file is perfect for shaping the natural nail, while a soft buffer block gently removes the natural shine from the nail plate.
- Cuticle tools: Wooden sticks or a rounded metal pusher are essential for gently pushing back the cuticles without damaging the sensitive matrix.
- Nail prep and cleaner: A specialised dehydrator or isopropyl alcohol-based cleaner is needed to remove oil, dust, and moisture from the nail before application.
- Lint-free wipes: Standard cotton pads leave tiny fibres behind, which can ruin the smooth finish of the polish. Lint-free wipes ensure a completely dust-free surface.
Preparing the Nail Plate: The Foundation of Longevity
The secret to a hybrid manicure that lasts up to three weeks lies entirely in the preparation. Skipping steps during preparation is the most common cause of premature chipping and peeling. Begin by washing and thoroughly drying your hands. Shape the nails using a fine-grit file, moving in one direction to prevent splitting.
Next, gently push back the cuticles. If necessary, use a safe cuticle softener, but ensure the nails are completely dry before applying any gel. Use a buffer block to gently mattify the entire surface of the nail plate, paying special attention to the areas near the cuticles and the side walls. Once buffed, saturate a lint-free wipe with the nail cleaner and thoroughly wipe down each nail. This removes all dust and dehydrates the nail plate, allowing the base coat to adhere perfectly.
The Step-by-Step Hybrid Application Procedure
Once the nails are prepped and completely dry, you can begin the application process. Patience and precision are vital during these steps to achieve an elegant, smooth finish.
- Step 1: The Base Coat. Apply a very thin layer of the base coat to the entire nail plate. It is crucial to cap the free edge by running the brush gently along the very tip of the nail. This seals the polish and prevents lifting. Cure under the lamp for the time specified by the manufacturer, usually 30 to 60 seconds.
- Step 2: The First Colour Layer. Apply a thin layer of your chosen hybrid polish. It is always better to apply two thin layers rather than one thick layer, as thick coats may not cure fully and can wrinkle. Keep a wooden stick handy to clean any polish that accidentally touches the skin before curing. Cure for the recommended time.
- Step 3: The Second Colour Layer. Apply the second thin layer of colour to achieve full opacity and depth of colour, capping the free edge once more. Cure under the lamp.
- Step 4: The Top Coat. Apply a thin, even layer of top coat over the entire design. This seals everything in place and adds a beautiful, protective shine. Cure one last time under the lamp.
- Step 5: Dispersion Layer Removal. If you are using a traditional top coat, a sticky dispersion layer will remain after curing. Simply wipe this away with a lint-free wipe saturated with nail cleaner. If you are using a no-wipe top coat, this step is not necessary. Finish by applying a drop of nourishing cuticle oil to the surrounding skin.
Crucial Safety Rules for Home Manicures
While performing hybrid manicures at home is highly convenient and rewarding, maintaining nail health should always be the priority. Never apply gel polish to damaged, thin, or peeling nails, as this can weaken them further. It is also vital to avoid getting uncured products on the surrounding skin or cuticles. If any polish touches the skin, wipe it off immediately before curing to minimise the risk of skin sensitivities.
Furthermore, never attempt to peel or scrape off old hybrid polish. Peeling the gel off manually tears away the top layers of your natural nail plate, leading to severe damage. Instead, use a gentle soaking method with cosmetic acetone or a dedicated nail file to gently remove the layers. Allowing your nails to remain hydrated with regular cuticle oil treatments between applications will ensure they stay strong, resilient, and ready for your next beautiful design.




