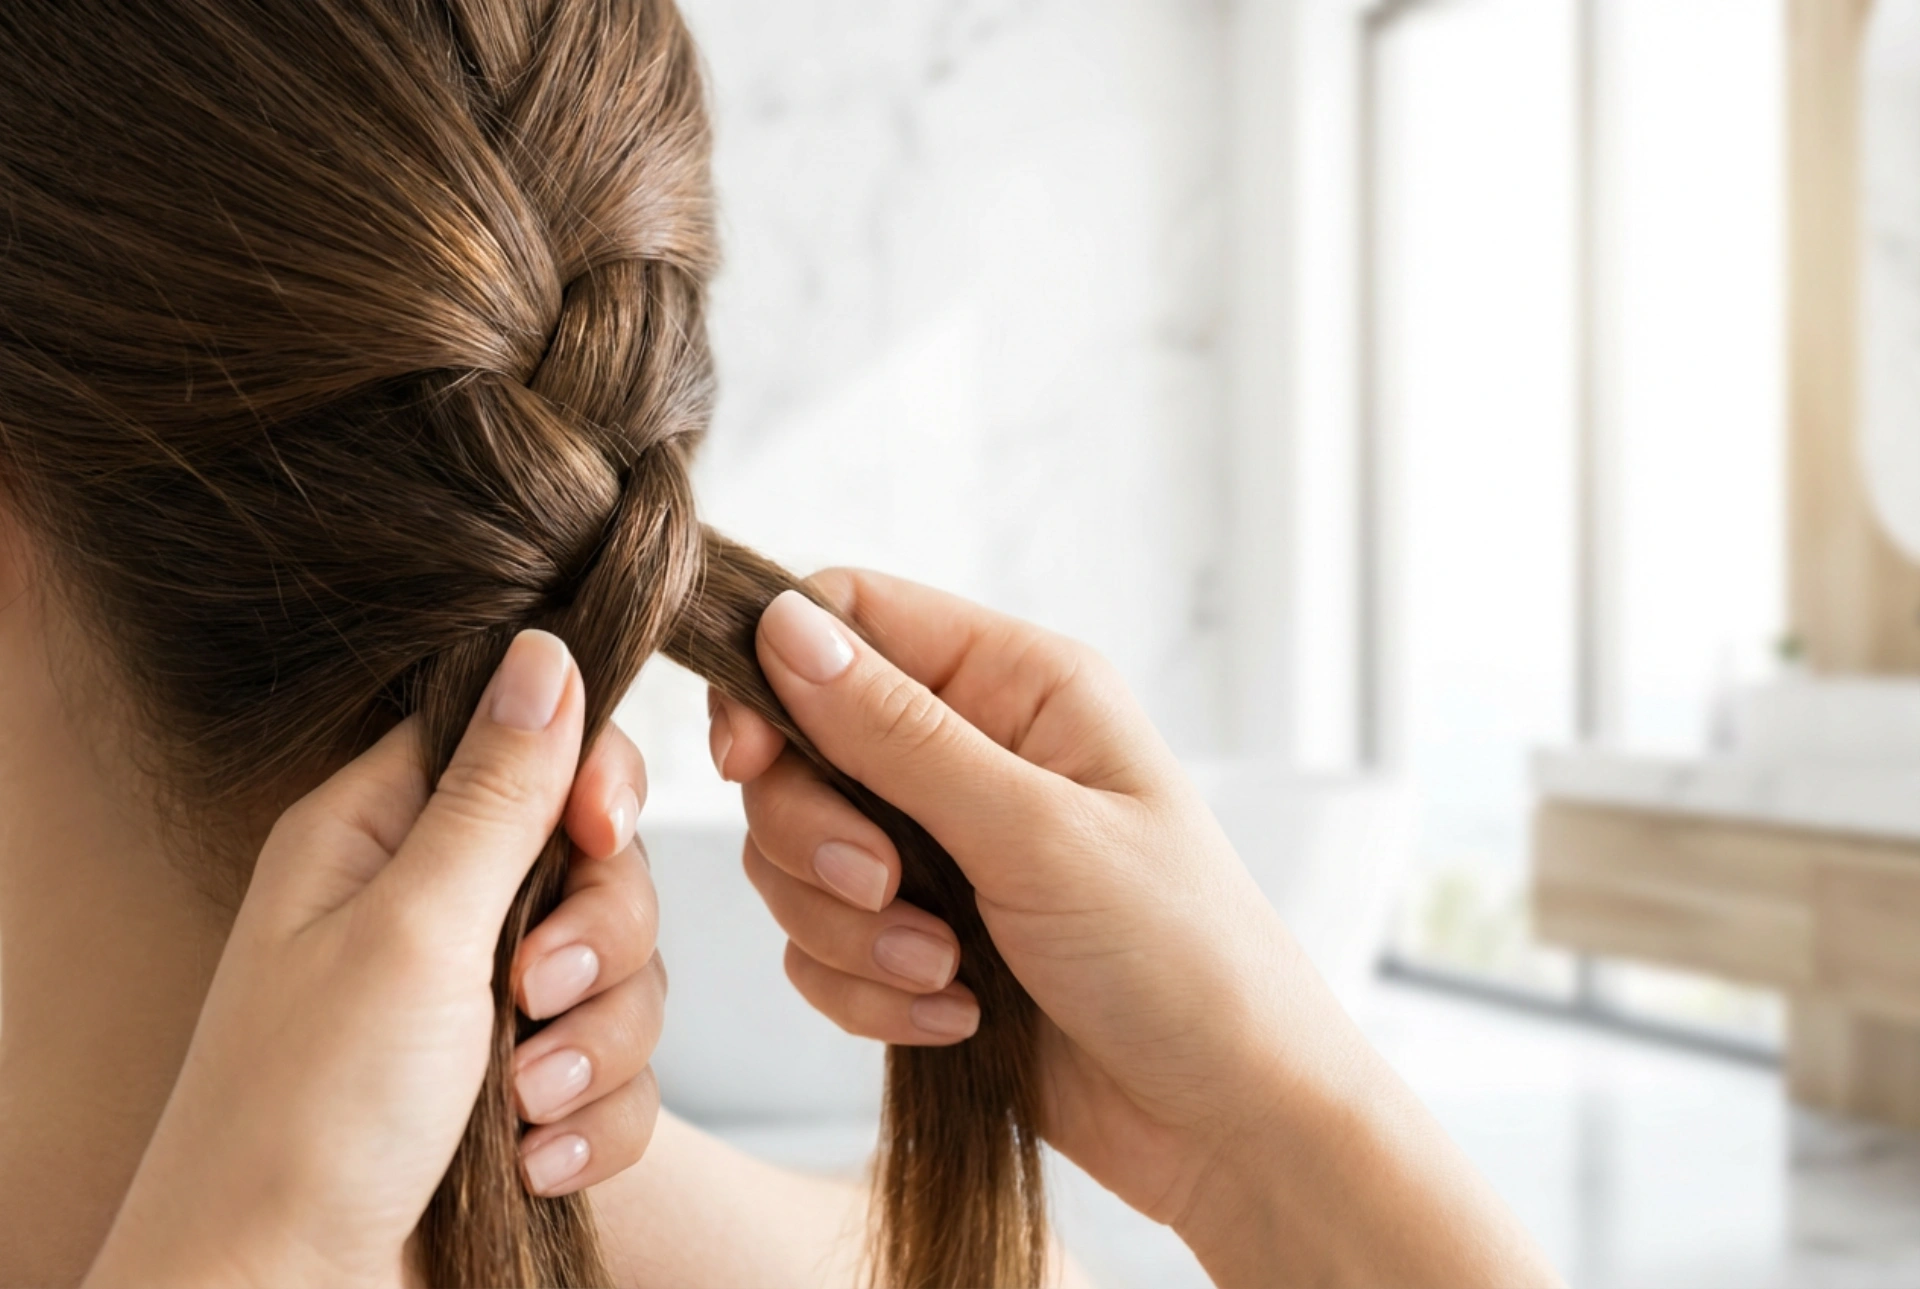


Weaving hair is an ancient and elegant art, a moment of self-care captured beautifully when soft natural light illuminates the texture of healthy, lustrous strands. Learning how to create a classic French braid allows you to craft versatile, elegant hairstyles that keep your hair neat and stylish throughout the day. From casual morning walks to sophisticated evening gatherings, mastering this basic technique is the foundation of countless stunning hair creations that require no professional styling tools.
Preparing Your Hair for Braiding
To achieve a smooth and neat French braid, proper preparation is essential. Brushing your hair thoroughly to remove any tangles is the first step. For optimal control, it is often easier to braid hair that has been washed the day before, as freshly washed hair can sometimes be too slippery. If you are working with clean hair, applying a small amount of lightweight styling cream or a gentle hair oil can provide the necessary grip. Working with well-conditioned strands not only makes the weaving process smoother but also highlights the natural shine of your locks under the light.
Step-by-Step Guide to the Classic French Braid
Creating a French braid, also known as a classic plaited style, requires patience and a bit of practice. Follow these steps to master the technique:
Step 1: Sectioning the Hair
Start by gathering a section of hair from the top-front of your head, near the forehead and temples. Divide this section into three equal strands. Hold two strands in one hand and the third strand in your other hand to keep them separate.
Step 2: The Initial Braid
Begin with a standard three-strand braid. Take the right strand and cross it over the middle strand. Then, take the left strand and cross it over the new middle strand. This creates your anchor.
Step 3: Adding New Hair
Before crossing the next strand over, gather a small, thin section of loose hair from the side of your head and merge it with the strand you are about to cross. Cross this combined strand over the middle. Repeat this process on the opposite side, adding a small section of loose hair to the strand before crossing it over.
Step 4: Continuing the Splay
Repeat this pattern of adding loose hair to each side-strand before crossing it over the middle. Try to keep the tension consistent, pulling the braid gently to ensure it stays close to the scalp.
Step 5: Securing the Braid
Once you reach the nape of your neck and there is no loose hair left to add, continue with a regular three-strand braid to the ends. Secure the braid with a soft, damage-free elastic band.
Creative Variations of the French Braid
Once you have mastered the basic technique, you can explore various creative adaptations to suit different occasions:
- The Half-Up French Braid: Only braid the top section of your hair, leaving the rest flowing freely over your shoulders for a romantic, bohemian look.
- Double French Braids: Divide your hair down the middle into two equal sections and braid each side individually, creating a sporty yet chic style.
- The Braided Bun: Tuck the tail of your completed French braid under the nape of your neck and secure it with hairpins to create an elegant updo.
Tips for Keeping Your Braid Looking Flawless
To ensure your braided hairstyle remains intact and beautiful throughout the day, consider a few practical tips. Avoid pulling the hair too tightly near the hairline, as this can cause discomfort and strain. Instead, focus on keeping your hands close to the scalp while weaving. If you have fine or layered hair, a light mist of non-aerosol hairspray can help secure loose ends without making the hair feel stiff. Regularly nourishing your hair with deep conditioning masks will also make your strands more pliable and easier to style.





