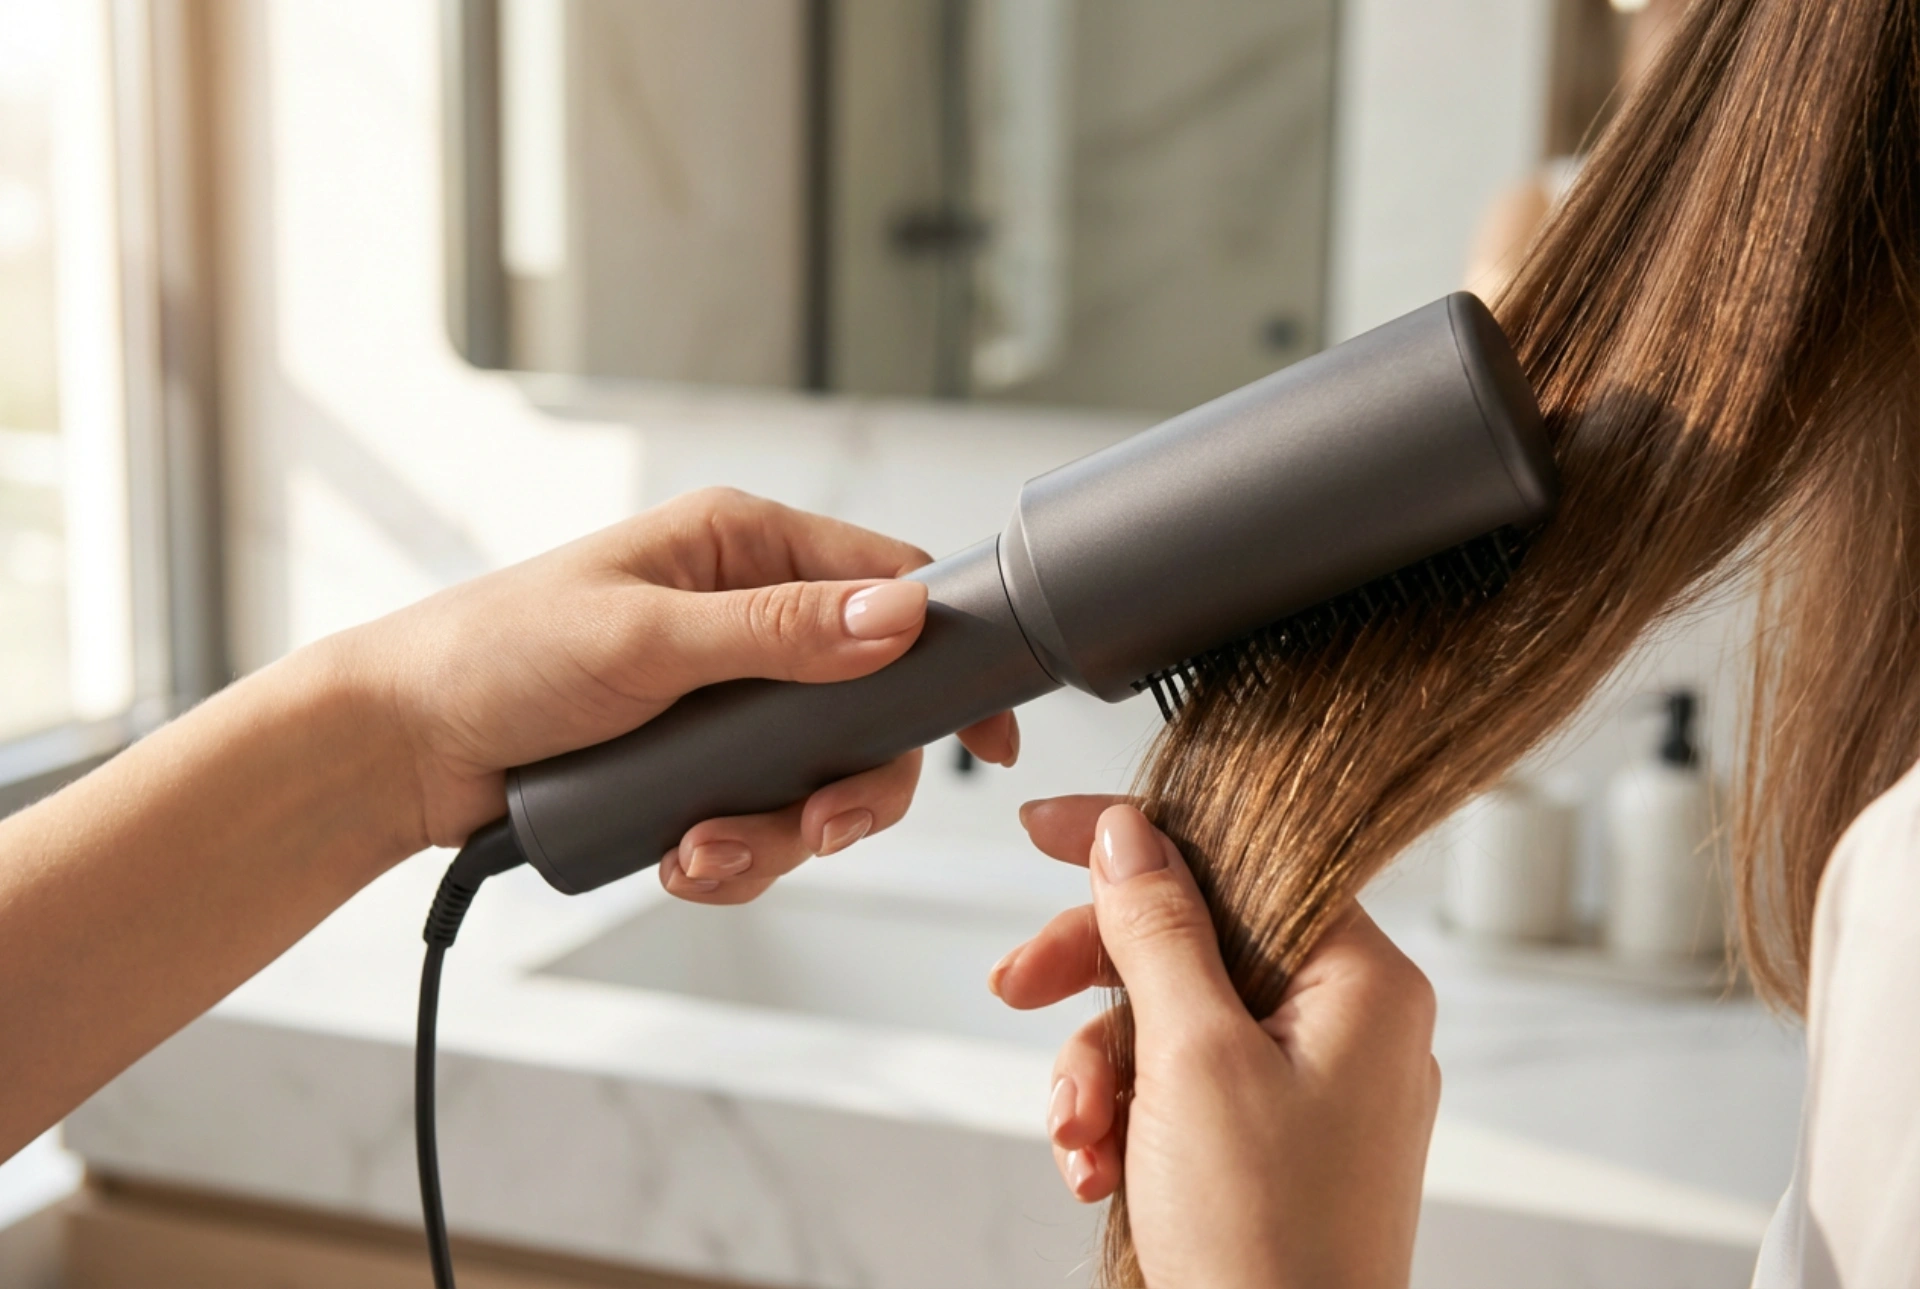


Achieving a salon-quality blowout at home can often feel like an intricate balancing act, requiring a steady hand, a powerful hairdryer, and a round styling brush. However, the introduction of the hot air brush—a versatile tool that combines drying and styling in one single movement—has simplified this daily routine. Holding a sleek, generic styling brush and gently guiding it through soft, lustrous hair in the calm of a modern bathroom allows you to achieve smooth, bouncy locks with minimal effort. This guide will walk you through the art of using a hot air brush to style your hair while drying, ensuring a polished, professional finish every time.
The benefits of styling and drying simultaneously
Using a hot air brush offers several distinct advantages over traditional blow-drying methods. Firstly, it streamlines your styling routine by merging two steps into one. Instead of holding a heavy dryer in one hand and a round brush in the other, you can manage your styling with a single, ergonomically designed tool. This reduces arm fatigue and allows for greater precision when directing the airflow.
Furthermore, hot air brushes are designed to distribute heat evenly across the hair shaft. As the bristles glide through the strands, they help to flatten the hair cuticle, which locks in moisture and enhances the natural shine of your locks. This process helps to minimise frizz and flyaways, creating a sleek, polished look that looks professional yet is easily achieved in the comfort of your own home.
Essential preparation: setting the foundation
Before you turn on your hot air brush, proper preparation is essential to protect the integrity of your hair and ensure a long-lasting style. Styling soaking wet hair with a hot air brush is not recommended, as wet hair is in its most fragile state and more susceptible to heat damage and breakage.
- Pre-drying: Begin by gently squeezing excess water from your hair using a microfibre towel. Avoid rough rubbing, which can disrupt the hair cuticle. Allow your hair to air-dry naturally or use a standard dryer on a low setting until it is approximately seventy to eighty per cent dry.
- Detangling: Use a wide-tooth comb or a gentle detangling brush to remove any knots. Always start detangling from the ends and work your way up to the roots to prevent snapping the hair fibres.
- Heat protection: Apply a lightweight heat protectant spray or cream evenly throughout your damp strands. This creates a barrier between your hair and the heat of the styling tool, preserving moisture and preventing dryness.
Step-by-step guide to using a hot air brush
Once your hair is prepared, you can begin the styling process. Following a structured approach will help you achieve even volume and a smooth texture from root to tip.
Step 1: Sectioning the hair
Divide your hair into manageable sections. If you have thick or long hair, you may need four to six sections, while finer hair might only require three. Secure the upper sections with clips, leaving the bottom layer at the nape of your neck free to style first. Working in smaller sections ensures that every strand receives equal attention and dries completely.
Step 2: Creating volume at the roots
Take a section of hair that is no wider than the brush head. Place the hot air brush underneath the section, close to the roots. Gently lift the brush upwards and outwards, away from your scalp. Holding the brush at the roots for a few seconds before gliding it down helps to build natural volume and lift at the crown.
Step 3: Gliding and rotating
Slowly guide the brush down the length of the hair section, keeping the tension firm but gentle. As you reach the ends of your hair, rotate the brush inward or outward, depending on your preferred style. For a classic, rounded bob or face-framing layers, turn the brush inwards towards your face. For a modern, flicked-out look, rotate the brush outwards.
Step 4: Cooling and setting
If your hot air brush has a cool shot button, use it once the section is dry. Blasting the styled section with cool air for a few seconds helps to set the shape and lock in the shine. Gently release the hair from the brush and let it fall naturally. Repeat this process for all sections, moving from the bottom layers to the top layers.
Tips for a long-lasting, lustrous finish
To ensure your blowout remains bouncy and smooth throughout the day, consider incorporating these simple styling techniques into your routine:
- Maintain consistent tension: To smooth out curls or waves, maintain a steady tension as you pull the brush through your hair. However, avoid pulling too hard, which can cause physical damage to the hair follicles.
- Adjust the heat settings: Use the appropriate heat setting for your hair type. Fine or damaged hair should be styled using a lower heat setting, while thicker or coarser hair may require a higher setting to achieve the desired smoothness.
- Finish with a light serum: Once all sections are styled, run a tiny amount of lightweight hair oil or serum through the mid-lengths and ends of your hair. This adds an extra layer of lustre and helps to keep humidity-induced frizz at bay.
Common styling mistakes to avoid
While a hot air brush is an incredibly user-friendly tool, a few common missteps can hinder your results. Avoiding these habits will keep your hair looking healthy and vibrant:
One common mistake is overloading the hair with styling products before drying. While heat protection is vital, excess creams, mousses, or heavy oils can weigh down the hair, making it look greasy rather than voluminous. Another error is attempting to style sections of hair that are too large; this prevents the hot air from circulating properly, leaving the inner strands damp and prone to frizzing later in the day. Lastly, avoid holding the tool in one spot for too long, as prolonged heat exposure can weaken the hair structure over time.





