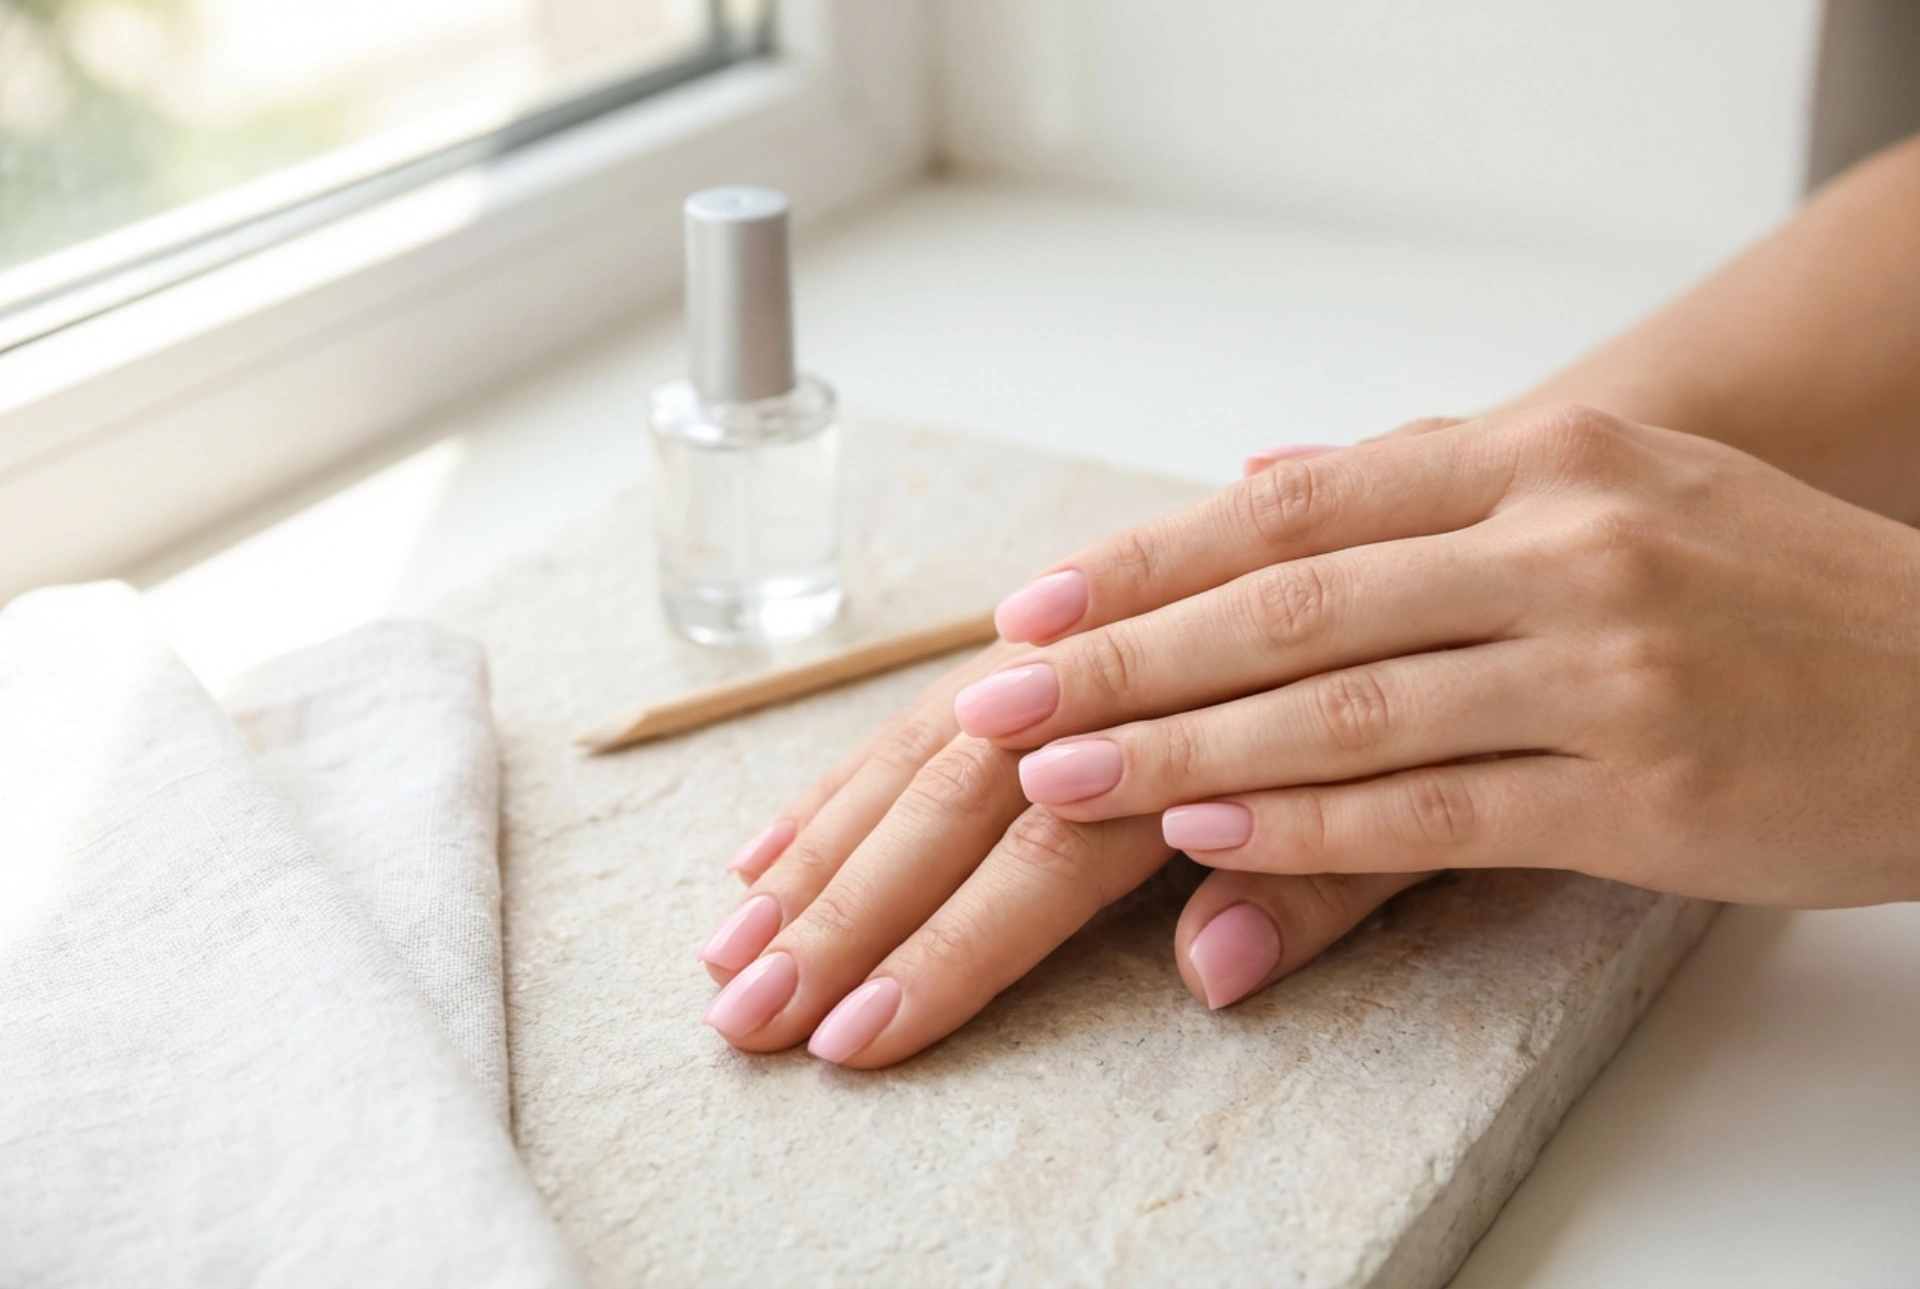


Elegant female hands with perfectly shaped, soft pink nails are the epitome of classic grooming. Achieving a flawless, natural-looking finish that withstands the rigours of daily life has become much easier with modern nail styling techniques. Among these, the dip powder manicure—often referred to as a titanium manicure—stands out for its exceptional durability and gentle application process. Unlike traditional gel methods, this technique does not require UV light to cure, making it a popular choice for home beauty enthusiasts looking to achieve professional, salon-quality results. Let us explore how to master this resilient method, from preparation to safe removal.
Understanding the Dip Powder Method
The dip powder technique is a unique nail styling system that combines a liquid adhesive base with finely milled acrylic and titanium dioxide powder. This combination creates a resilient, lightweight layer over the natural nail, providing strength without the thickness often associated with traditional gel or acrylic extensions. One of the main advantages of this method is that the formula air-dries and hardens through a chemical reaction with a liquid activator, bypassing the need for ultraviolet lamps. It offers a chip-resistant finish that can last for up to three weeks, preserving the natural beauty of the hands while offering extra protection against physical damage.
Preparing the Nails for Application
The secret to a long-lasting manicure lies in the meticulous preparation of the natural nail plate. Properly prepped nails ensure optimal adhesion and prevent premature lifting. Follow these simple preparation steps:
- Shaping: File the nails to your preferred shape, whether it is a classic oval, a soft square, or a modern almond, using a fine-grit nail file.
- Cuticle Care: Gently push back the cuticles using a wooden stick. It is important to avoid cutting the cuticles excessively to maintain the natural protective barrier of the skin.
- Buffing: Use a gentle buffer to remove the natural shine from the surface of each nail. This creates a slightly textured surface for the base liquid to cling to.
- Dehydrating: Cleanse the nails thoroughly with a dehydrating solution or a specialized prep liquid to remove any lingering oils, dust, or moisture.
The Step-by-Step Application Process
Once the nails are clean and dry, you can begin the application process. This requires precision and a steady hand to ensure an even distribution of the powder without creating bulkiness.
Step 1: Applying the Base Liquid
Apply a thin, even layer of the base adhesive liquid to three-quarters of the nail plate, leaving a tiny gap near the cuticle. Applying the base too close to the skin or cuticle line can cause the product to lift later on.
Step 2: Dipping into the Powder
Immediately dip the wet nail into the jar of coloured powder at a 45-degree angle. Leave it immersed for a couple of seconds to allow the liquid to absorb the powder evenly.
Step 3: Brushing Off Excess
After lifting your finger, tap it gently to shake off any loose powder. Use a soft, clean cosmetic brush to sweep away any excess particles around the nail bed and cuticle area.
Step 4: Building the Layers
Apply a second layer of the base liquid, this time covering the entire nail plate up to the cuticle line, and dip it into the powder again. Repeat this process until you achieve the desired colour density and thickness. Usually, two to three layers are sufficient for a natural-looking finish.
Step 5: Activating and Curing
To harden the layers, apply a generous coat of the activator liquid. This formula initiates the curing process, causing the powder to solidify within minutes without the need for a lamp.
Refining and Sealing the Look
After the activator has dried completely, the nails will feel hard to the touch. Now is the time to refine their shape and texture to achieve that coveted flawless, natural-looking finish. Use a nail file to perfect the free edges and smooth out any unevenness along the sides. A buffer can be used across the surface to ensure the nails are completely smooth and uniform in thickness. Wipe away any remaining dust with a dry wipe.
To seal the manicure, apply a second thin layer of the activator, wait a minute, and then apply two coats of the specialized top coat. The top coat provides a brilliant shine or a soft satin finish, depending on your preference, and protects the colour from environmental factors.
How to Safely Remove Dip Powder at Home
While durability is a key benefit, safe removal is essential to maintain the health of your natural nails. Rough peeling or scraping can damage the nail plate, so patience is key. First, use a coarse nail file to gently grind down the shiny top layer of the manicure. This breaks the seal and allows the removal liquid to penetrate the deeper layers of powder.
Soak small pieces of cotton wool in cosmetic acetone, place them over the nails, and wrap each fingertip tightly in aluminium foil. Alternatively, you can use specialized finger clips or soak your fingertips directly in a bowl of warm acetone. Leave the wraps on for approximately fifteen minutes. After this time, gently wiggle and pull the foil wraps off. The softened powder should slide off easily. Use a wooden stick to scrape away any remaining residue. To finish, thoroughly wash your hands and apply a nourishing oil to the cuticles and a moisturising cream to the hands to restore hydration.




