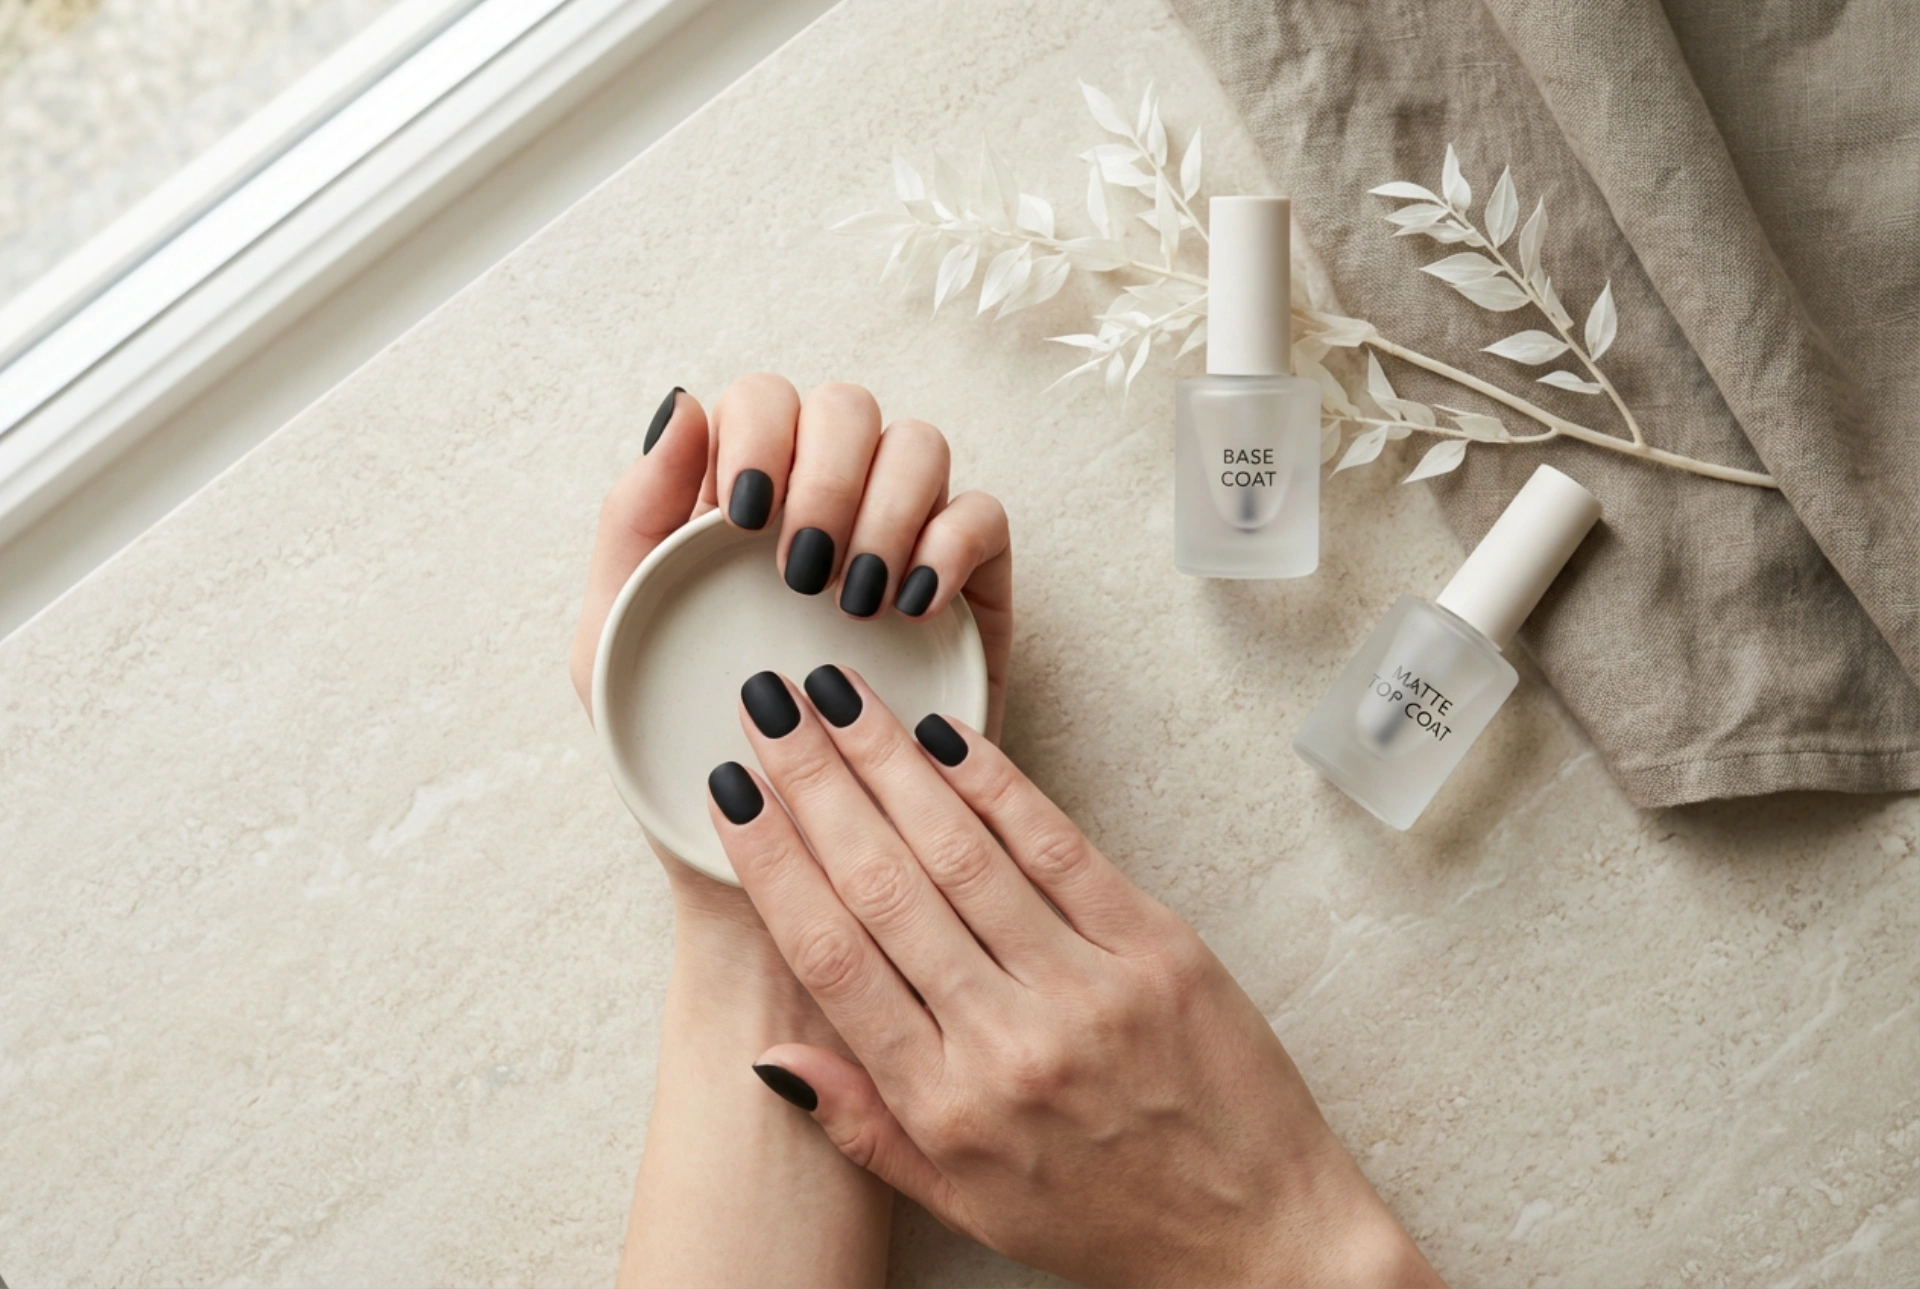


Achieving a flawless, sophisticated manicure at home is a rewarding form of self-care. The striking depth of matte black nails offers an elegant, modern aesthetic that stands out for its velvet-like texture and precise execution. When neatly presented on a clean, light-coloured surface under soft, natural light, a matte black manicure looks both professional and incredibly chic. To replicate this high-end look yourself, understanding the correct application of a base coat, a highly-pigmented black polish, and a quality matte top coat is essential. Here is your comprehensive guide to mastering the perfect matte black manicure from the comfort of your home.
The Timeless Appeal of Matte Black Nails
While glossy nails remain a popular option, the matte finish introduces an element of understated luxury and modern minimalism. Black is a bold choice, but when paired with a matte texture, the harshness of the dark pigment is softened into a smooth, velvety finish. This style complements almost any outfit, bridging the gap between casual daywear and formal evening attire. Because matte finishes emphasise the natural shape of the nail, precision is key during application. The lack of reflection means that any surface imperfections or unevenness can be more visible, making a methodical, step-by-step approach crucial for achieving that salon-standard look.
Step 1: Prep and the Vital Role of the Base Coat
Any successful manicure begins with meticulous preparation. First, shape your nails with a gentle nail file, opting for classic shapes like oval, almond, or square to complement the bold black colour. Gently push back the cuticles using a wooden stick to create a clean, elongated nail bed. Once shaped, use a lint-free wipe saturated with a gentle cleanser to remove any dust, natural oils, or moisture from the nail plate.
Applying a high-quality base coat is a step you should never skip, especially when working with deep pigments like black. The base coat acts as a protective barrier, preventing the strong dark colour from staining your natural nail plate. Furthermore, it creates a smooth, slightly adhesive surface that helps the subsequent layers of polish adhere securely, significantly extending the life of your manicure. Apply a thin, even layer of the base coat, making sure to cover the entire nail surface, and let it dry completely or cure it under your lamp according to the product guidelines.
Step 2: Layering the Dark Pigment with Precision
Working with black nail polish requires patience and a steady hand. Because dark shades are unforgiving of mistakes, it is best to apply two very thin layers rather than one thick coat. Thick coats of polish often lead to bubbling, uneven drying, and premature chipping.
- The First Coat: Wipe excess polish off the brush against the bottle neck to ensure you have just enough product. Place the brush near the centre of the nail, slightly away from the cuticle, and glide it down to the free edge. Repeat this on both sides. Do not worry if the first layer looks slightly sheer or streaky; the second coat will perfect the coverage.
- The Second Coat: Once the first layer is dry or cured, apply the second layer in the same manner. This step builds full opacity, creating a rich, deep black base.
- Capping the Free Edge: Gently run the tip of the brush along the very edge of your nail. This process, known as "capping", seals the polish and prevents early chipping at the tips.
If any polish accidentally touches your skin or cuticles, use a fine brush dipped in nail polish remover to clean up the edges before moving on to the next step.
Step 3: Applying the Matte Top Coat and Curing
The transformation from a glossy black to a sophisticated matte finish happens during the final step. The matte top coat contains special ingredients that diffuse light, removing the glossy shine and leaving behind a smooth, velvet texture. It is vital to apply the top coat evenly, as any missed spots will remain glossy and disrupt the uniform look.
Ensure your black polish is fully set before applying the matte top coat. Glide the brush smoothly over the nail, ensuring complete coverage from the cuticle line to the free edge. Just like the colour coat, remember to cap the free edge with the matte top coat to secure the entire manicure. Once applied, cure or dry the nails fully. If you are using a gel-based matte top coat, it may leave a sticky inhibition layer after curing. Wipe this off gently with a lint-free pad and a mild cleanser to reveal the ultimate, velvet-matte finish beneath.
How to Maintain Your Matte Polish
Matte nails are beautiful but require slightly different care than glossy ones. Because matte top coats are more porous than their shiny counterparts, they can absorb daily oils, lotions, and dirt more easily, which can temporarily make them look dull or semi-glossy. To keep your nails looking pristine, avoid direct contact with heavy hand creams or oils. If your nails start to lose their distinct matte appearance, simply wash your hands with mild soap and warm water, or gently wipe them with a rubbing alcohol wipe to restore the original velvet texture.
Always wear protective gloves when doing household chores or gardening. This simple habit protects your manicure from scratches and harsh cleaning agents, keeping your hands looking perfectly groomed and elegant for days to come.




