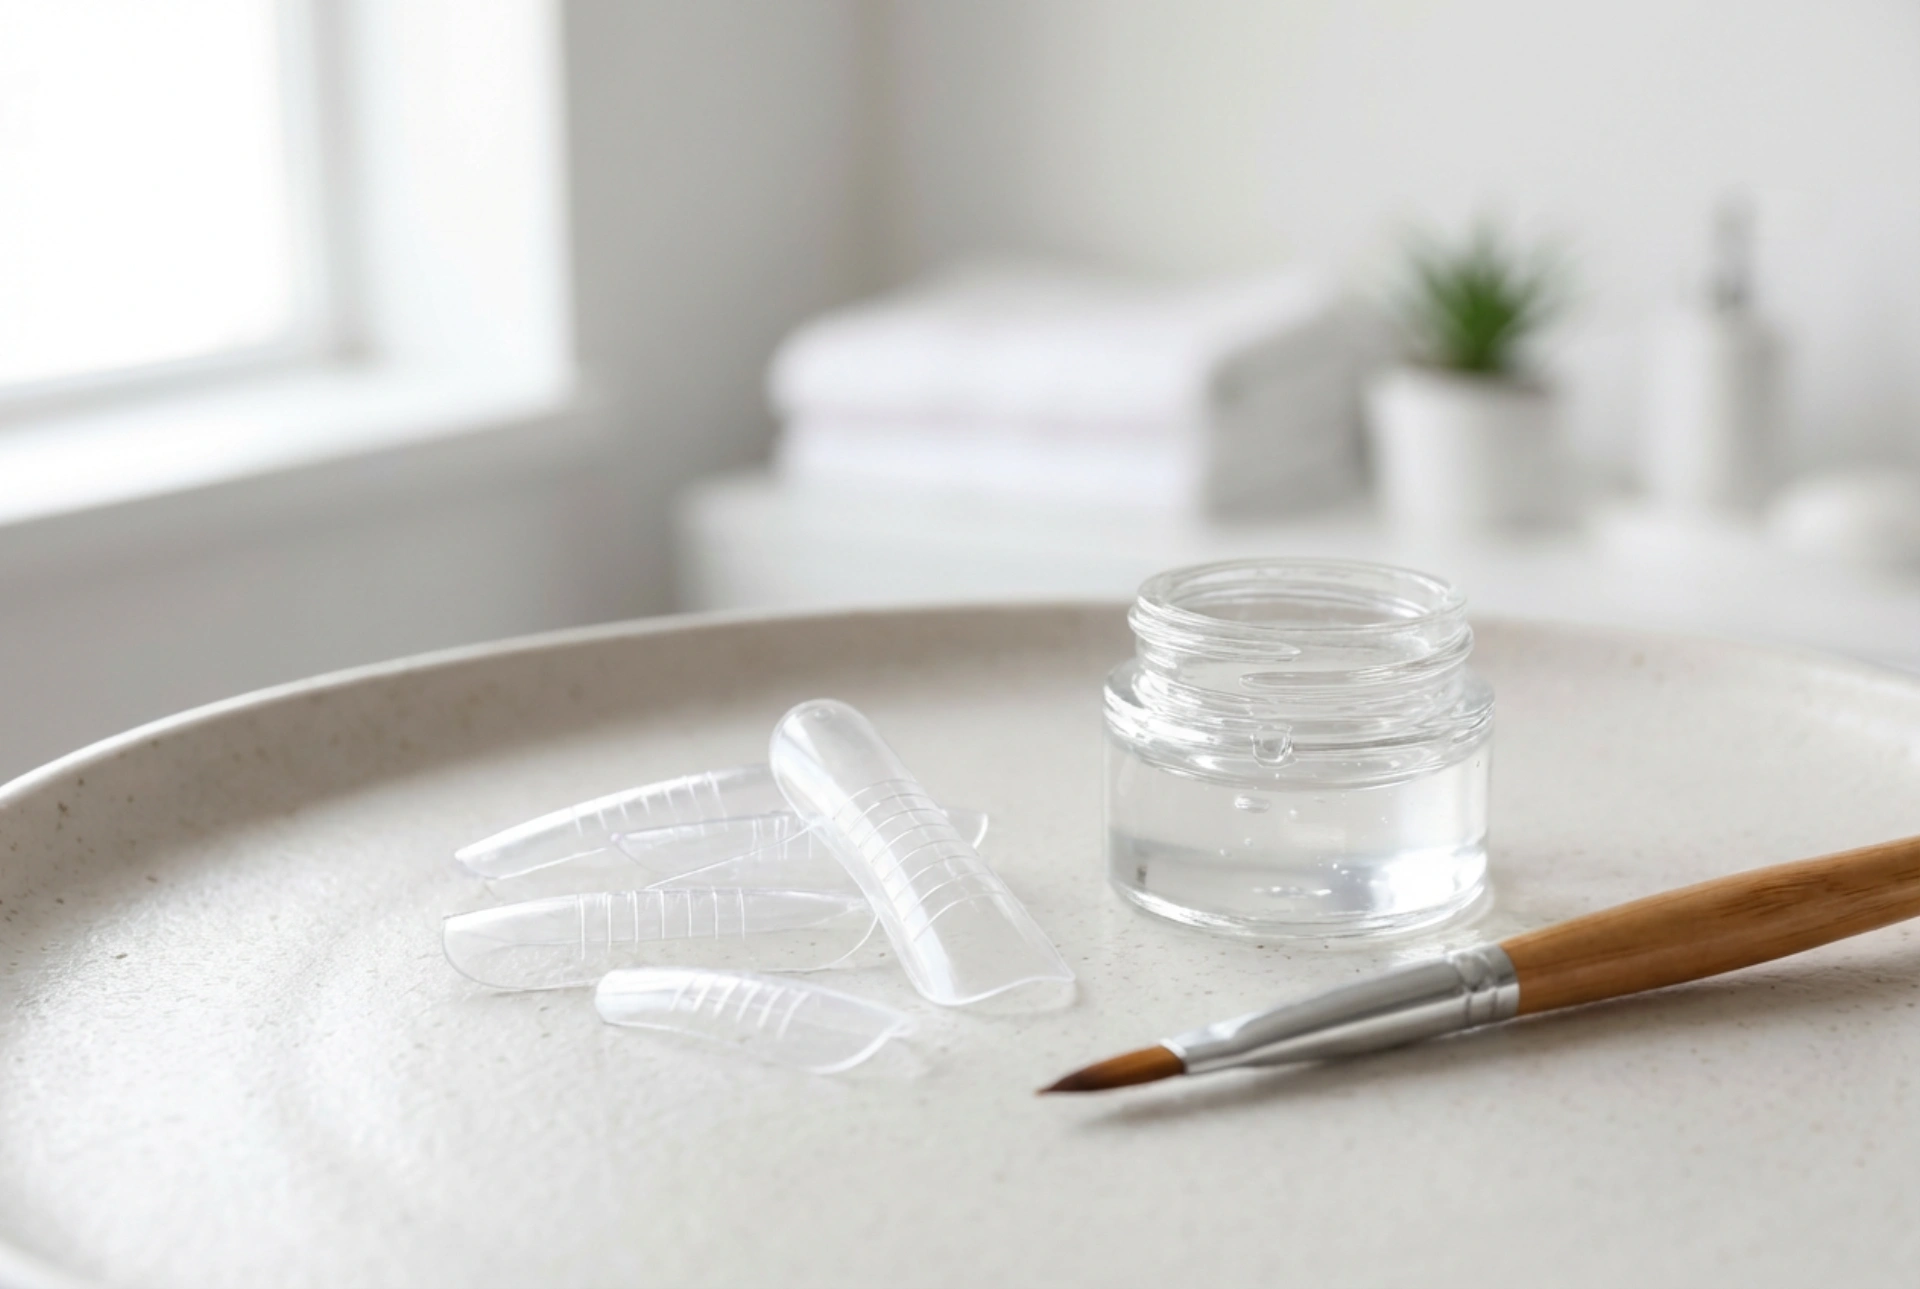


Achieving perfectly shaped and uniform nail extensions at home has been simplified by the introduction of upper plastic nail forms, commonly known as dual forms. Unlike traditional paper templates that sit underneath the free edge, these clear, reusable plastic moulds are applied directly on top of the natural nail plate. When paired with a self-levelling translucent builder gel and a fine detailing brush, they allow you to create a flawless, glass-like finish with minimal effort. This modern technique minimises the need for extensive hand-filing, making it a favourite for those who value precision, neatness, and a clean aesthetic in their personal manicure routine.
Selecting and Fitting the Right Form Sizes
The secret to a long-lasting and natural-looking gel extension lies in the fitting process. Upper plastic forms come in numbered sets, offering a variety of widths and curvatures to match different nail shapes. Before you touch any gel, you must carefully measure the forms against your natural nails. A properly fitted form should cover the entire nail bed from one side wall to the other, without needing to be pressed down firmly.
When selecting your sizes, keep the following guidelines in mind:
- Avoid tight fits: If a plastic form is too small, the gel will squeeze out of the sides, leading to weak edges and potential lifting.
- Account for gel volume: Choose a form that is slightly larger than the natural nail plate. This ensures there is sufficient space underneath for a uniform layer of builder gel.
- Check the arch: Ensure the natural curve of the form aligns harmoniously with your natural nail arch to prevent air pockets from forming during application.
Step-by-Step Gel Construction with Dual Forms
Once you have selected the correct sizes for all ten fingers, you can begin the application process. Preparing the natural nail plate is essential for maximum adhesion. Gently push back the cuticles, lightly buff the surface of the nail with a fine-grit buffer to remove natural oils, and cleanse the area thoroughly with a lint-free wipe. Applying a thin layer of base coat and curing it under a lamp provides a stable foundation for the builder gel.
With the preparation complete, you can begin constructing the nail inside the plastic form:
- Squeeze and spread: Place a small bead of translucent builder gel into the inner side of the plastic form. Using a fine brush lightly moistened with a shaping solution or cleanser, spread the gel evenly.
- Construct the stress zone: Ensure the gel is thicker in the middle section, also known as the stress area or apex, and gradually becomes thinner towards the cuticle and the side edges. This prevents a bulky appearance near the skin.
- Define the length: Use the built-in guide lines on the clear plastic form to ensure all nails are constructed to a uniform length.
Application, Curing, and Precision Placement
Applying the gel-filled form to the nail requires a steady hand and a gentle touch. Hold the plastic form at a 45-degree angle near the cuticle line, keeping a tiny gap of about one millimetre away from the skin. Slowly lower the form onto the nail plate, allowing the gel to spread naturally towards the free edge. Avoid pressing too hard, as this will force the gel out of the sides and create thin, fragile spots.
While holding the form gently in place, use a clean brush to smooth out any excess gel that may have squeezed out underneath the free edge. Once the placement looks perfect, cure the nail under a suitable LED or UV lamp. It is highly recommended to use a small hand-held lamp for a quick five-second flash cure to lock the form in place before completing a full cure in a standard nail lamp.
Safe Removal and Refining the Shape
One of the most satisfying aspects of using upper plastic forms is the removal process. Once the gel is fully cured and cooled down, the form can be easily popped off without damaging the extension. Gently squeeze the sides of the plastic form near the free edge; you will see it release from the hardened gel surface. Carefully wiggle it from side to side until it lifts off completely, revealing a perfectly smooth and shiny nail.
After removal, you will only need to do minimal filing. Focus on perfecting the free edge, ensuring the shape is symmetrical, and gently smoothing the transition area near the cuticle with a fine file or buffer. Finish by applying a high-shine top coat to seal the edges and protect your beautiful, professional-looking manicure.
Troubleshooting Common Dual Form Mistakes
Even with careful preparation, beginners may encounter a few common challenges when working with upper plastic forms. Understanding how to address these minor setbacks can elevate the quality of your home manicure dramatically:
- Air Bubbles: If you notice small pockets of air visible through the clear plastic form before curing, it usually means the form was applied too quickly or with insufficient gel. Gently lift the form, add a tiny drop of gel, and reapply at a gradual angle.
- Cuticle Flooding: Applying too much product near the base of the form can cause gel to spill onto the surrounding skin. Always leave a tiny margin near the cuticle and use a damp brush to clean the area before curing.
- Lifting at the Sides: This happens when the form selected is too narrow, leaving the natural nail edges exposed and unsupported. Ensure the plastic template generously covers the entire width of your nail bed.




