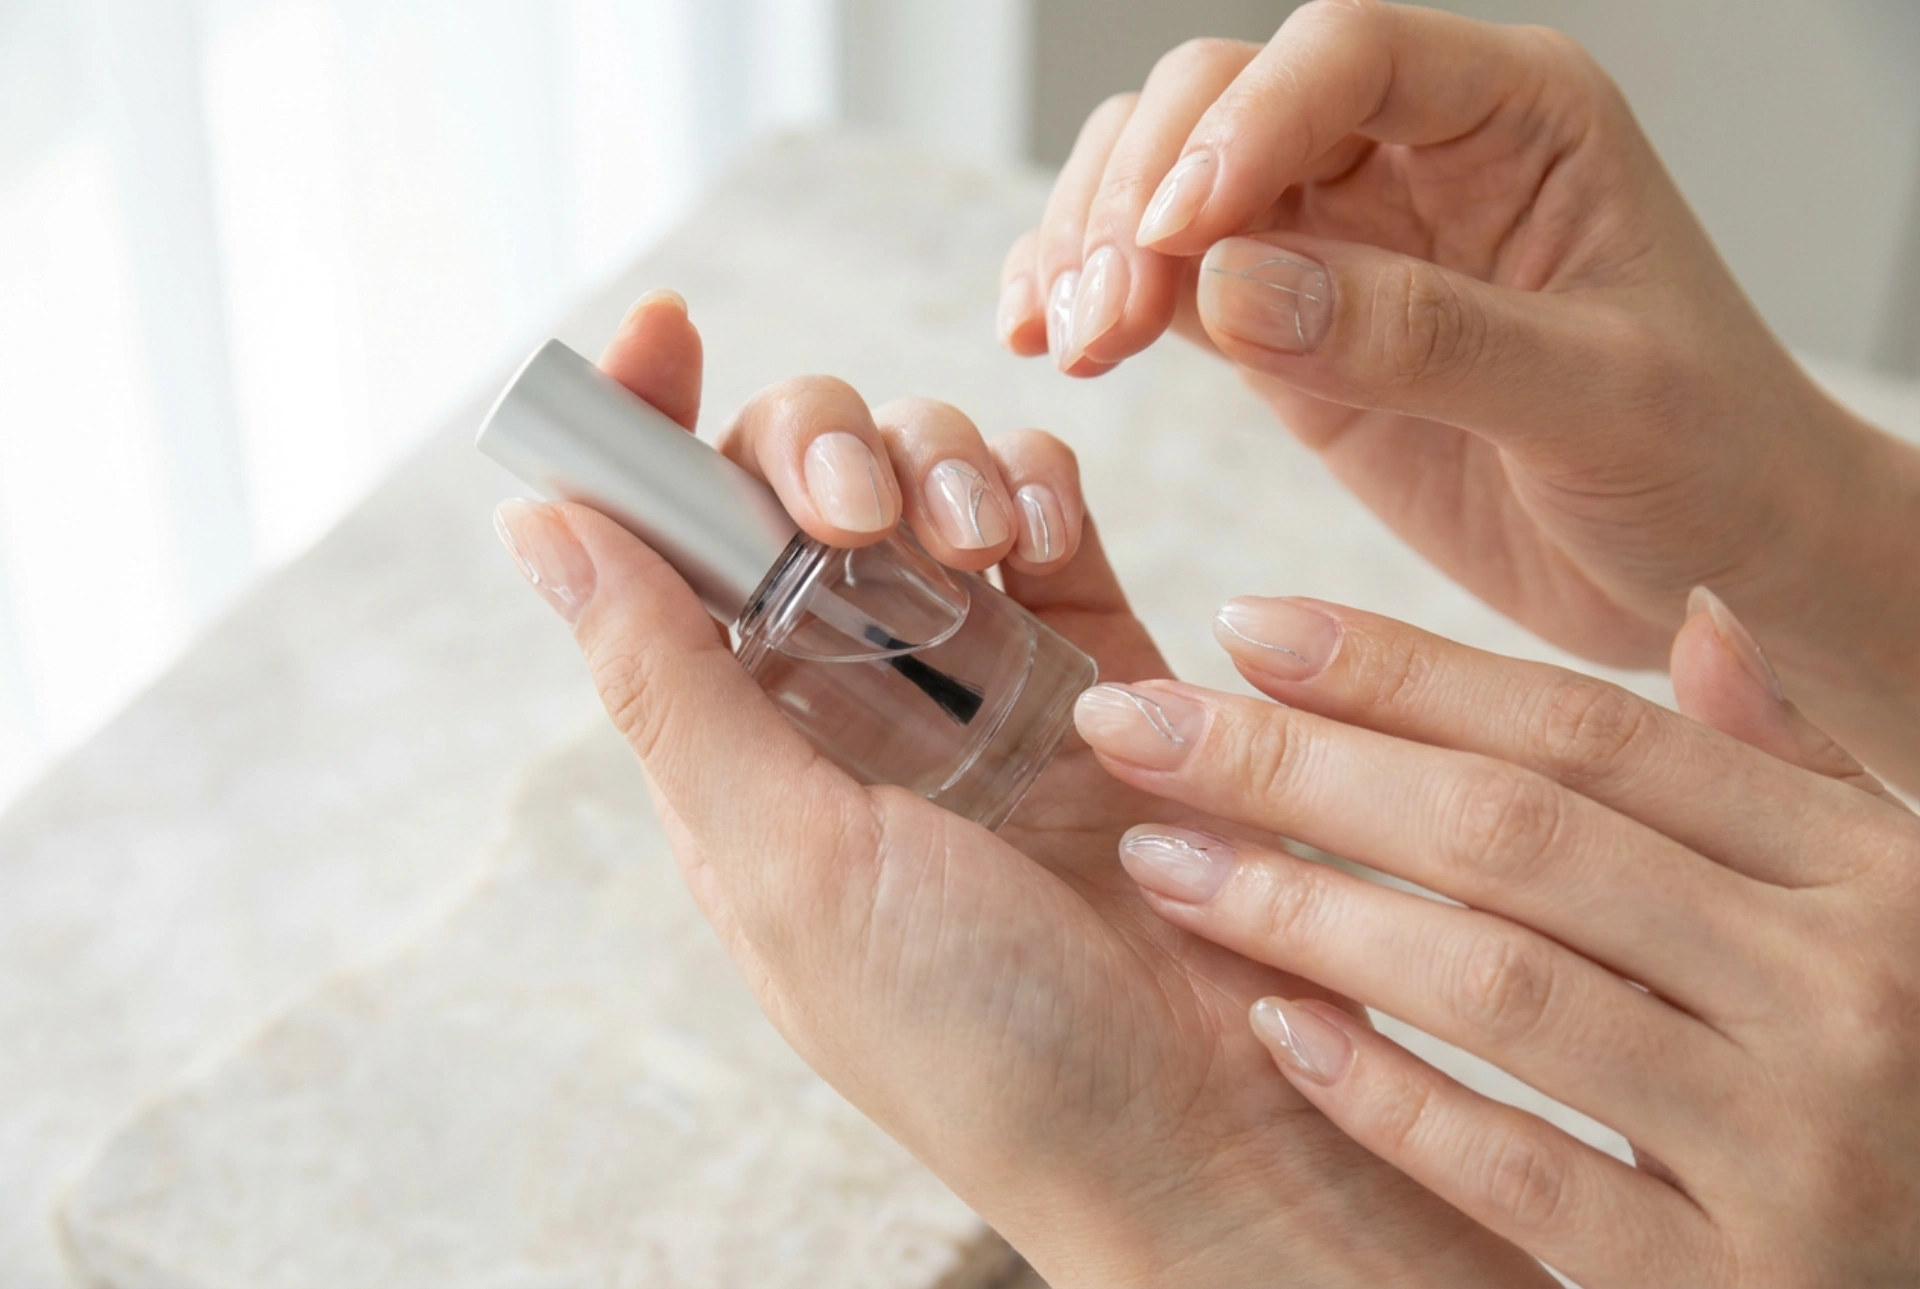


Elegant, well-groomed hands with subtle nail decorations are a true showcase of personal style and attention to detail. Achieving a beautifully finished manicure at home has become increasingly accessible, allowing nail enthusiasts to experiment with various creative designs. From delicate decals to shimmering glitters, the world of nail art offers endless possibilities to elevate a simple look. However, the true hallmark of a successful manicure is not just the aesthetic appeal of the ornaments, but their longevity. The key to a stunning, chip-resistant finish lies in the precise application of these decorations and the crucial final step: securing them effectively with a high-quality top coat. Understanding the relationship between different decorative elements and the protective layers above them is essential for anyone looking to master home nail styling.
Popular Types of Nail Art Decorations for Creative Styling
Before diving into the application process, it is helpful to understand the most common types of nail ornaments available for home use. Each material requires a slightly different approach to ensure it adheres properly and remains flat against the nail surface.
- Nail Stickers and Water Decals: These are among the easiest decorations to apply, making them perfect for beginners. Stickers have an adhesive backing, while water decals require brief immersion in water to release the design from its paper backing. Both offer intricate patterns without the need for advanced painting skills.
- Loose Glitters and Pigment Dusts: Offering everything from a subtle shimmer to a bold metallic effect, loose powders can be sprinkled onto the nail or rubbed into a tacky layer of polish. They are highly versatile but require careful handling to avoid uneven textures.
- Transfer Foils: These foils create striking metallic or holographic patterns. They are transferred onto the nail surface using either the sticky inhibition layer of dried gel-effect polishes or a dedicated foil adhesive.
- Studs, Rhinestones, and Crystals: For those who appreciate a three-dimensional effect, small rhinestones or metal studs add texture and sophistication. Because of their raised profile, they require a more robust securing technique to prevent them from catching on fabrics.
Precise Techniques for Applying Nail Ornaments
Achieving a smooth, professional look starts with how you apply the decorations. Improper application can lead to lifting, which ultimately ruins the durability of the manicure.
Applying Flat Decorations
For stickers and water decals, preparation is key. Ensure the base colour is completely dry. If using water decals, gently slide the design off the paper backing using tweezers, place it onto the nail, and smooth out any air bubbles or excess water with a soft silicone tool or a dry lint-free wipe. For self-adhesive stickers, ensure the surface is free of oils, press the sticker firmly onto the nail, particularly around the edges, to guarantee complete adhesion.
Working with Glitters and Dusts
To apply loose glitter, you can sprinkle it over a wet layer of clear or coloured polish, gently tapping off the excess. For a burnished, chrome-like effect using pigment dusts, use a sponge applicator to rub the powder onto a slightly tacky surface. Always brush away loose particles with a soft, clean fan brush before moving on to the sealing step; otherwise, stray glitter will contaminate your top coat bottle.
Securing Three-Dimensional Elements
When working with rhinestones or studs, place a small bead of clear polish or dedicated nail adhesive onto the desired spot. Use a wax pen or tweezers to gently pick up the ornament and press it into the adhesive. Allow it to set completely before proceeding. It is important not to cover the top of multi-faceted crystals with top coat, as this can dull their sparkle; instead, apply the top coat carefully around their bases.
The Essential Role of the Top Coat
A top coat is much more than just a shiny finish; it acts as a protective shield for your nail art. Without this vital layer, decorations are exposed to the elements, leading to rapid wear, fading, and chipping.
The primary function of the top coat is to seal the decorations and create a unified, smooth surface. This is especially important for textured designs like glitter or foils, which can feel rough to the touch. By encapsulation, the top coat fills in the gaps around the ornaments, smoothing out the surface and preventing the edges from catching on clothing or hair. Additionally, a good top coat provides protection that helps prevent the colours of your nail art from yellowing or fading over time under natural light.
Step-by-Step Guide to Securing Your Nail Art
To ensure your decorated manicure lasts for as long as possible, follow this methodical sealing process:
- Step 1: Inspect the Design: Before applying any top coat, ensure all decorations are completely flat, dry, and free of loose dust or moisture. Any lifting edges should be pressed down gently once more.
- Step 2: Apply a Floating Layer: When applying the top coat over delicate designs like hand-painted details or water decals, use a light hand. Avoid pressing the brush firmly against the nail, as this can smear the design. Instead, "float" a generous bead of top coat over the surface, letting the brush glide just above the nail.
- Step 3: Cap the Free Edge: This is the most crucial step for preventing chipping. Run the top coat brush along the very edge of the nail tip. This seals the front margin of the nail, preventing water and air from getting underneath the polish and decorations.
- Step 4: Use a Second Layer for Texture: If your design involves chunky glitter, studs, or thick stickers, a single layer of top coat might not be enough to create a smooth finish. After the first layer has dried completely, apply a second layer to fully encapsulate the elements and eliminate any remaining texture.
Practical Tips for Long-Lasting Manicures
Maintaining the beauty of your decorated nails extends beyond the initial application. Simple daily habits can significantly prolong the lifespan of your manicure. Always wear protective gloves when performing household chores, such as washing dishes or using cleaning agents, as harsh chemicals can degrade the top coat and cause lift. Regularly apply a nourishing cuticle oil to keep the surrounding skin hydrated, which frames your nail art beautifully. Finally, if you notice the shine starting to fade after a week, gently buff the surface and apply a fresh layer of top coat to instantly revive the gloss and extend the wear of your beautiful design.




