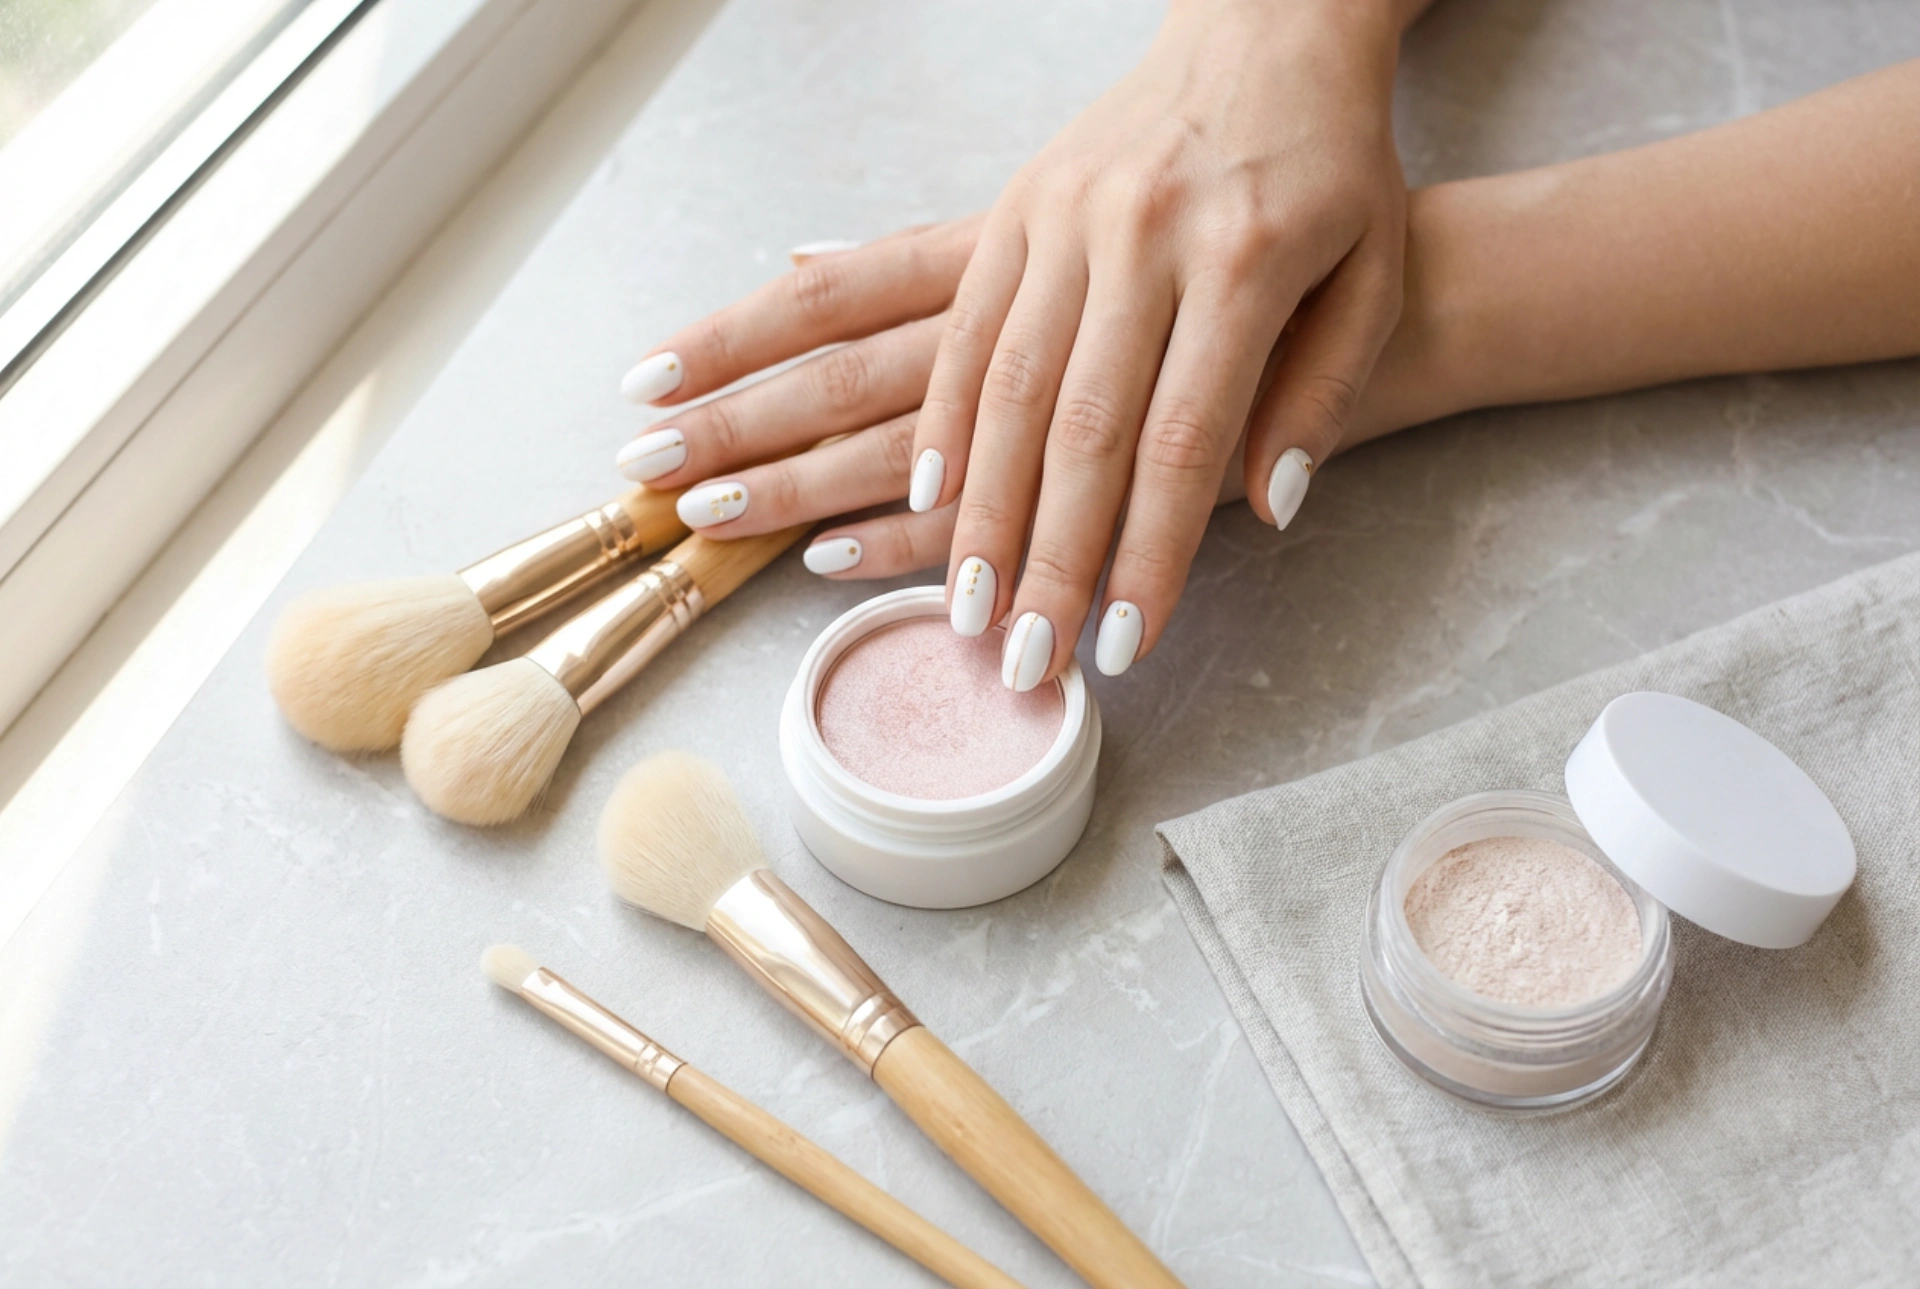


White nails have long been celebrated for their clean, modern, and incredibly elegant aesthetic. Whether you are admiring a beautifully styled flat lay under soft natural light or looking for a versatile manicure that matches every outfit, classic white polish is the perfect foundation. To elevate this timeless look, adding delicate, simple adornments can transform a plain manicure into a stunning work of art. You do not need professional salon skills to achieve beautiful results; with just a few basic tools and a bit of patience, anyone can create eye-catching designs at home.
The Appeal of a White Base
Using white polish as your primary colour creates a high-contrast canvas that makes even the most minimalist designs stand out. It acts as a blank slate, allowing subtle details like gold shimmer, delicate lines, or soft pastels to catch the eye without looking cluttered. When working with white polish, the key is to ensure an even, opaque application. Applying two thin layers rather than one thick coat will prevent streaking and create a smooth, porcelain-like surface that is ready for decoration.
5 Easy Decorating Techniques for Beginners
1. The Classic Dotting Tool Method
One of the easiest ways to add interest to white nails is by creating simple dots. If you do not own a professional dotting tool, you can easily use household items such as a bobby pin, a toothpick, or the tip of an old ballpoint pen. Simply dip the tip of your chosen tool into a contrasting colour—such as a soft gold, silver, or black—and gently press it onto the nail. You can create a single minimalist dot near the cuticle, a delicate row along the edge, or even simple flower shapes by placing five dots in a circle with a different colour in the centre.
2. Clean Lines with Striping Tape
For those who love geometric and modern designs, striping tape is a fantastic and inexpensive tool. After your white base coat is completely dry, apply thin strips of tape to create geometric patterns, diagonals, or simple stripes. Paint over the entire nail with a contrasting shade or a subtle shimmer, and then carefully peel off the tape while the polish is still wet. This reveals crisp, clean lines of white underneath, offering a highly professional finish with minimal effort.
3. Soft Shimmer and Glitter Placement
To capture a serene beauty vibe, adding a touch of shimmer is highly effective. You can use a small brush to gently dust a fine, iridescent cosmetic powder over a slightly tacky top coat, focusing on the tips or the base of the nail. Alternatively, using a toothpick dipped in clear polish allows you to pick up individual pieces of fine glitter or tiny sequins and place them precisely onto the nail. This technique adds a beautiful dimension that catches the light beautifully without overwhelming the clean look of the white polish.
4. Simple Decals and Nail Stickers
If freehand painting feels too intimidating, nail stickers and water decals are your best friends. These pre-designed elements come in countless styles, from delicate botanical leaves to minimalist metallic lines. To apply them, ensure your white base is fully dry, place the sticker carefully using tweezers, and smooth it down to remove any air bubbles. Sealing the design with a high-quality clear top coat is essential to smooth out the edges and ensure your beautiful design lasts for days.
5. Easy Sponge Gradient (Ombre)
Achieving a soft, diffused gradient is much simpler than it looks. By using a small piece of a clean makeup sponge, you can create a beautiful ombre effect. Apply a small amount of white polish and a complementary pastel or metallic shade side-by-side on the sponge, then gently pat it onto your nail. This creates a soft, blended transition of colour that looks sophisticated and modern. Be sure to clean any excess polish from the skin around your nail using a small brush dipped in remover.
How to Protect and Maintain Your Nail Art
To keep your home manicure looking fresh and vibrant, the final steps are just as important as the design itself. Always finish your nail art with a generous layer of clear top coat. This not only seals the design and prevents chipping but also evens out any texture created by stickers, glitter, or dotting techniques. To maintain the bright, clean appearance of your white polish, consider applying a fresh layer of top coat every few days and keeping your cuticles hydrated with a simple, nourishing oil.




