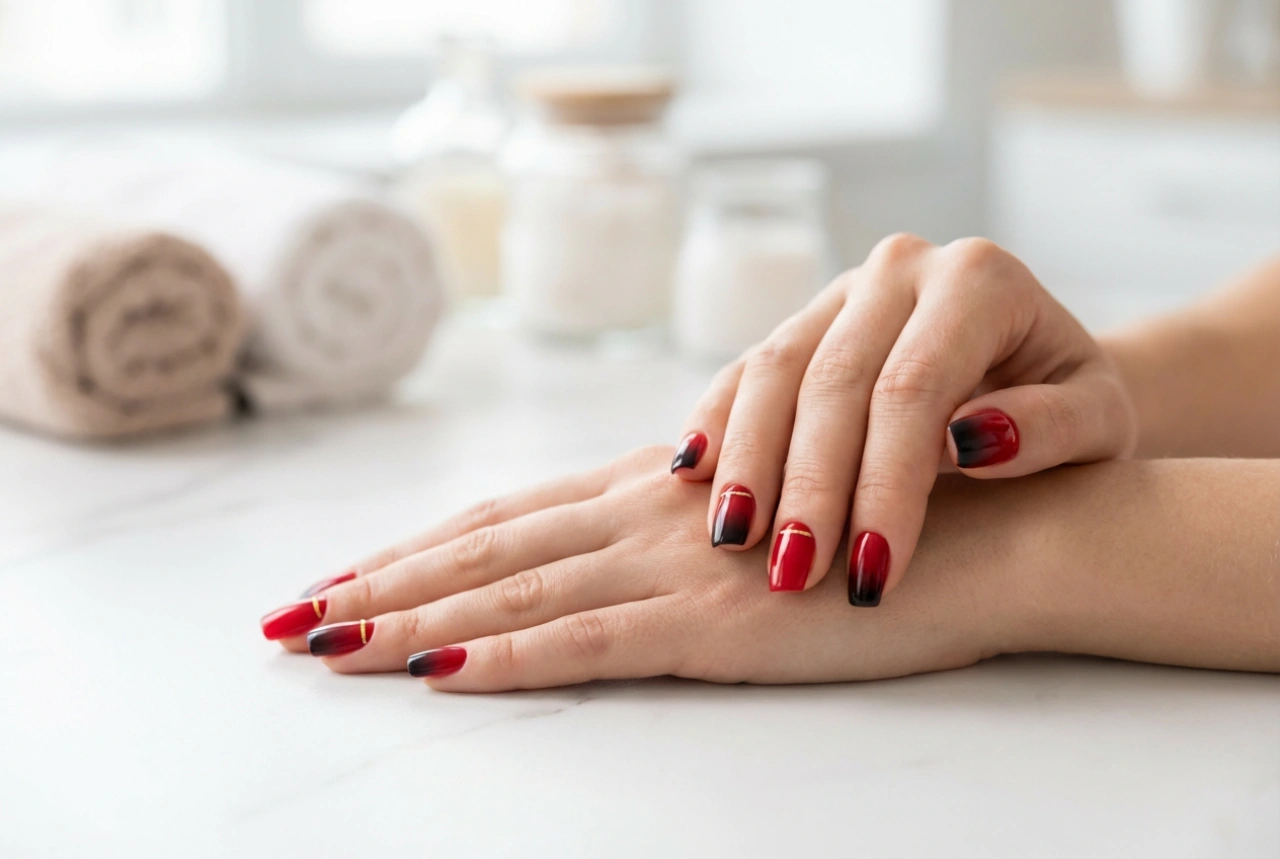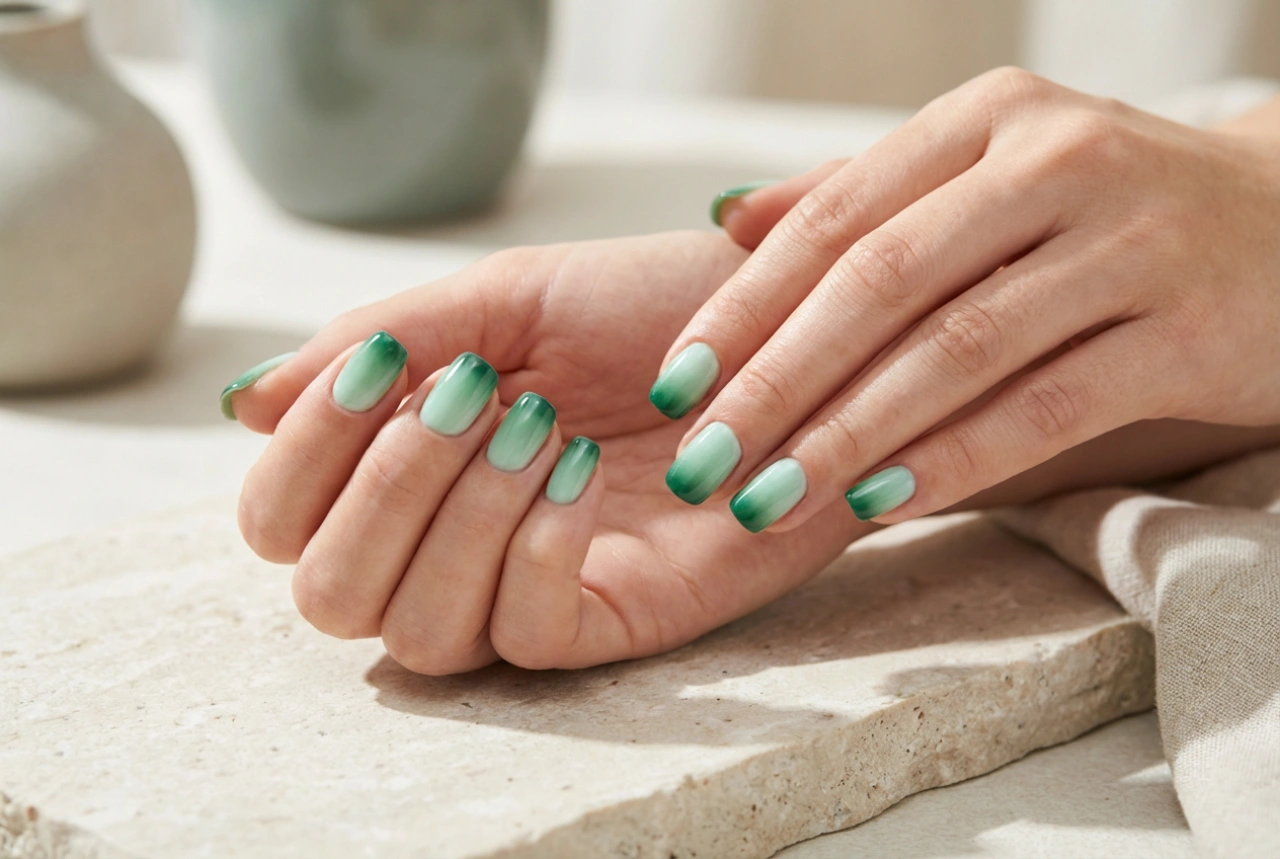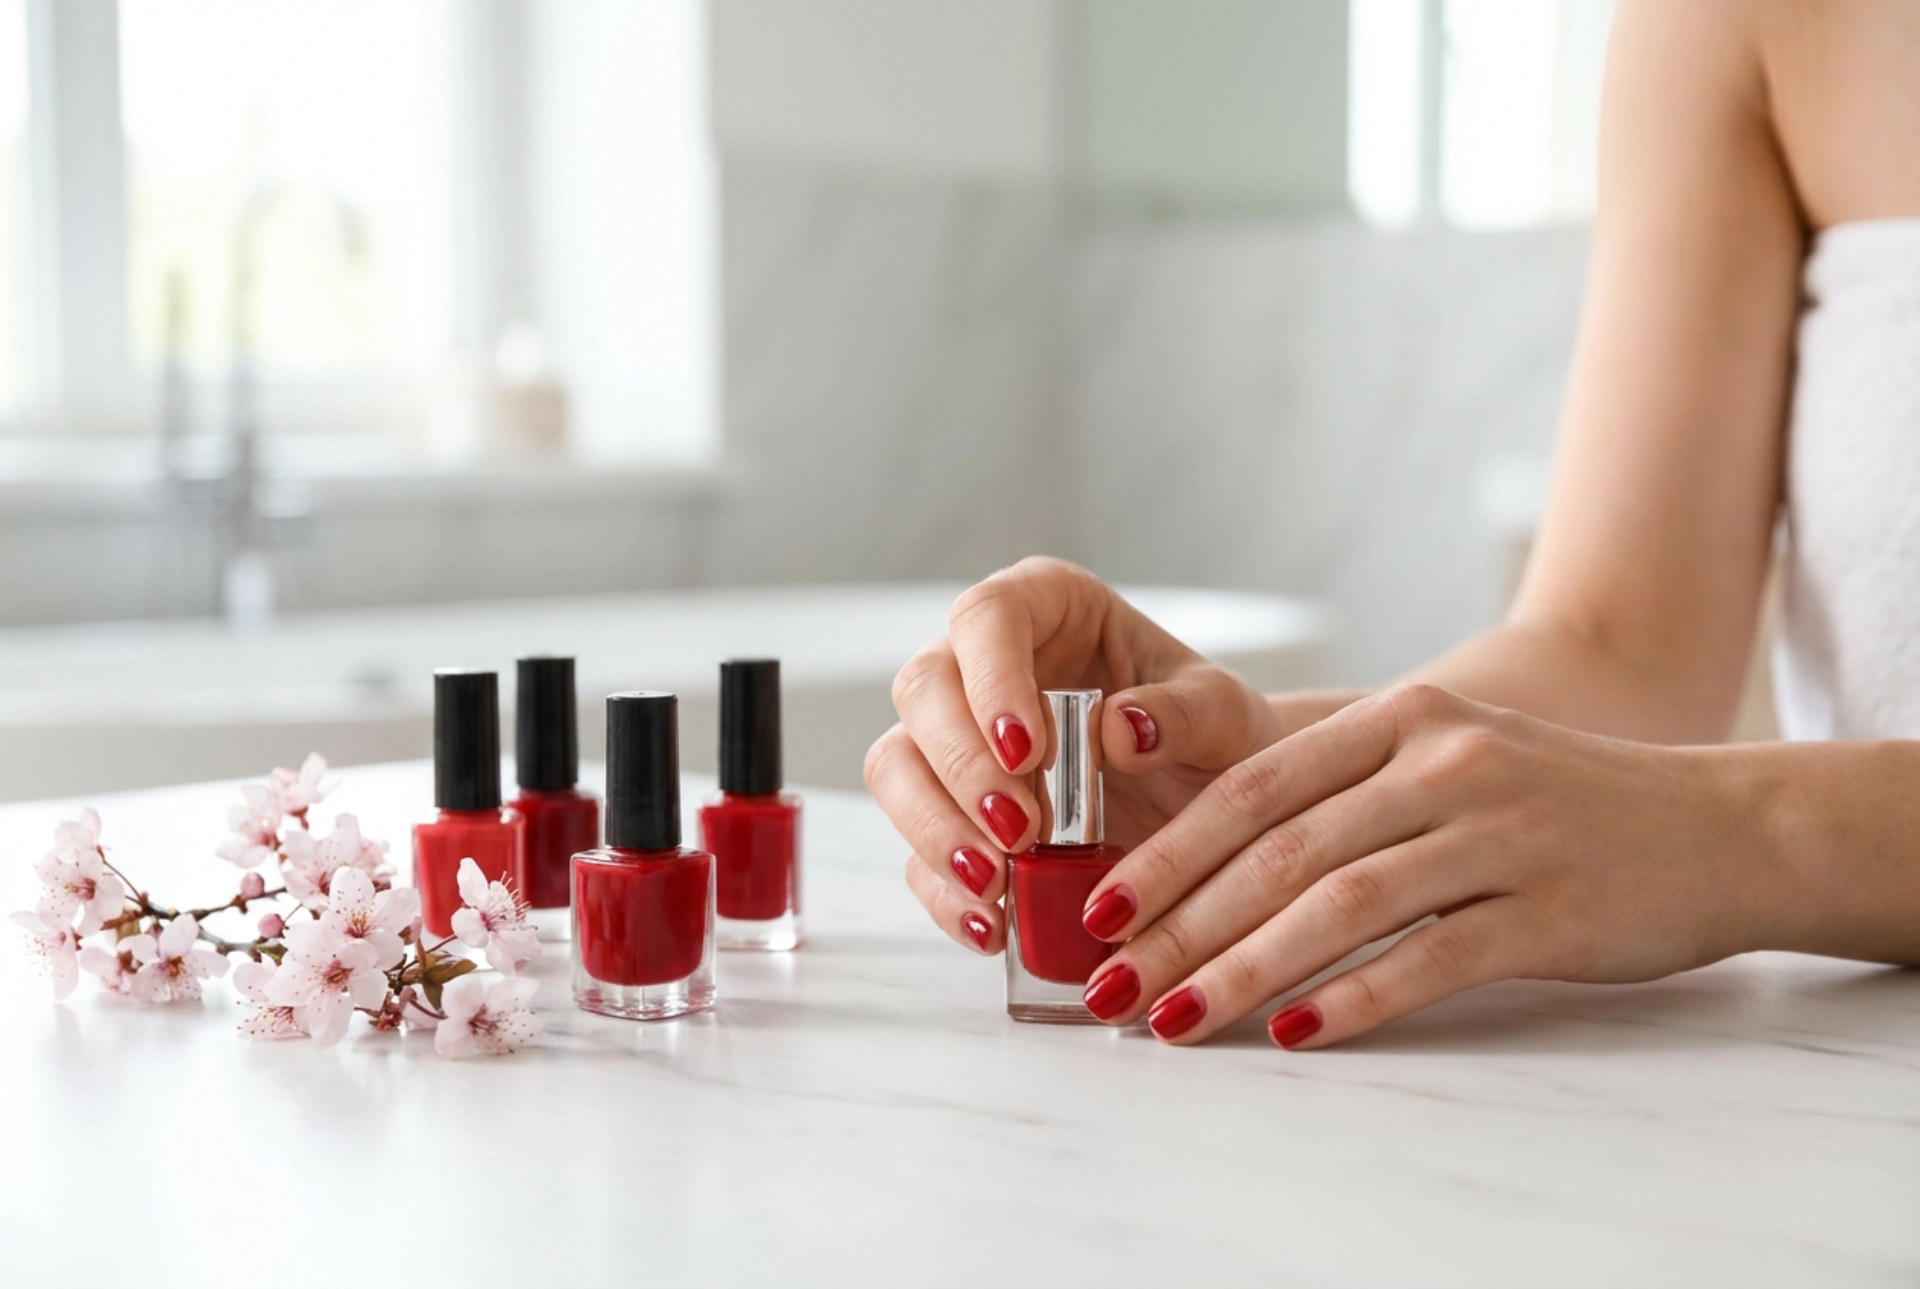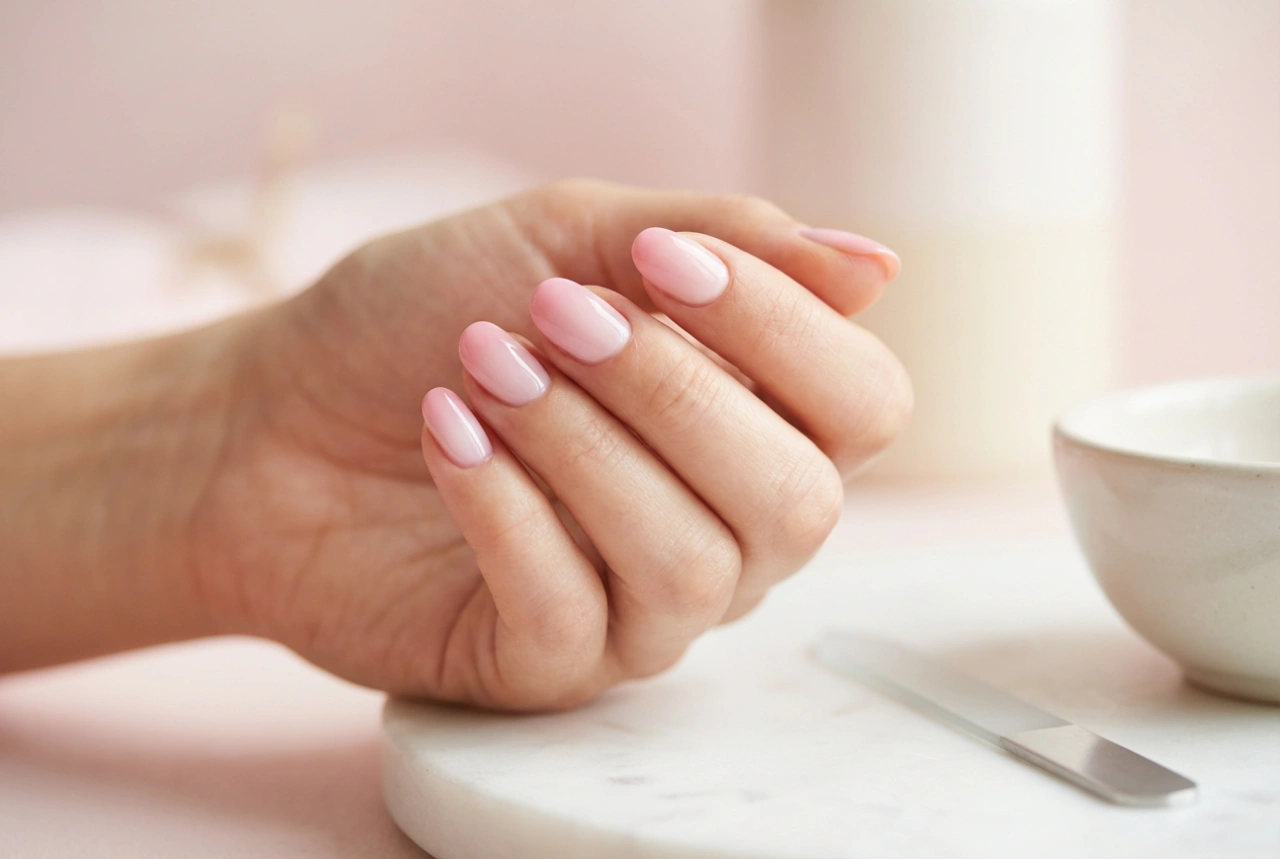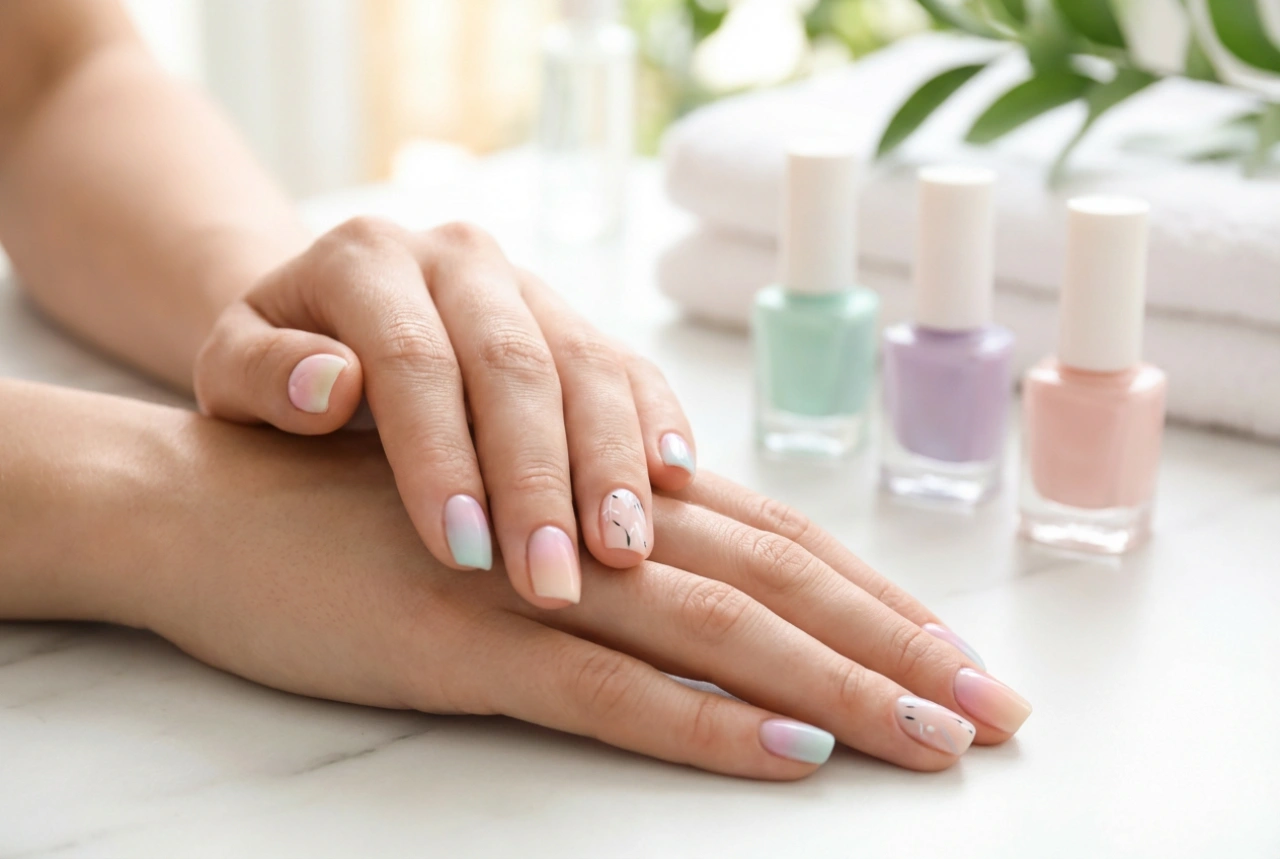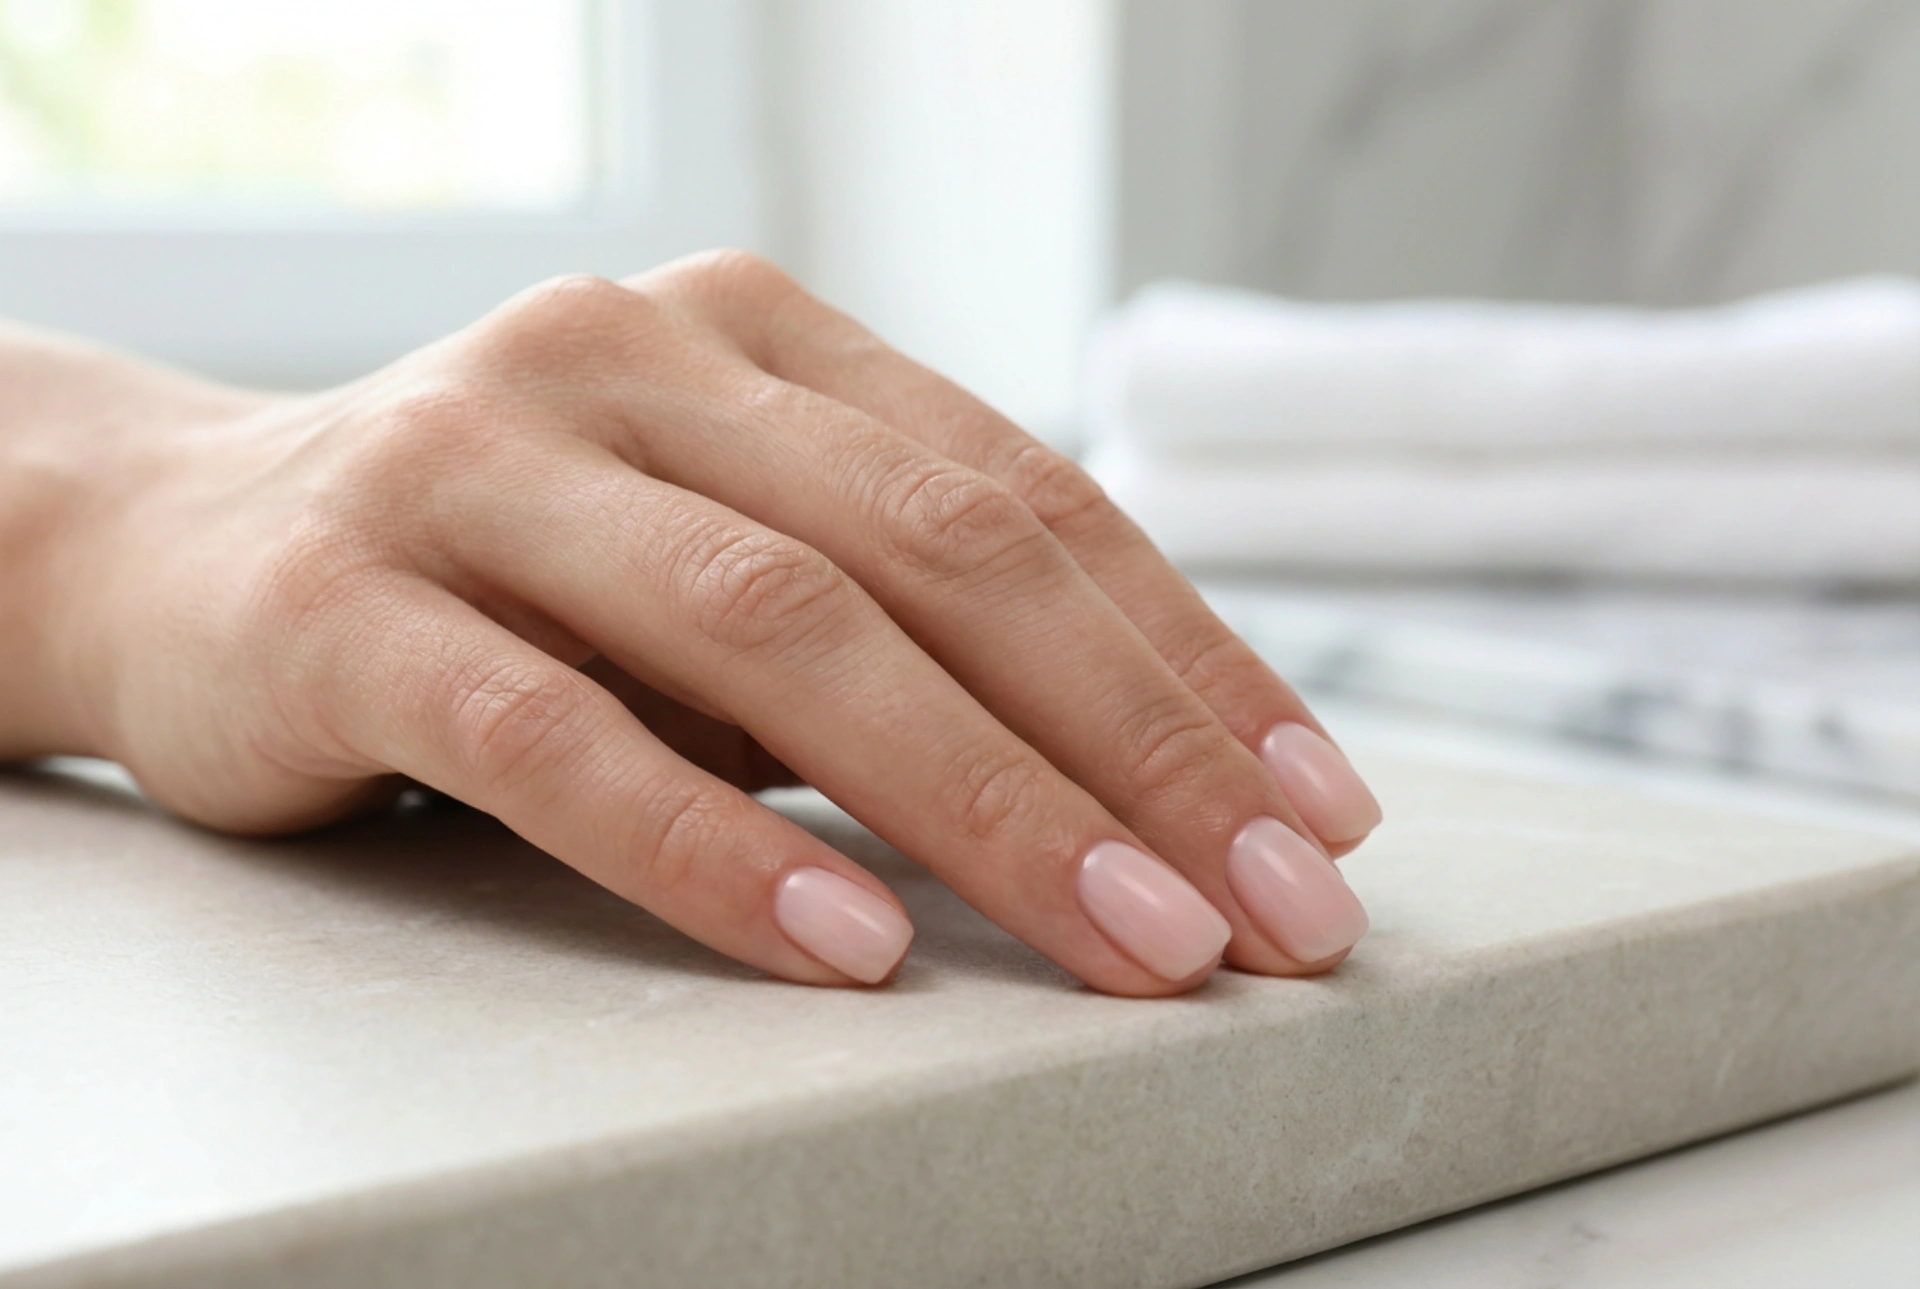


Achieving a flawless home manicure can often feel like a delicate balancing act, especially when working with shorter nails. A clean, sophisticated look relies heavily on immaculate preparation and precise application. When short gel nails are shaped beautifully and painted with a subtle, chic shade, they convey a sense of modern elegance. The key to this polished aesthetic is avoiding the common pitfall of flooding the cuticles, which not only ruins the clean lines but also reduces the longevity of the manicure.
Preparing the Nail Plate and Cuticles
Before any colour or base coat is applied, thorough preparation is essential. Start by gently pushing back the cuticles using a wooden manicure stick or a dedicated pusher. It is important to work gently to avoid damaging the nail matrix. Clearing the invisible layer of dead skin from the nail plate ensures that the gel adheres properly. Once the cuticles are pushed back, lightly buff the surface of the nail with a fine-grit buffer to remove natural oils, and cleanse the area thoroughly to ensure a dust-free workspace.
Selecting and Shaping Short Nails
Short nails offer a highly practical and chic canvas, but selecting the right shape is crucial to elongating the fingers. There are three primary shapes that work best for shorter lengths:
- Squoval: A blend of square and oval, this shape provides the strength of square edges with the soft, natural look of rounded corners.
- Round: Perfect for very short nails, a rounded edge follows the natural curve of the fingertip, creating a clean and cohesive look.
- Oval: If there is a slight free edge, an oval shape can elegantly extend the appearance of the fingers.
When filing, always move the nail file in one direction rather than sawing back and forth, as this prevents splitting and maintains the structural integrity of the natural nail.
Mastering the Precise Painting Technique
The secret to preventing gel polish from flooding the cuticles lies in the amount of product on the brush and the direction of application. A common mistake is overloaded brushes that pool at the base of the nail. Here is a simple approach to mastering clean application:
The Three-Stroke Method
Place a small bead of gel polish in the centre of the nail, slightly away from the cuticle line. Gently push the brush towards the cuticle without actually touching the skin, then swipe down to the free edge. Complete the application by painting the left and right sides of the nail. This controlled movement creates a clean margin between the product and the skin.
Using a Detail Brush
For ultimate precision, especially around the tight curves of short nails, use a thin detail brush dipped in a tiny amount of gel polish to perfect the edges near the cuticle line. This allows for a close application without any risk of overflowing onto the surrounding skin.
The Importance of Thin Layers
When working with gel formulas, thin layers are always superior to thick coats. Thick layers are more prone to running, wrinkling during curing, and lifting prematurely. Apply the base coat, colour coats, and top coat as thinly as possible. Always remember to cap the free edge of the nail with each layer, as this seals the product and prevents chipping.
Post-Manicure Care for a Polished Finish
Once the final top coat has been cured and any sticky residue is wiped away, the manicure is complete, but cuticle care should continue. Applying a nourishing cuticle oil daily keeps the skin hydrated and prevents dry, ragged edges that can detract from your pristine manicure. Regular hydration ensures that the frame around your beautifully painted short nails remains as neat and elegant as the day they were done.