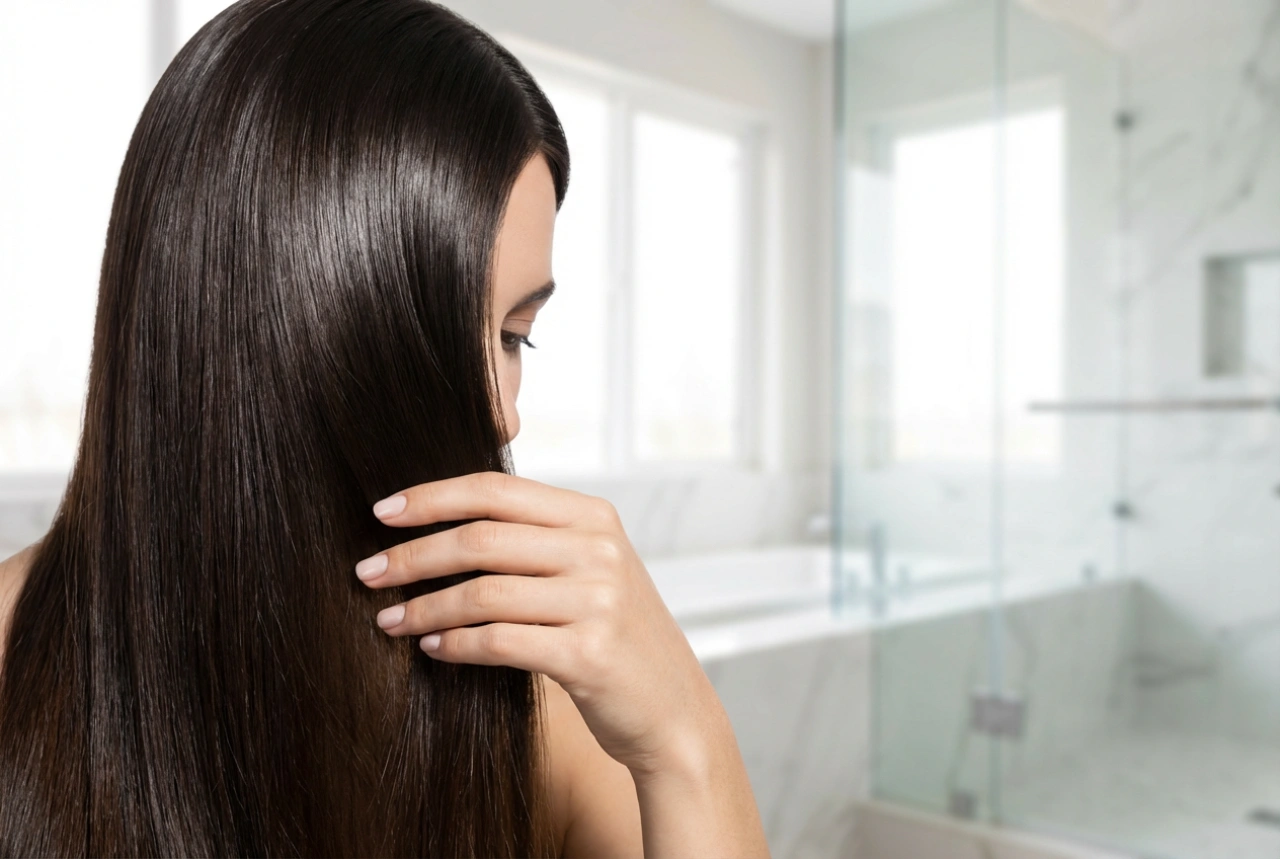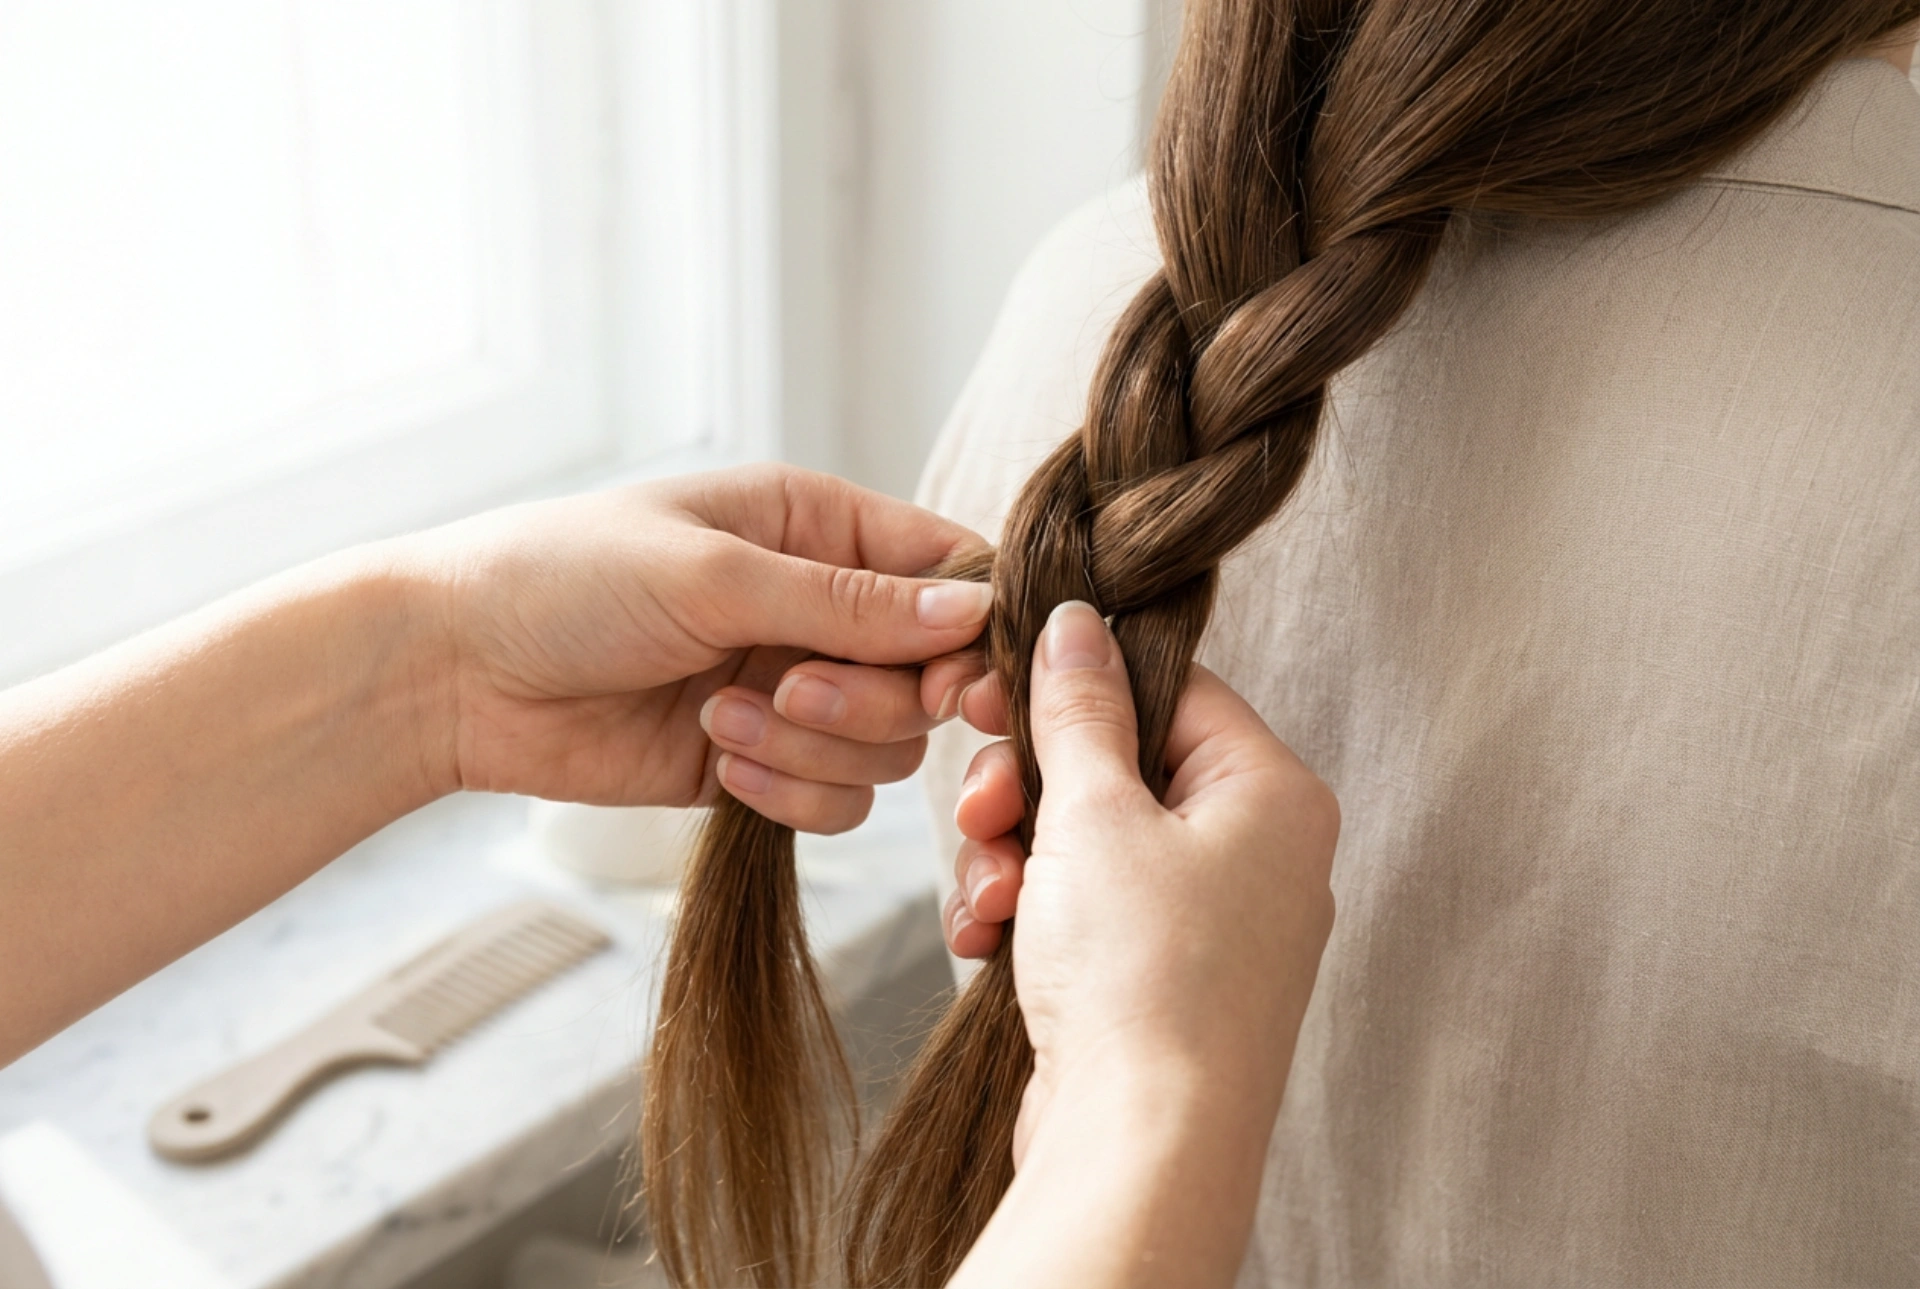


There is a timeless beauty in the art of braiding long, glossy hair. When soft, natural light catches the intricate details of a well-crafted plait, it highlights the natural health and rich texture of the strands. Braiding is not merely a practical way to keep hair neat; it is a form of self-expression that combines effortless elegance with everyday comfort. Whether you are preparing for a casual day out or a formal evening event, mastering a few classic braiding techniques can transform your long hair into a stunning crown of artistry.
Preparing Your Hair for Braiding
Before beginning any intricate braid, the preparation of the hair is essential to achieve a smooth, glossy finish. Properly prepared hair is easier to manage, holds the style longer, and minimises friction that can lead to breakage. For the best results, start with clean, dry, or slightly damp hair that has been thoroughly detangled.
- Hydration and Detangling: Apply a light leave-in conditioner or a few drops of natural oil to the mid-lengths and ends. This helps to smooth the cuticle, enhance natural shine, and allow your fingers to glide through the strands effortlessly. Use a wide-tooth comb to gently remove any knots, starting from the ends and working your way up to the roots.
- Creating Texture: If your hair is very fine or freshly washed, it may be too slippery to hold a braid securely. In such cases, applying a small amount of texturising spray or dry shampoo can provide the necessary grip without weighing the hair down.
1. The Classic French Braid: Timeless Elegance
The French braid is a fundamental technique that forms the basis of many advanced hairstyles. It gathers hair gradually from the sides, creating a sleek, integrated look that sits flat against the scalp. It is perfect for showcasing the varying tones and healthy lustre of long hair.
Step-by-Step Guide:
To begin, brush all your hair back away from your face. Gather a section of hair from the top of your head, near the forehead and temples, and divide it into three equal strands: left, middle, and right.
Cross the right strand over the middle strand, making the right strand the new centre. Next, cross the left strand over the new middle strand. This establishes the basic braid pattern.
Before making the next cross, gather a small, loose section of hair from the right side of your head and merge it with the right strand. Now, cross this combined right strand over the middle strand.
Repeat this process on the left side: gather a small section of loose hair from the left, merge it with the left strand, and cross it over the middle. Continue alternating sides, adding hair as you work your way down to the nape of the neck. Once all loose hair has been incorporated, finish with a standard three-strand braid and secure the end with a soft, snag-free hair elastic.
2. The Fishtail Braid: Modern and Intricate
The fishtail braid looks remarkably complex and delicate, yet it is one of the easiest braids to master. It relies on just two main sections of hair rather than three, resulting in a beautiful, woven texture that resembles a herringbone pattern.
Step-by-Step Guide:
Divide your hair into two large, equal sections. For a neat, centred braid, work at the back of the head; for a relaxed look, pull the hair over one shoulder.
Take a very thin strand of hair from the outer edge of the left section. Cross this thin strand over the left section and tuck it under the right section, merging it completely.
Next, take a thin strand of hair from the outer edge of the right section. Cross it over the right section and tuck it under the left section.
Continue this alternating pattern, taking small outer strands from one side and crossing them to the opposite side. To achieve a highly detailed, intricate look, keep the strands as thin and uniform as possible. Once you reach the ends, secure the braid with a clear elastic. For added volume, gently pull at the outer edges of the braid to loosen the weave slightly.
3. The Dutch Crown Braid: Regal and Practical
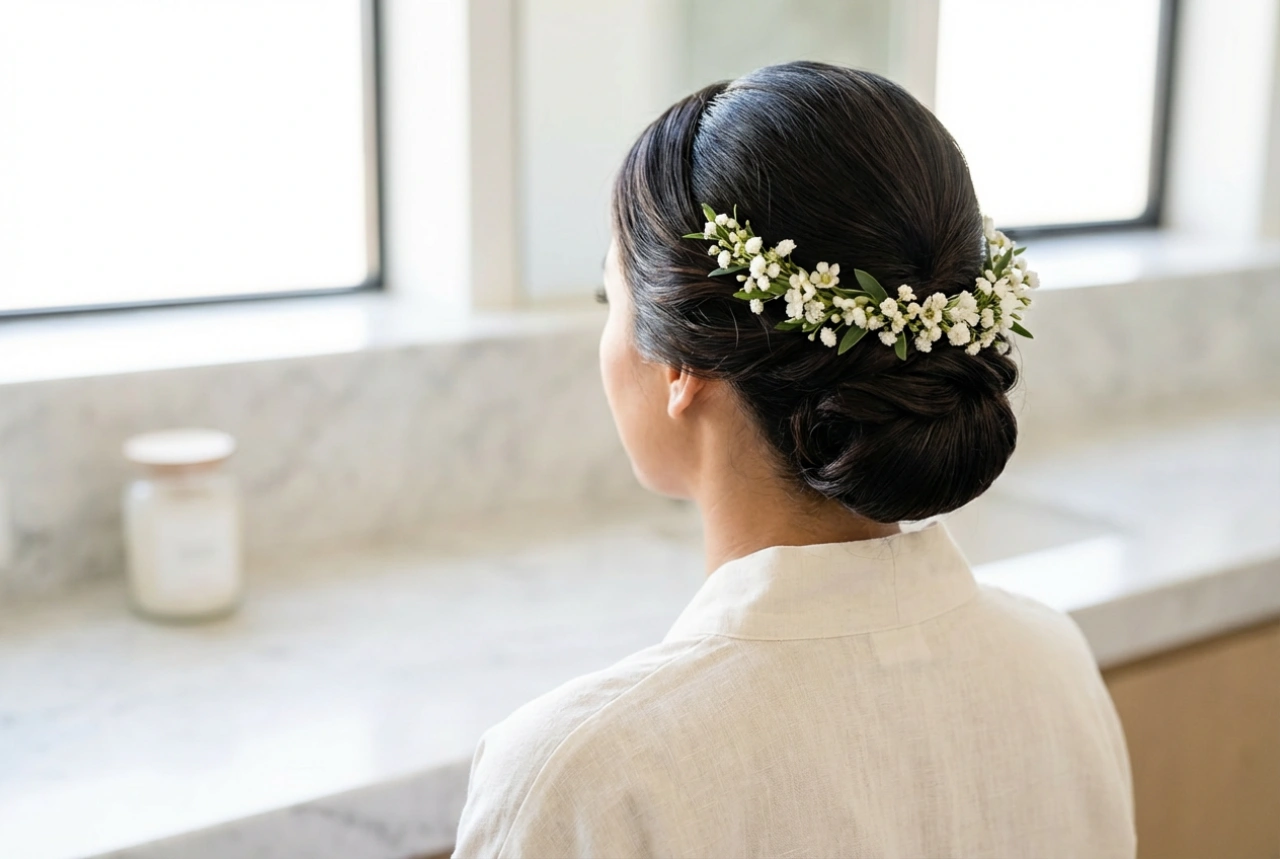
Often referred to as an inside-out French braid, the Dutch braid creates a raised, three-dimensional structure that stands out beautifully on long hair. Wrapping this style into a crown creates an elegant, secure updo that keeps the hair off the face and neck, making it ideal for warmer weather or active days.
Step-by-Step Guide:
Create a deep side parting. Gather a small section of hair near the parting and divide it into three equal strands. Unlike the French braid, you will cross the strands under the middle strand instead of over it.
Cross the right strand under the middle, then the left strand under the middle. As you continue, begin adding small sections of loose hair to each strand before crossing it under the centre.
Guide the braid along your hairline, working down towards the ear, around the back of the neck, and up towards the opposite side. Keep the tension consistent to ensure the braid remains snug against your head.
Once you have incorporated all the hair and reached the starting point, complete the length with a standard three-strand braid. Secure the end, wrap it neatly around the top of your head to complete the circle, and tuck the ends discreetly beneath the beginning of the braid. Secure firmly with hairpins that match your hair shade.
Nurturing Long Hair to Maintain Braid Definition
The success of any braided hairstyle relies heavily on the health of your hair. Splitting ends and dry, brittle strands can easily disrupt the smooth flow of a braid, causing flyaways and a dull appearance. Incorporating gentle care routines is vital for keeping long hair strong and shiny.
Regularly applying natural plant-based oils, such as argan or sweet almond oil, to the ends of your hair helps to lock in moisture and prevent split ends. When sleeping, consider swapping cotton pillowcases for silk or satin alternatives, or protect your hair by wearing a loose, comfortable braid to bed. This simple habit reduces friction, preventing tangles and preserving the natural lustre of your hair, ensuring it is always ready for your next beautiful creation.