


Curly hair is uniquely beautiful, but it often comes with a common challenge: frizz. While allowing your hair to air-dry can be a gentle option, it doesn't always result in well-defined, bouncy curls and can sometimes lead to unwanted fluffiness. Using a standard hairdryer nozzle often seems even worse, as the concentrated blast of hot air can quickly turn carefully formed curl clumps into a halo of frizz. The secret to unlocking smooth, shapely curls lies not just in the styling products you choose, but crucially, in your drying technique. Mastering the use of a hairdryer with an ionic function and a diffuser attachment can be a complete game-changer for your hair routine.
Understanding Your Tools: The Diffuser and Ionic Technology
Before diving into the technique, it's helpful to understand why these specific tools are so effective for curly hair. They are designed to work with your hair's natural texture, not against it.
A diffuser is a bowl-shaped attachment that fits onto the end of your hairdryer. Its primary function is to disperse the airflow over a much wider area. Instead of a harsh, direct stream of air, it provides a gentle, indirect heat that surrounds your curls. This slows down the drying process and prevents the force of the air from blowing your curls apart, which is a major cause of frizz and loss of definition. The prongs inside the diffuser bowl also help to lift the hair at the root, adding volume without creating fluff.
Ionic technology is a feature built into many modern hairdryers. These dryers emit a stream of negative ions that interact with the positive ions found in water droplets on your hair. This interaction breaks down the water molecules into smaller particles, allowing them to evaporate more quickly. This means your hair dries faster, spending less time exposed to potentially damaging heat. More importantly for curly hair, this process helps to seal the hair's cuticle—the outer protective layer of the hair shaft. A sealed cuticle lies flat, resulting in a smoother hair surface that reflects more light (adding shine) and is much less prone to frizz.
Step-by-Step: How to Diffuse Your Curls for Perfect Definition
Achieving salon-worthy curls at home is all about a methodical and gentle approach. Follow these steps for the best results.
1. Start with Soaking Wet Hair: The process begins in the shower. After washing and conditioning, do not towel-dry your hair aggressively. Your curls clump together best when they are very wet. This is the ideal time to apply your styling products, such as a leave-in conditioner, curl cream, or gel. Rake the products through your hair gently with your fingers or a wide-tooth comb to ensure even distribution. Then, cup your hair and scrunch upwards towards the scalp to encourage curl formation.
2. Remove Excess Water Gently: Once your product is applied, you can remove some of the dripping water. Instead of a traditional terrycloth towel, which can cause friction and frizz, use a microfibre towel or a simple cotton t-shirt. You can either gently scrunch your hair with the fabric or try the 'plopping' method: lay the fabric on a flat surface, flip your hair forward onto it, then wrap the fabric around your head like a turban and leave it for 10-20 minutes. This absorbs excess water without disrupting your curls.
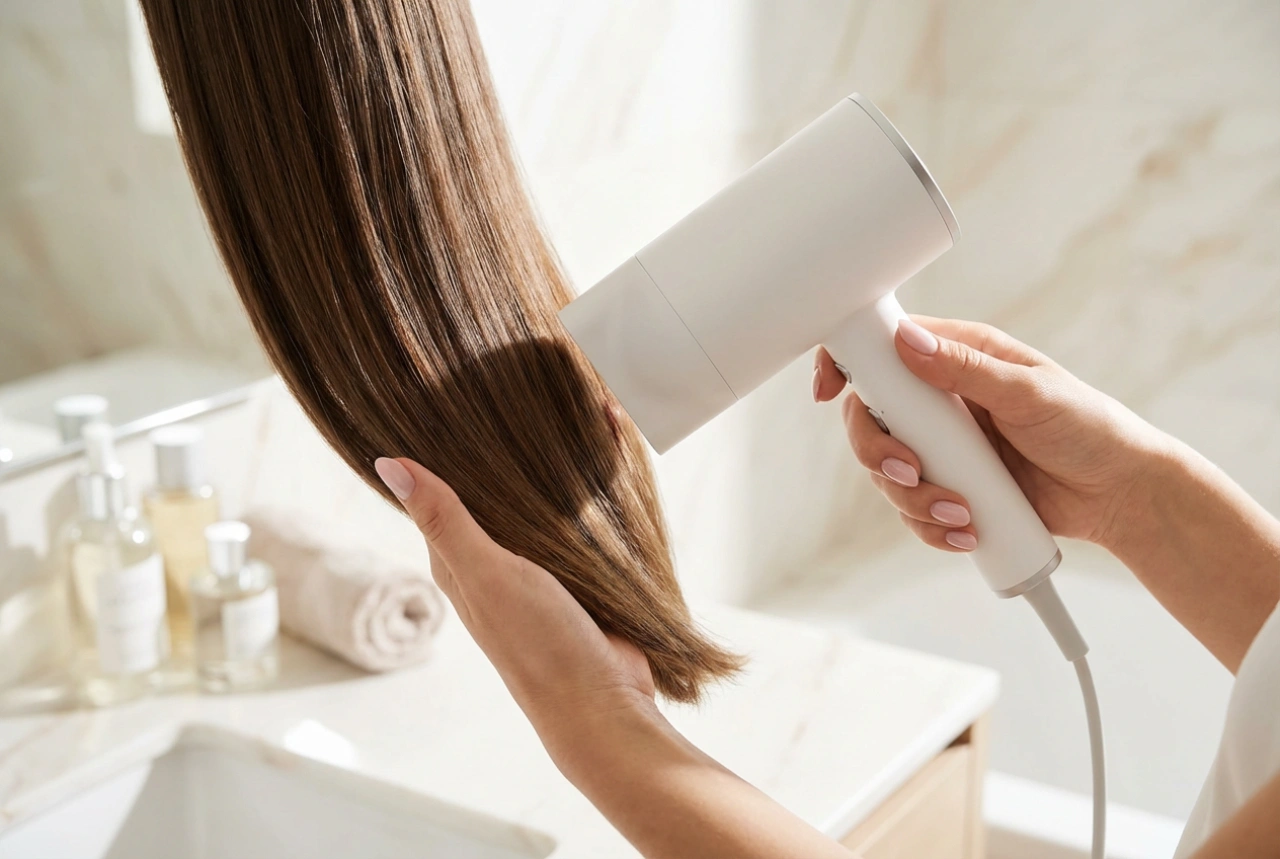
3. Set Your Hairdryer Correctly: Attach your diffuser and set the hairdryer to the lowest speed setting and a low or medium heat setting. High heat and high speed are the enemies of defined curls. Patience is key here; a slower drying process yields better results.
4. Dry the Roots First (Hover Diffusing): To build volume at the crown, begin by 'hover diffusing'. Tilt your head to one side and hold the diffuser several inches away from your roots, moving it around your scalp. Do this until the roots are about 50% dry. Avoid touching the lengths of your hair at this stage.
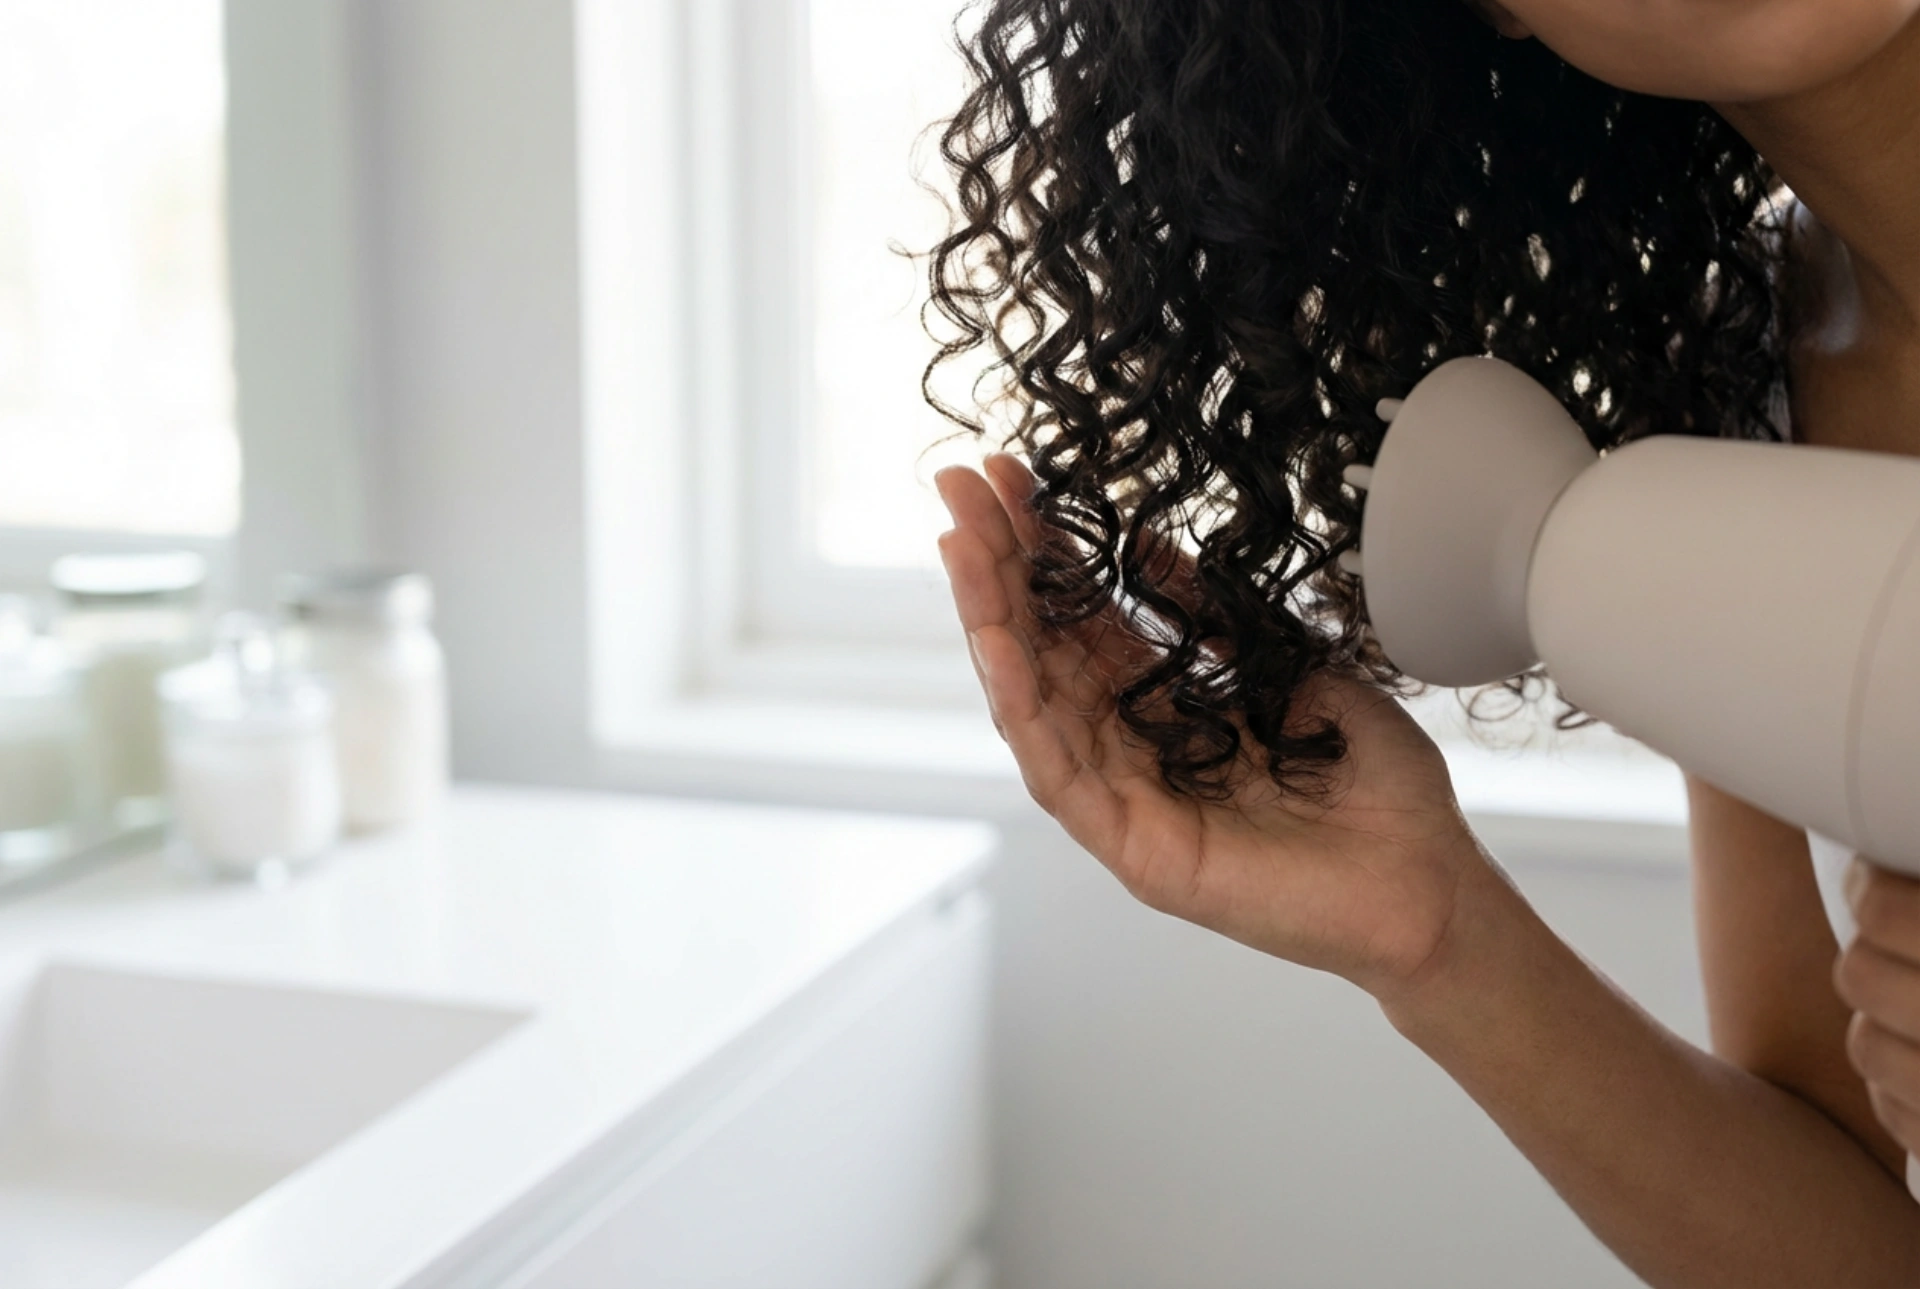
5. Define the Lengths (Pixie Diffusing): Now, it's time to work on the lengths and ends. Continue to hold your head tilted to the side or flip your head forward. Gently gather a section of your hair into the diffuser bowl and bring it up towards your scalp, holding it in place for 30-60 seconds. For minimal disruption, turn the hairdryer off before you move the diffuser away from your head to the next section. Repeat this process all over your head, working in sections.
6. Dry to 80-90%: It's best not to dry your curls completely with the diffuser. Over-drying can lead to frizz. Aim to get your hair about 80-90% dry—it should no longer be dripping or feel wet, but might still feel slightly cool or damp to the touch. Let the remaining moisture evaporate naturally. This helps the curls to set fully without being disturbed.
7. Finishing Touches: Once your hair is 100% dry, you might notice that your styling product has created a slightly firm 'cast' around your curls. This is a good thing, as it protected them while drying. To release the soft, bouncy curls beneath, gently scrunch your hair upwards again with your bare hands. You can also flip your head forward and gently shake out the roots for extra volume.
Common Diffusing Mistakes to Avoid
If you're still struggling with frizz after diffusing, you might be making one of these common mistakes. Small adjustments can make a big difference.
- Using High Heat and Speed: This is the most common error. The powerful, hot air acts like a storm, blowing your curl patterns apart before they can set. Always use low speed and low-to-medium heat.
- Touching Your Hair Too Much: While your hair is drying, resist the urge to run your fingers through it. The friction from your hands separates the curl clumps and creates frizz. Wait until it's completely dry before you touch it.
- Not Using Enough Product: Styling products provide hold, moisture, and a barrier against frizz. Applying them to soaking wet hair is crucial for locking in the curl pattern.
- Incorrect Diffuser Motion: Avoid raking the diffuser through your hair as if it were a brush. The correct technique is to gently cup the hair and hold it still.
- Trying to 'Fix' It When Dry: Don't try to reshape or wet down individual frizzy strands after your hair is dry. This usually makes it worse. The best results come from a solid routine from the very start.