


In the world of beauty, the quest for a smooth, seemingly perfect complexion is a common goal. Often described as a 'filter effect', this look isn't about masking the skin, but rather enhancing its natural texture for a flawless canvas. While clever foundation application plays a part, the true secret often lies in the step that comes before: the makeup primer. A smoothing primer, in particular, is a powerful tool designed to prepare the skin, creating an ideal surface for any makeup that follows.
What Is a Smoothing Primer and How Does It Work?
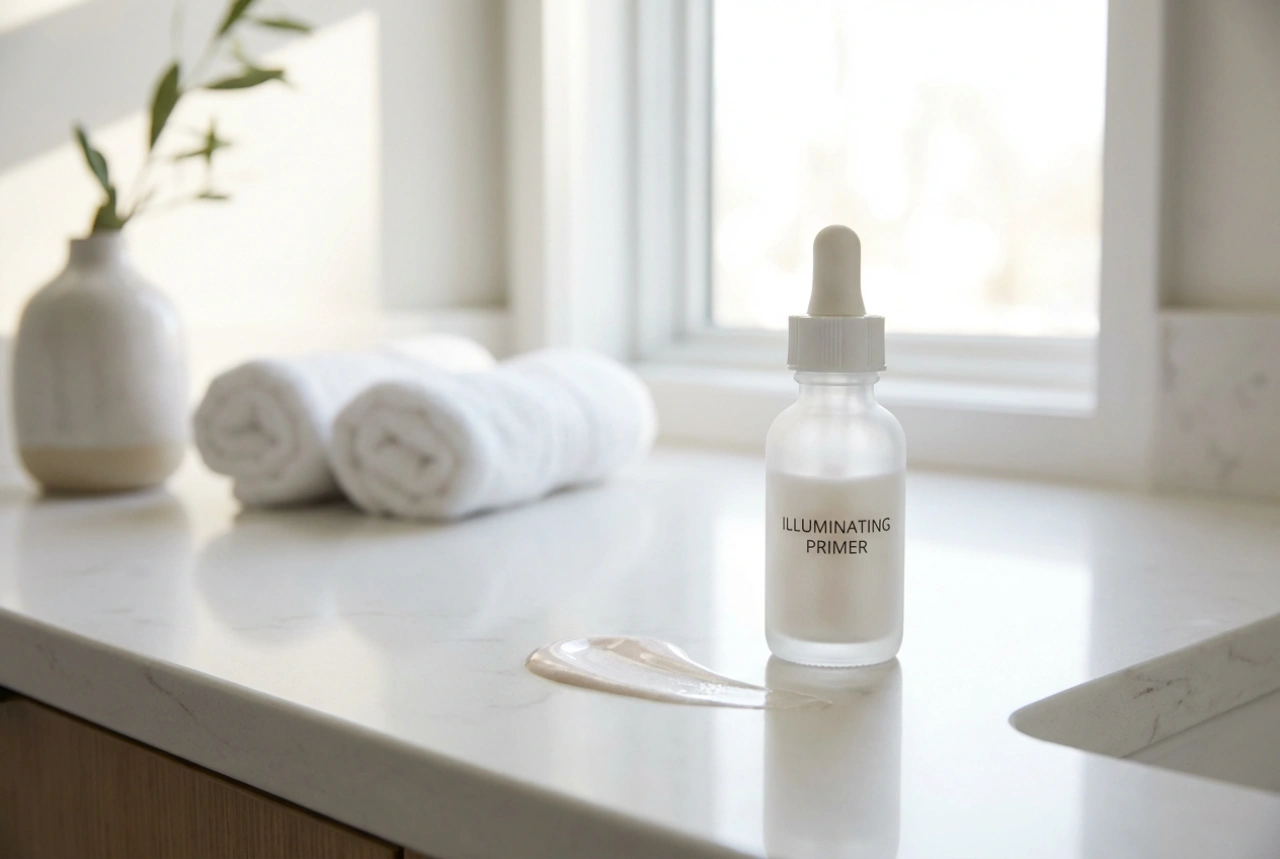
A smoothing primer is a cosmetic product applied after your skincare routine and before foundation. Its primary function is to create a soft, uniform surface by temporarily filling in fine lines, blurring the appearance of pores, and evening out minor textural irregularities. Think of it as preparing a wall before painting; by smoothing out the surface first, you ensure the final coat of paint goes on evenly and looks its best. The result is a soft-focus effect that helps your foundation glide on effortlessly and wear more evenly throughout the day.
These primers typically achieve their effect through specific ingredients. Many formulas contain silicone-based polymers, which are known for their ability to create a silky, smooth film on the skin's surface. These molecules form a breathable mesh that fills in tiny crevices without clogging pores. Other formulas might be water-based and contain light-reflecting particles or hydrating agents that plump the skin, which also contributes to a smoother appearance. The key is that they create a buffer between your skin and your makeup, preventing foundation from settling into fine lines and making pores less noticeable.
The Correct Application for a Flawless Base
Technique is just as important as the product itself when aiming for that filtered finish. Applying a smoothing primer correctly ensures you get all the benefits without any downsides, like pilling or a heavy feeling on the skin. Follow these steps for an impeccable result.
Step 1: Start with Well-Prepped Skin
Primer is a makeup step, not a skincare substitute. Always begin with your regular routine: a gentle cleanse followed by your usual serum and moisturiser. It's crucial to allow your skincare products, especially your moisturiser, to fully absorb into the skin. This usually takes a few minutes. If your skin is still damp or greasy when you apply the primer, it won't adhere properly and may start to pill or slide around.
Step 2: Use a Minimal Amount
One of the most common mistakes is using too much product. With smoothing primers, less is truly more. A pea-sized amount is generally sufficient for the entire face. If you only have texture concerns in specific areas, like the T-zone (forehead, nose, and chin), you can use even less and apply it targetedly. Dispense the product onto the back of your hand first to control the amount and warm it up slightly.
Step 3: Choose Your Application Method
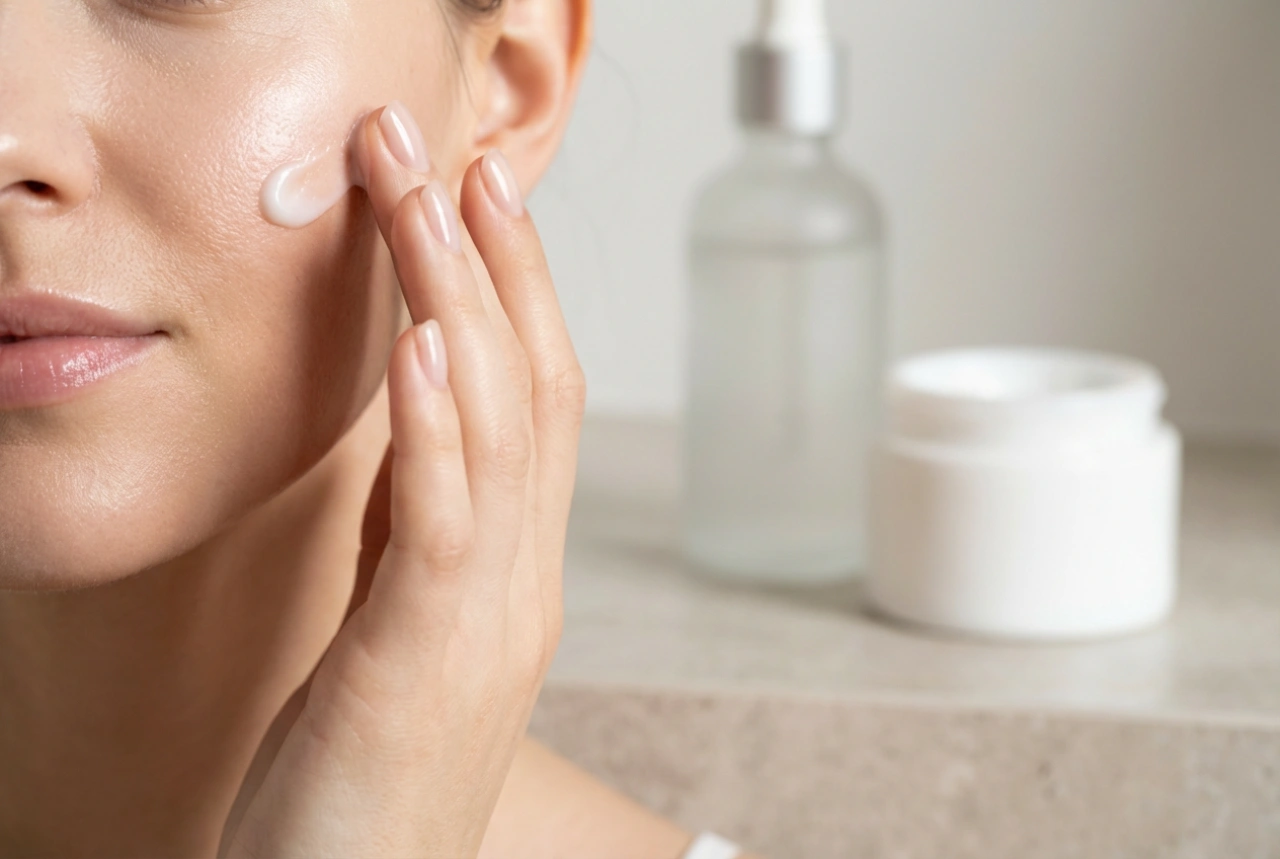
Fingertips are often the best tool for applying a smoothing primer. The warmth from your hands helps the product melt seamlessly into the skin. Gently pat and press the primer onto the areas where you want to blur pores and fine lines. Avoid vigorous rubbing, as this can disrupt the product and cause it to ball up. Start from the centre of your face and blend outwards. Focus on the T-zone, the area around the nose, and any other parts of the face with visible pores or uneven texture.
Step 4: Allow the Primer to Set
This is a non-negotiable step for a perfect finish. After applying the primer, wait for at least one to two full minutes before moving on to your foundation. This waiting period allows the primer to form its smooth film on the skin. If you apply foundation immediately, you risk mixing the two products, which can lead to a streaky, patchy application and diminish the primer's smoothing effect. You'll know it's ready when your skin feels velvety and smooth to the touch, but not wet.
Common Mistakes That Prevent a Smooth Finish
If your primer isn't delivering the filter-like effect you desire, you might be making one of these common errors. A few small adjustments to your routine can make all the difference.
- Applying Too Much Product: As mentioned, an excessive amount of primer is the number one cause of pilling (when the product rolls into little balls). It creates a layer that's too thick to set properly, and any friction from foundation application will cause it to flake off.
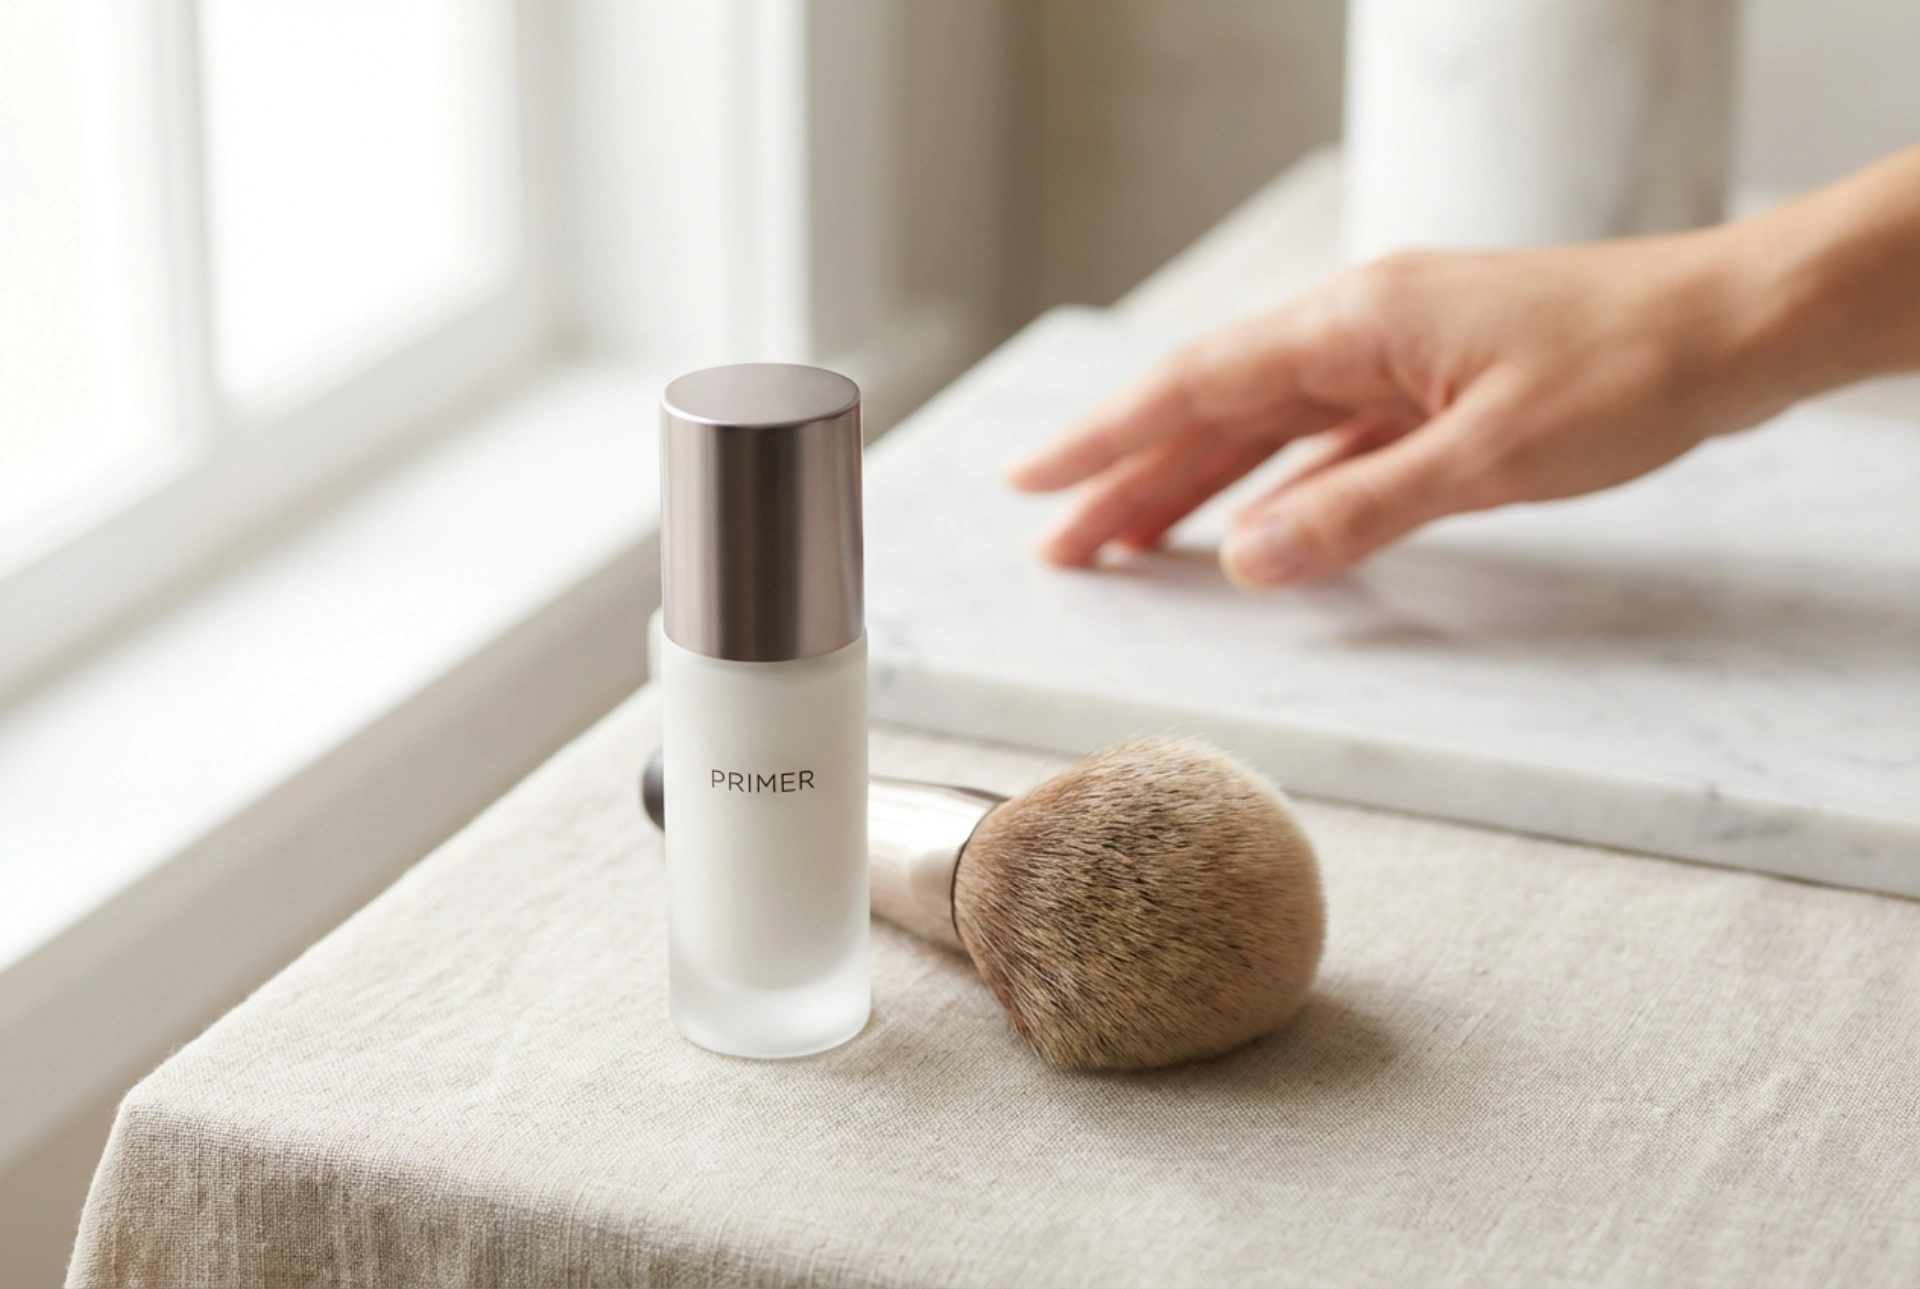
- Not Matching Formulas: For the best results, your primer and foundation should be compatible. A general rule of thumb is to pair like with like. If you're using a silicone-based primer, a silicone-based foundation will likely layer best over it. Similarly, a water-based primer works well with a water-based foundation. Mixing types, such as a water-based foundation over a heavy silicone primer, can sometimes cause separation and a patchy appearance.
- Skipping the Setting Time: Impatience is the enemy of a flawless base. Rushing the process and not allowing both your moisturiser and your primer to set will almost always compromise the final look. Each layer needs a moment to bond with the skin.
- Applying it Everywhere: Not everyone needs primer on their entire face. If your cheeks are naturally smooth, you can skip applying it there. Concentrating the product only where needed—like on an oily T-zone or areas with larger pores—gives a more natural finish and makes your product last longer.
- Rubbing Instead of Patting: Vigorously rubbing primer into the skin disrupts the delicate film it's meant to create. A gentle patting or pressing motion is much more effective for filling in texture without causing pilling or irritation.
By understanding how a smoothing primer works and mastering the application technique, you can significantly elevate your makeup routine. It’s a simple step that yields a major payoff, providing a beautifully smooth canvas that helps you achieve that coveted, real-life filter effect with confidence.