


Achieving a smooth, even-toned complexion is the cornerstone of any beautiful makeup look. However, dealing with skin redness can often feel like a challenge. Whether it's a persistent flush across the cheeks or small areas of sensitivity, redness can affect the final appearance of your foundation. This is where the magic of colour correction comes in, specifically with a green-tinted makeup primer. As suggested by the fresh, calming aesthetic of a green primer, this product is designed to create a serene and flawless canvas for your makeup.
Understanding Colour Correction: Why Green?
The secret to a green primer's effectiveness lies in basic colour theory. If you look at a colour wheel, you will find that green is directly opposite red. This means they are complementary colours, and when placed together, they cancel each other out. In makeup, this principle is used to neutralise unwanted tones on the skin. A light layer of a green-toned product effectively tones down the appearance of redness, creating a more neutral base. This allows your foundation and concealer to provide true-to-colour coverage without having to be applied too heavily. It's a simple yet powerful technique for tackling redness from various sources, such as general skin sensitivity, flushing, or the reddish appearance of post-blemish marks.
Who Can Benefit from a Green Primer?
A green primer is a versatile tool that can be beneficial for many individuals. If you experience mild to moderate redness, this product can make a significant difference in your makeup routine. It is particularly useful for:
- Individuals with persistent redness across the cheeks, nose, or chin.
- Those whose skin tends to flush easily due to temperature changes or emotional responses.
- People who have visible capillaries or reddish discolouration around the nose.
- Anyone looking to conceal the red appearance of healing or past skin imperfections.
It’s important to remember that a green primer is a cosmetic solution for visually correcting colour. It is not a treatment but a preparatory step to create a more uniform skin tone before applying other makeup products.
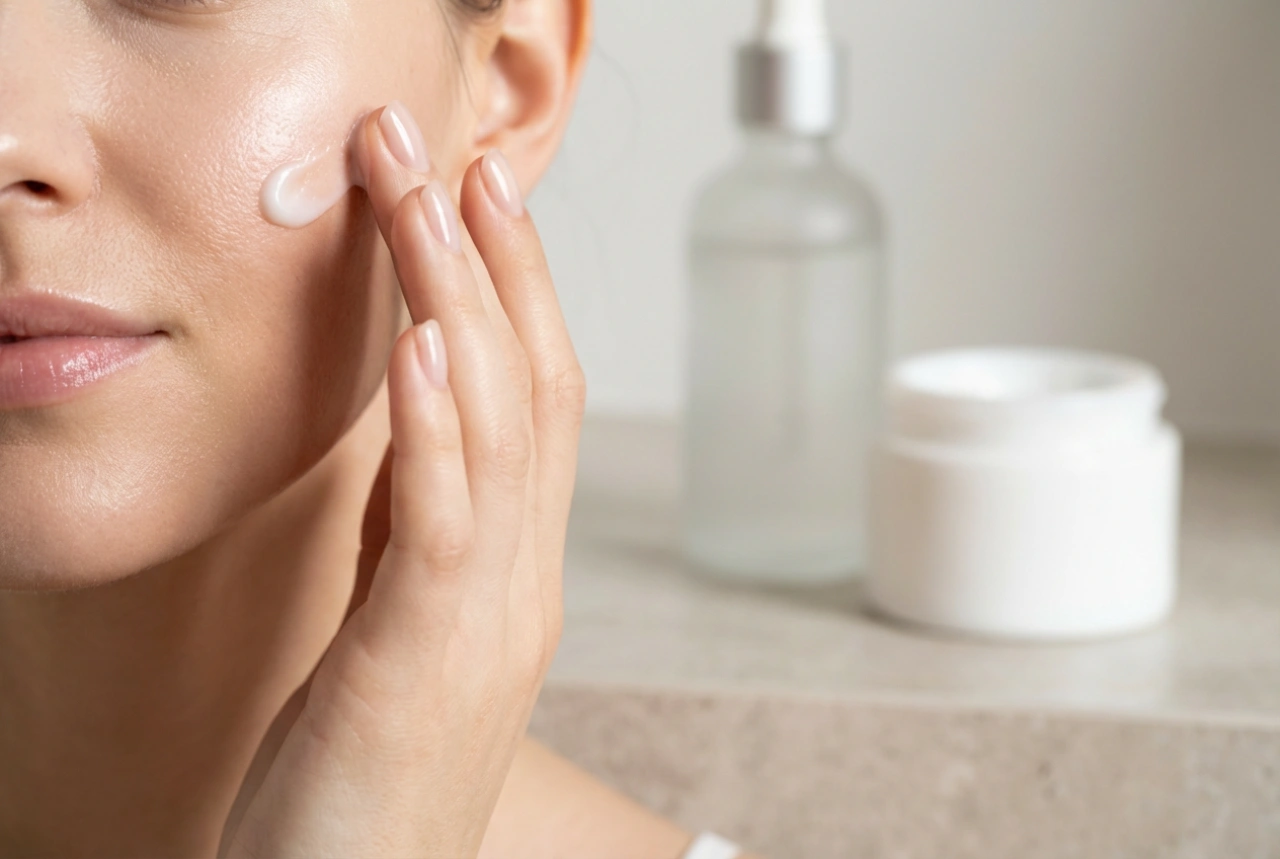
How to Apply Green Primer: A Step-by-Step Guide
Proper application is key to achieving a natural, seamless finish. Using too much product or applying it incorrectly can result in a faint green hue. Follow these steps for perfect results every time.
Step 1: Prepare Your Skin
Always start with a clean, well-moisturised face. Apply your usual skincare products, including a moisturiser and sunscreen, and allow them to fully absorb for a few minutes. A hydrated and smooth surface ensures that the primer glides on evenly and doesn't cling to dry patches.
Step 2: Use a Small Amount
When it comes to colour-correcting primers, less is always more. Squeeze a tiny, pea-sized amount of the green primer onto the back of your hand. You can always add more if needed, but it's much harder to correct over-application.
Step 3: Target Specific Areas
Unlike a regular primer, a green primer should not be applied all over the face unless you have widespread redness. Using your fingertips, a small brush, or a damp makeup sponge, focus on the areas where redness is most prominent. Common areas include the sides of the nose, the centre of the cheeks, the chin, and between the eyebrows.
Step 4: Blend Gently
The goal is to neutralise the red, not to leave a visible green layer. Gently pat and blend the product into the skin until the green tint is no longer obvious. The area should just look less red and more neutral. Avoid rubbing, as this can cause irritation and move the product around too much. A soft dabbing or stippling motion works best.
Step 5: Apply Your Base Makeup
Once the primer has been blended, wait a minute for it to set. Then, proceed with your regular foundation and concealer. You may find that you need less foundation than usual to achieve your desired coverage, as the primer has already done the heavy lifting of colour correction. Apply your foundation using your preferred method, blending it carefully over the primed areas for a seamless finish.
Final Tips for a Flawless Result
To get the most out of your green primer, consider the formula that best suits your skin type—some are mattifying, while others offer hydration. Always build the product in thin layers for the most natural effect. After applying your foundation, you can set your makeup with a light dusting of translucent powder to lock everything in place. By incorporating this simple step into your routine, you can effectively neutralise redness and create the perfect even-toned base for any makeup look.