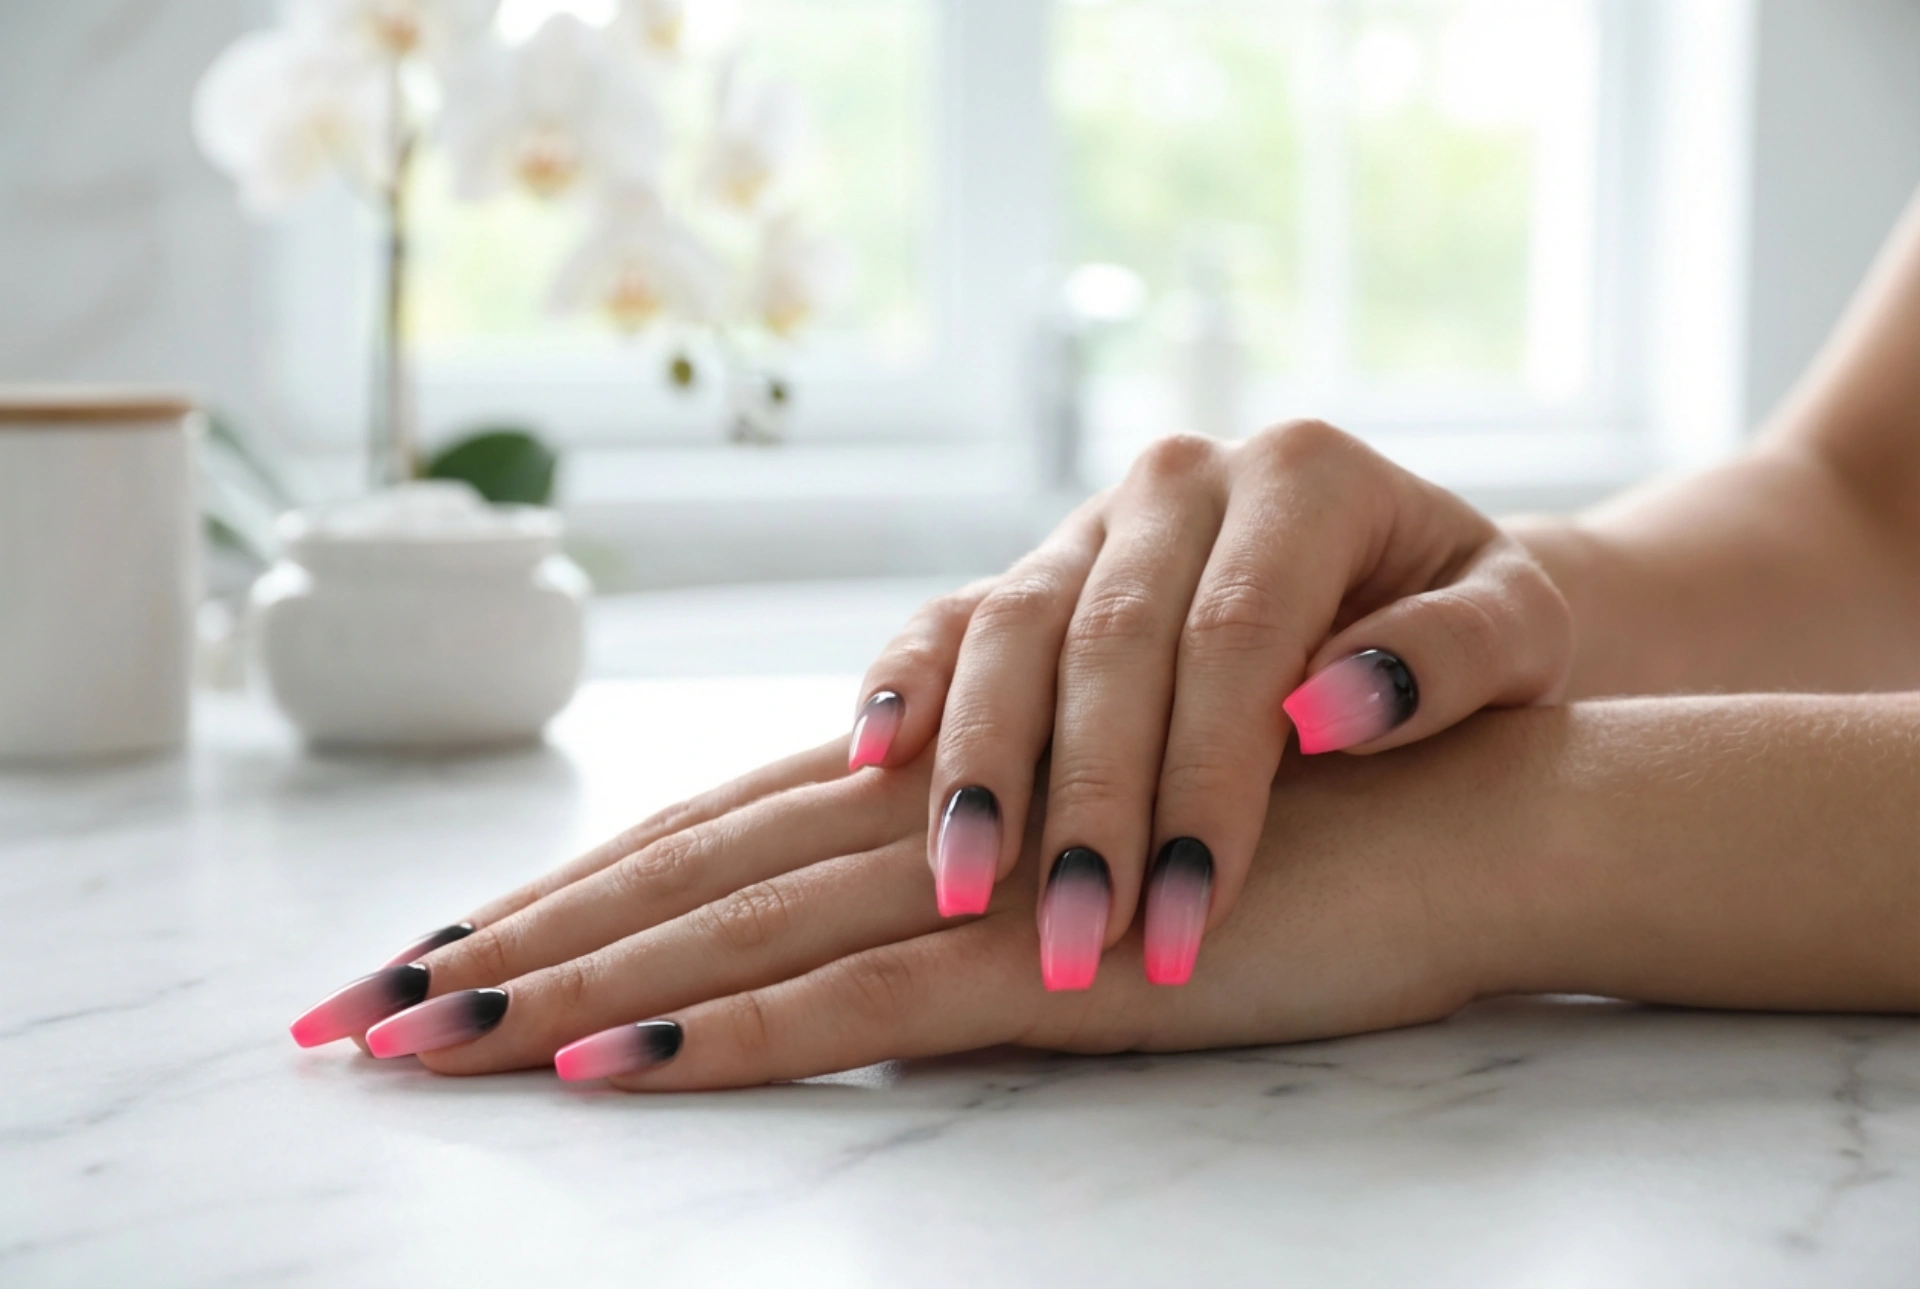


A perfectly executed manicure is a true reflection of personal style, and nothing captures modern sophistication quite like a seamless colour gradient. The combination of black and pink ombre nails offers an elegant, eye-catching contrast that easily transitions from vibrant neon pink tips to a soft pastel rose at the base. This stunning design exudes a polished, modern aesthetic that flatters various hand shapes and fits diverse occasions. Whether you prefer a subtle, everyday look or a striking, bold statement, mastering this blending technique at home allows you to enjoy beautiful, salon-quality results without the need for complex professional tools.
Why the Black and Pink Contrast Works So Well
The juxtaposition of deep, mysterious black and versatile pink creates a unique visual balance. In colour psychology, black represents elegance, power, and depth, while pink symbolises softness, youthfulness, and energy. Combining them in a gradient, or ombre effect, softens the starkness of black while giving pink a modern, edgy twist. This technique eliminates harsh lines, replacing them with a soft, diffused transition that reflects light beautifully and elongates the fingers. Because pink comes in so many variations, this combination is incredibly versatile and can be adapted to suit any season, mood, or personal style.
Selecting Your Pink Palette: From Soft Pastels to Electric Neons
Before starting your manicure, it is important to decide on the mood you want to convey. The shade of pink you choose will completely transform the final look of your black ombre nails.
Pastel and Dusty Pink for Underrated Elegance
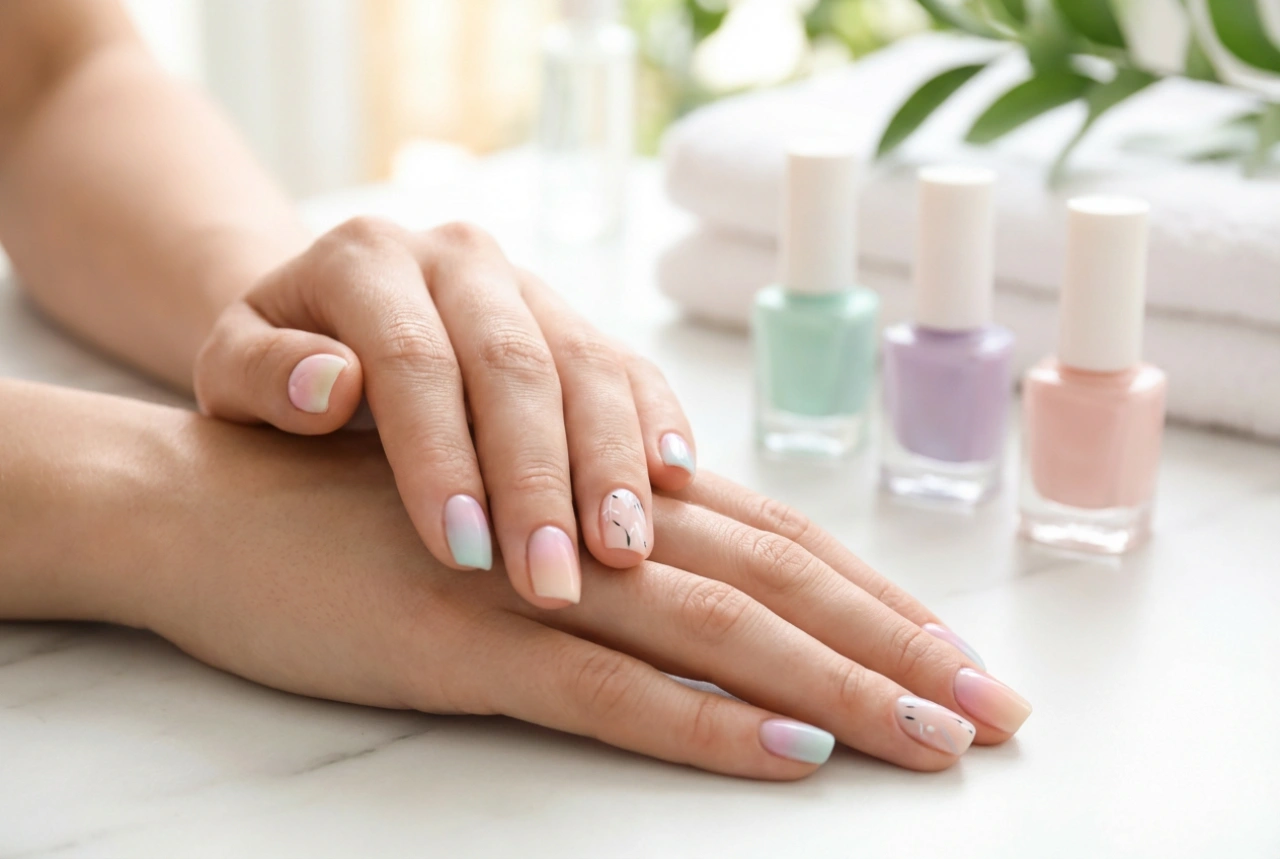
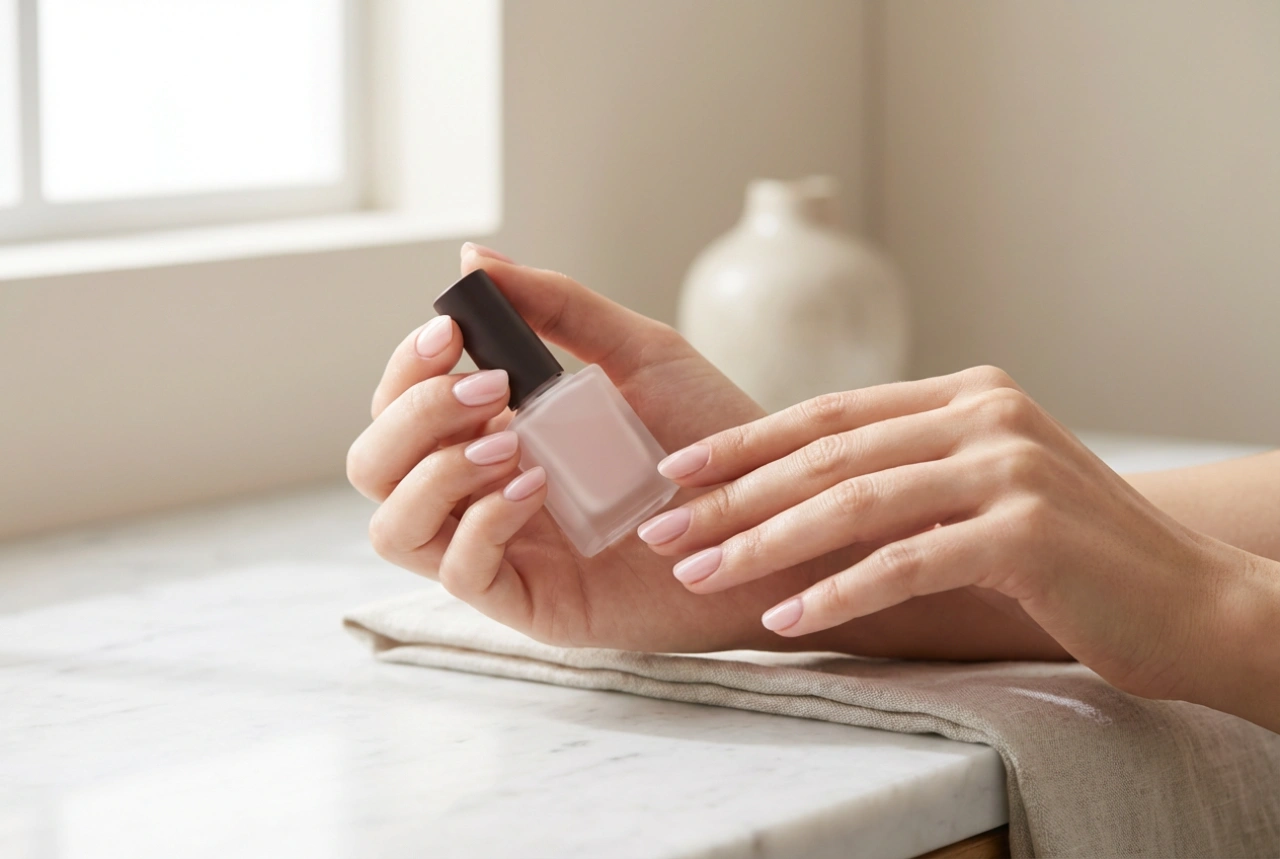
If you prefer a sophisticated, understated manicure suitable for professional settings, pastel rose, baby pink, or dusty mauve is the ideal choice. Transitioning from a soft pastel base to a black tip creates a romantic yet modern look. This subtle gradient looks exceptionally clean and minimalist, offering a gentle nod to the classic French manicure but with a contemporary, dark twist.
Neon and Magenta for a Striking Contrast
For those who love to stand out, pairing pitch black with vibrant neon pink or hot magenta is the ultimate choice. This high-contrast pairing is perfect for summer, festivals, or when you simply want to make a bold statement. The bright neon pink brings a burst of energy to the nails, while the black adds definition and drama.
Key Tools for an Easy Home Manicure
Achieving a smooth, seamless gradient does not require expensive equipment. With a few basic household and cosmetic items, you can create a professional-looking ombre effect.
- Quality Base and Top Coat: A protective base coat prevents staining from dark pigments, while a glossy top coat is essential for smoothing out the texture of the blended polish.
- Cosmetic Sponges: A standard wedge-shaped makeup sponge is the secret weapon for creating gradients. Finer sponges with smaller pores yield a smoother transition.
- Nail Barrier Cream: Applying a protective barrier around the cuticles makes cleanup quick and effortless.
- Nail Polish Remover and a Fine Brush: A small, flat brush dipped in remover helps tidy up the edges for a crisp, clean finish.
Step-by-Step Guide to Black and Pink Ombre Nails
Follow these simple steps to achieve a flawless gradient at home:
Step 1: Prep and Prime
Begin by cleaning your nails, shaping them to your preferred length, and gently pushing back the cuticles. Apply a thin layer of protective base coat and let it dry completely. This step ensures longevity and protects your natural nails.
Step 2: Apply the Base Colour
Apply one or two thin layers of your chosen pink polish as the background colour. Let this base dry thoroughly. Using pink as the base ensures that the lighter colour remains vibrant and clean beneath the black gradient.
Step 3: Prepare the Sponge
Lightly damp your makeup sponge with water and squeeze out any excess. This prevents the sponge from absorbing too much polish. Paint a stripe of the pink polish and a stripe of the black polish directly onto the flat edge of the sponge, slightly overlapping them where they meet.
Step 4: Dab the Gradient
Gently dab the sponge onto your nail, moving it slightly up and down to blend the border between the two colours. Work in thin layers. It is better to apply two or three light sponge layers, allowing a minute of drying time between each, rather than one thick layer which can create air bubbles.
Step 5: Clean and Protect
Peel away the liquid barrier or use a fine brush dipped in nail polish remover to clean any stray polish from the surrounding skin.
Step 6: Seal with Top Coat
While the final layer is still slightly damp, apply a generous layer of high-shine top coat. The top coat acts as a blending agent, smoothing out any texture left by the sponge and creating a seamless, glassy finish.
Essential Maintenance Tips for Beautiful Nails
To keep your beautiful black and pink gradient looking fresh, simple daily care is essential. Always wear protective gloves when performing household chores to avoid chipping. Apply a nourishing cuticle oil every evening to keep the skin around your nails hydrated and healthy, which naturally enhances the overall appearance of your manicure. A quick touch-up of top coat every few days will also maintain the glossy shine and extend the wear of your ombre design.